When Handheld Laser Welding Fits Gate and Rail Work
Gate makers often work with box sections, flat bar, angle iron, round tube and decorative panels. Handheld laser welding can suit this type of work when the aim is neat seams, narrow heat affected zones and faster finishing on repeat jobs. It is not a cure for bad fit-up or poor clamping, but it does help a workshop produce cleaner joins on many fabrication tasks.
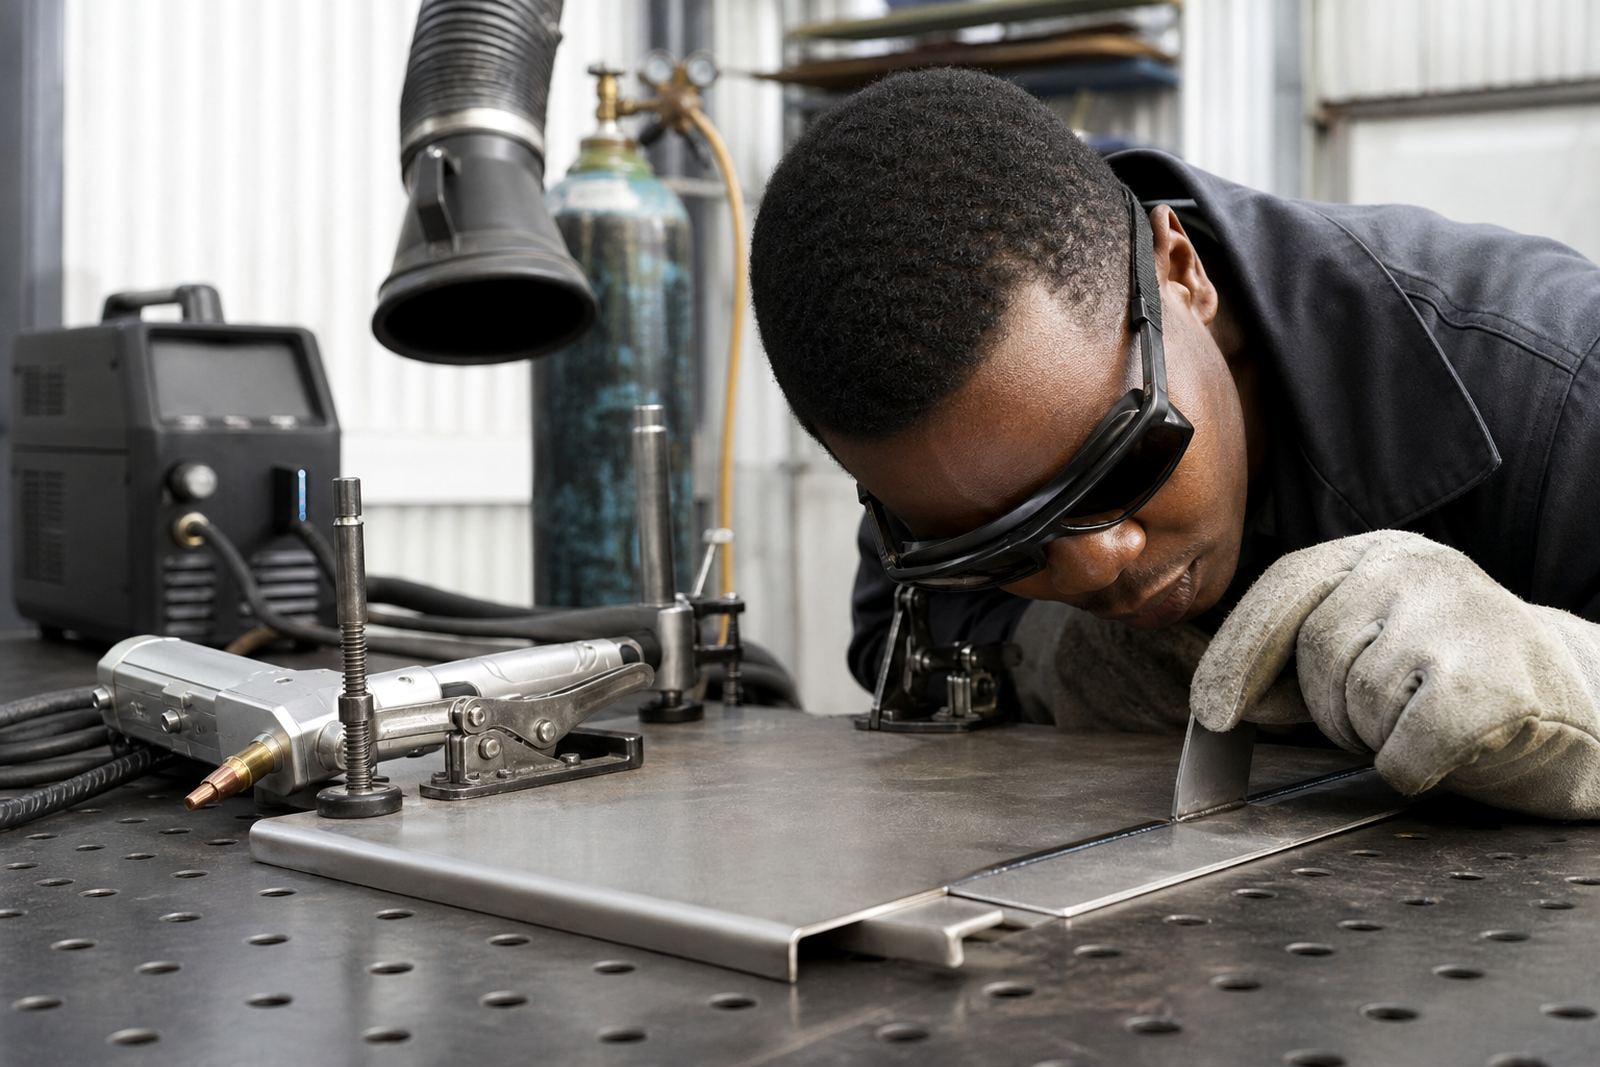
For gates, rails and frames, the method is usually considered for light to medium steel work, stainless handrails and repairs where access is awkward. A good fit-up still matters. If the joint gaps are wide, the operator will spend time correcting the gap instead of welding. That is why we start with the material, joint type and finish required before talking about machine settings.
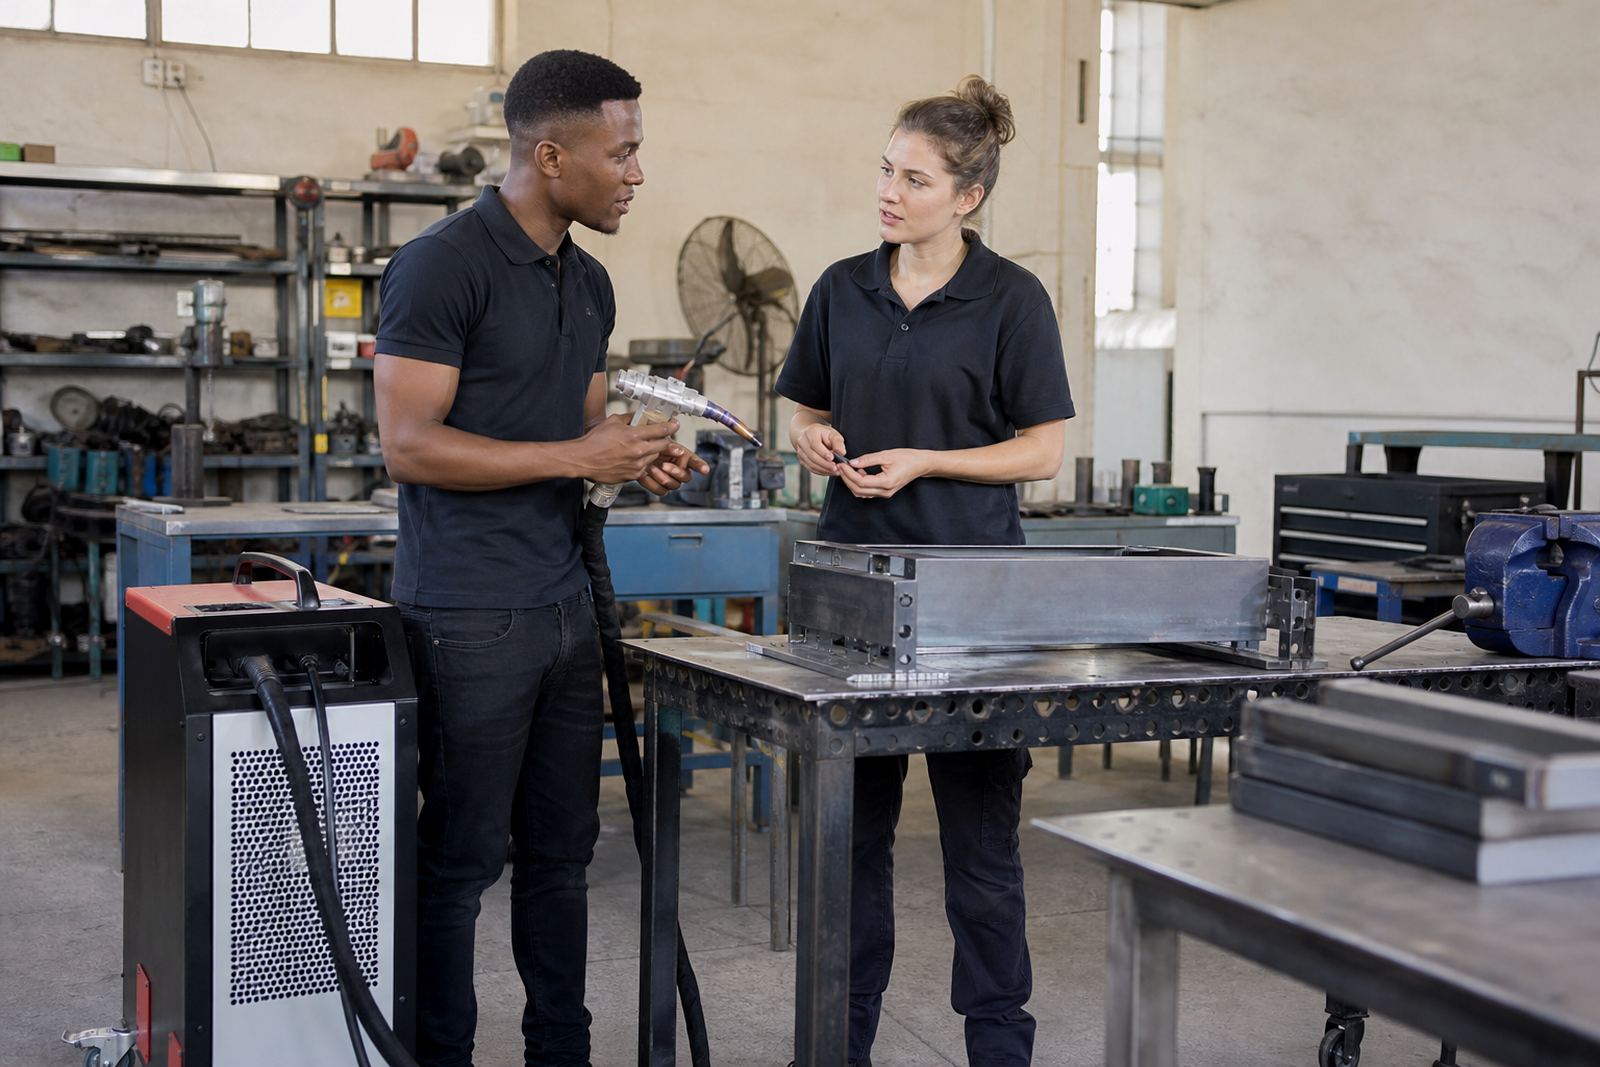
In practical terms, this use-case suits teams that want to test one or two stations first. A small workshop in Boksburg might begin with a single handheld unit for sample work, then use it on selected jobs such as gate frames, balustrade sections and site repairs. The goal is to find where the process saves time and where conventional welding is still the better choice.
Typical Equipment Set For A Small Workshop
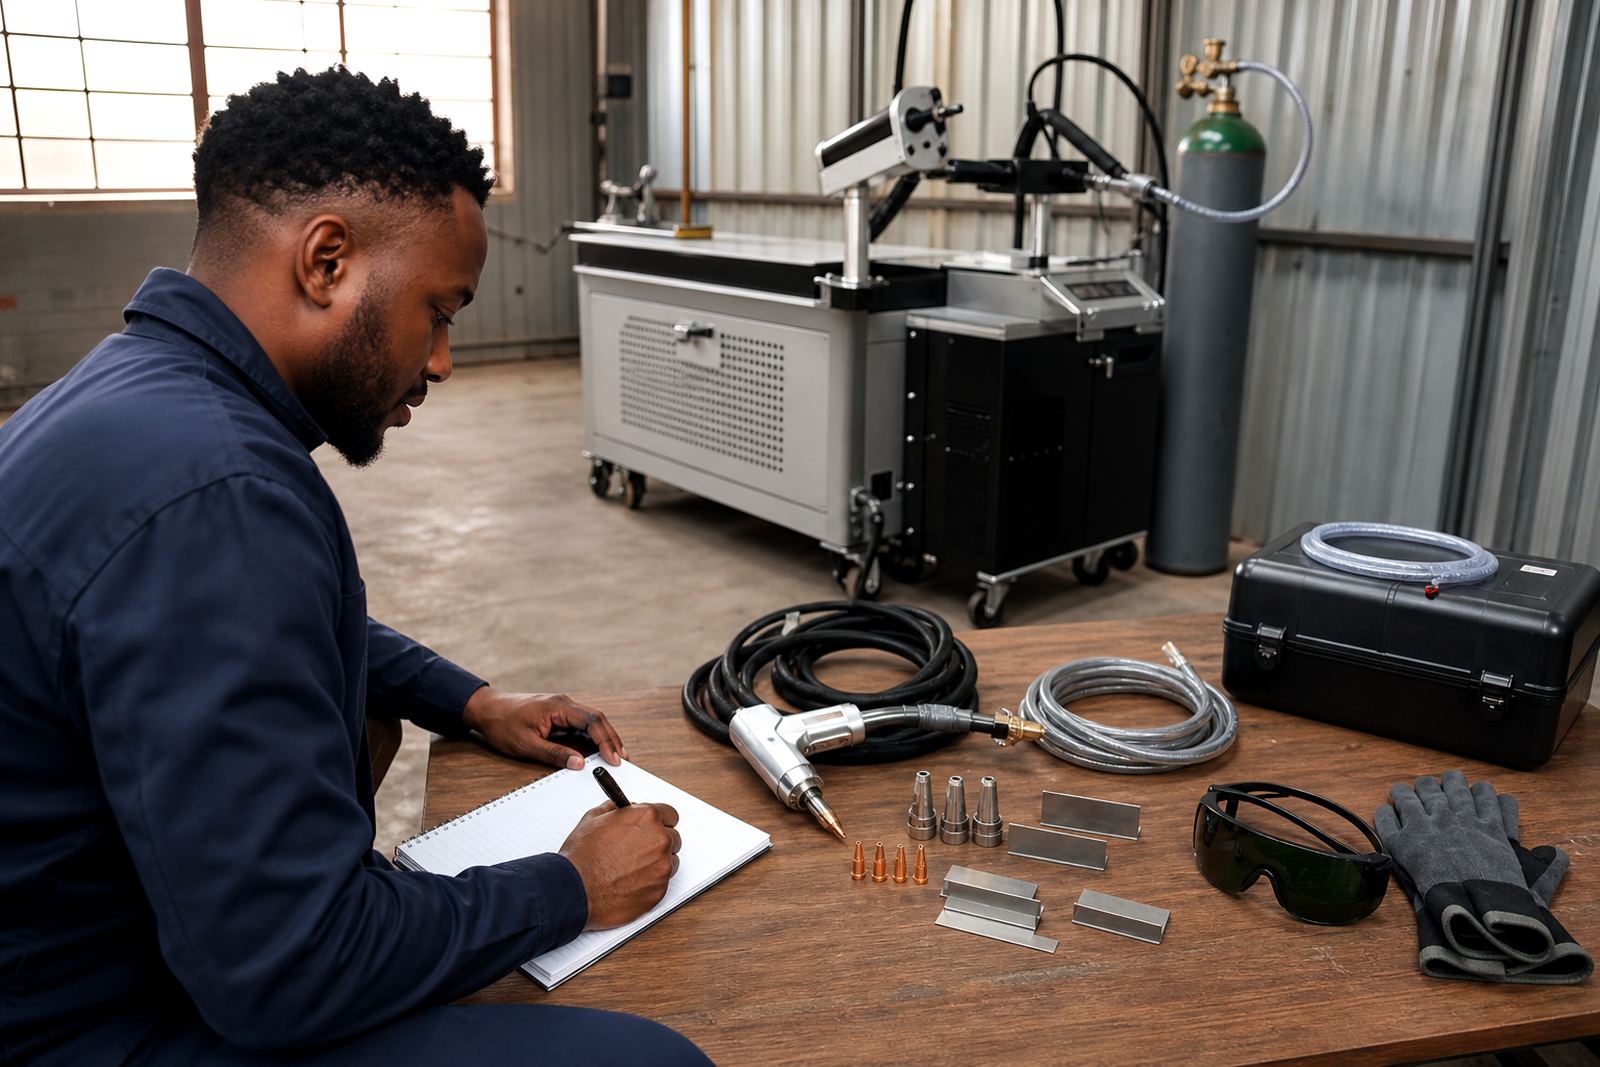
A starter setup for handheld laser welding is more than the welding unit alone. Workshops usually need the handheld welding source, the torch or handpiece, a cooling system if required, shielding gas, cleaning tools, clamps, magnets, earth leads and a proper workbench arrangement. Depending on the material and duty cycle, some systems are air-cooled while others need water cooling.
For gate and rail makers, the starter kit should also include sample coupons, a marking system, a wire brush used only for clean metal, and basic measuring tools so each joint is prepared properly. If you work on painted or galvanised material, preparation becomes even more important. Coatings must be removed where the weld will sit, and the workspace needs good extraction because fumes from coatings and contaminants are a real hazard.
Our starter kit discussions cover the equipment in plain terms, so workshop owners know what they are paying for and what they still need to source locally. That makes budgeting easier for businesses in Johannesburg, Pretoria, Durban, Cape Town and Polokwane, where workshop space and power supply can differ quite a bit.
A sensible setup plan normally includes:
- Handheld laser welding source matched to the job range
- Handpiece with suitable nozzles and protective parts
- Clean bench, vice, clamps and alignment tools
- Fume extraction and local ventilation
- Eye protection suited to the laser class in use
Safety Rules That Must Be In Place Before Training Starts
Laser welding is not a plug-and-play process. The laser class must be understood, access must be controlled, and everyone in the area needs the correct eye protection for the system being used. We also cover screen placement, reflective surface control and the importance of keeping bystanders out of the line of work. Even a short exposure to the beam can cause injury, so safety briefings are not optional.
Fume extraction is part of the job, not an extra. When welding coated, oily or dirty material the fumes can be unpleasant and harmful. Workshops should have extraction at source and enough airflow to keep the bay comfortable for longer sessions. In Gauteng, where many shops close up at night or during load-shedding periods, good planning matters because poor airflow inside a closed workshop becomes a bigger problem very quickly.
We also look at site readiness. That includes power capacity, cable routing, safe floor space, fire precautions and whether the work area can handle the equipment footprint. If the workshop is near the coast, humidity can affect storage and consumables, so the machine and accessories need to be kept dry and clean. These small details help avoid damage and downtime.
How To Lay Out A Gate And Rail Welding Bay
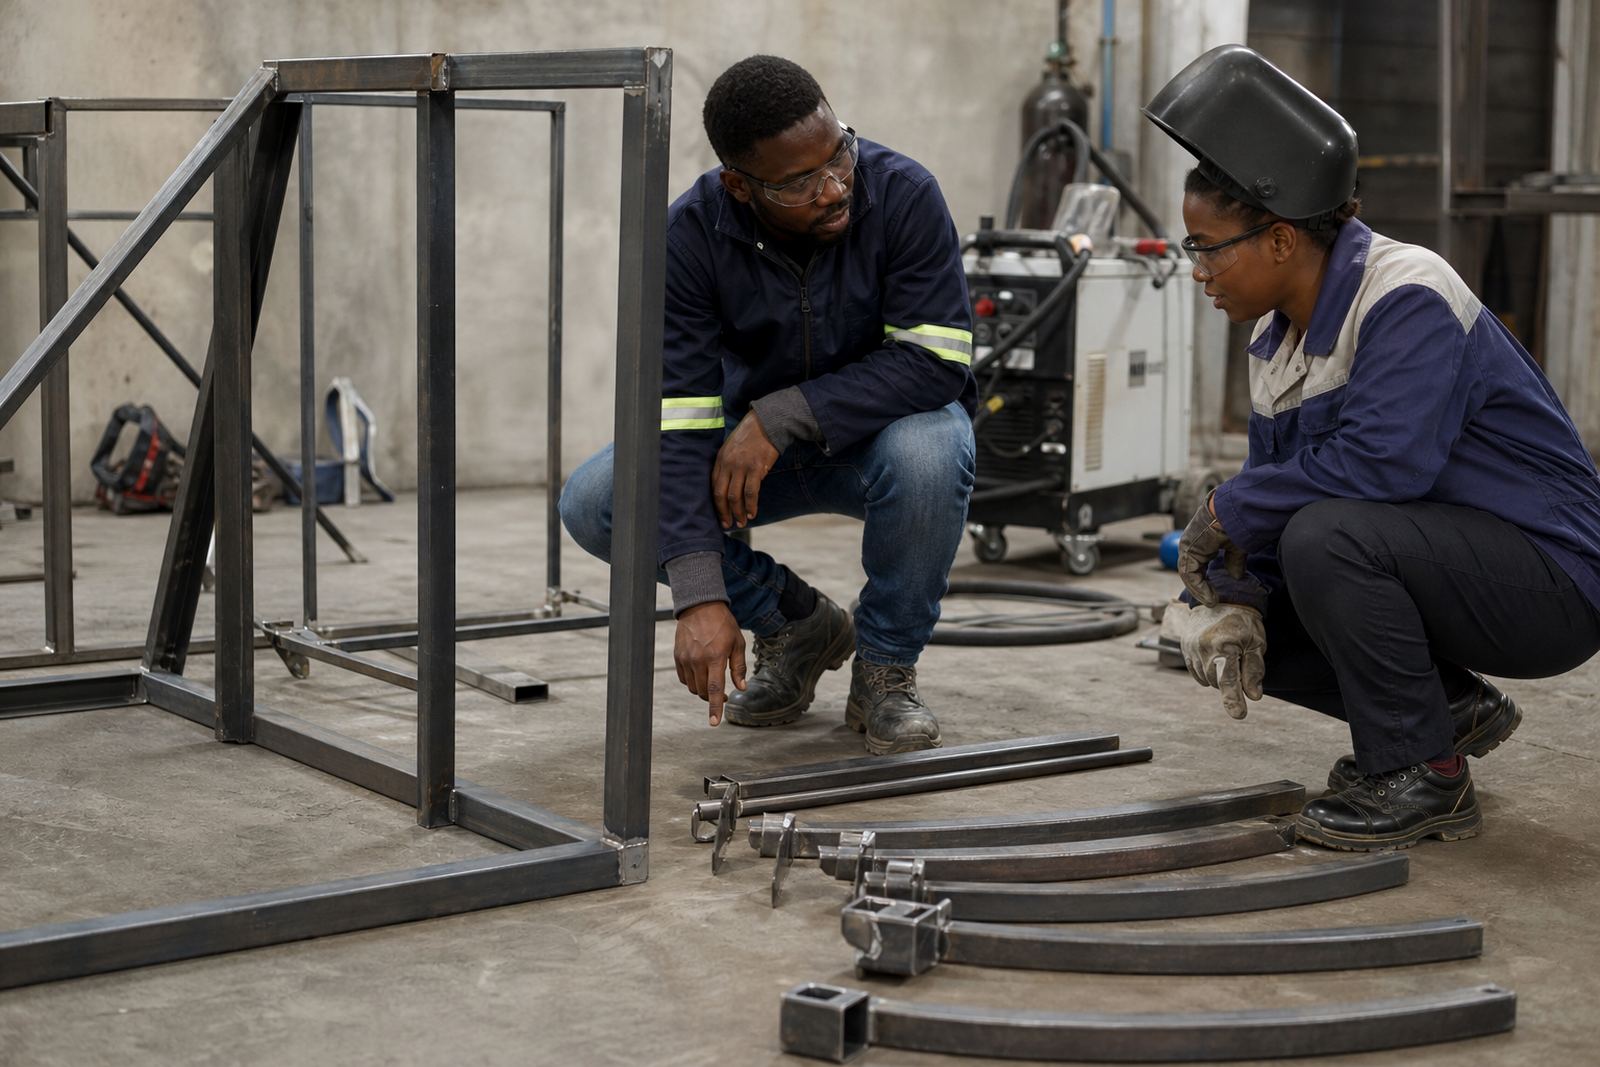
Layout matters because handheld laser welding works best when the operator can move around the job without fighting the space. A workshop bay should allow easy loading of frames, enough room for clamping, and a clear path for the operator to move the handpiece in a steady line. If the bay is cramped, accuracy drops and the risk of accidental contact goes up.
For gate and rail makers, we advise separating cutting, grinding and welding zones where possible. Fine dust and grinder grit do not belong near optical parts or clean joints. Keep sample stock, consumables and finished work apart, and make sure the most used clamps and tools are within easy reach. Simple layout changes often save more time than people expect.
Where teams are preparing for multiple branches or job sites, we can help with workflow advice, supervisor coaching and refresher visits. The aim is to make the process repeatable so a foreman in Boksburg gets the same standard as a crew in Durban or Cape Town. A tidy bay also helps with quality walkthroughs because problems are easier to spot when the area is organised.
Common Mistakes We See In Metal Gate Shops
The biggest mistake is treating laser welding like arc welding with a different torch. It is not. Fit-up must be tighter, metal must be clean, and the operator has to respect the beam and its reflection. Another common problem is trying to push straight into customer work without enough practice on offcuts. That usually leads to poor bead appearance, weak joints or unnecessary rework.
We also see workshops buying equipment before they have sorted extraction, eye protection or spare parts. That is a false economy. If the machine sits unused because the bay is not ready, the money is wasted. A better approach is to start with a readiness check, then work through operator inductions, practice plans and kit setup before taking on paid jobs.
On the technical side, some teams forget that heat input and travel speed still matter. Even with a cleaner process, the operator must control torch angle, stand-off distance and focus. If the material is reflective, or if the job includes brackets and corners, test pieces should come first. The fastest way to improve is often to slow down and check each setting properly instead of chasing speed too early.
Budget Ranges For Workshops Testing The Process
Budget depends on the size of the machine, the level of support needed and whether you want a basic starter kit or a more complete workshop set. For many gate and rail makers, the practical approach is to budget separately for training, site readiness, starter equipment and ongoing consumables. That gives a clearer picture than buying everything at once.
As a rough planning guide, a small workshop may set aside a few thousand Rand for readiness checks and training support, while a starter kit and setup package can range much higher depending on the equipment chosen and the level of accessories included. Workshops that want multiple stations, supervisor coaching and refreher visits should budget for ongoing support as well. We do not quote prices on the page because each bay and each business has different needs, but we do help teams plan sensibly.
For businesses working across Gauteng or serving more than one town, it often makes sense to start in one base workshop, prove the process on real jobs, and only then expand. That keeps cash flow under control and avoids buying kit that is not suited to your normal work. If you are making gates, rails and frames every week, the best budget is the one that matches your actual production mix, not a wish list.