Start With The Jobs You Will Actually Do
Before you compare starter kits, list the work your workshop wants to take on in the next 6 to 12 months. Repair work on mild steel, thin stainless, brackets, frames, panels and small fabrication jobs all ask for different torch handling, joint prep and finishing. A kit for light repair jobs may be fine for one person, while a workshop taking on daily production work will need steadier support, better consumables planning and clearer safety control.
Think about the thickness range, the materials, and how often the machine will run during the day. If you expect short repair tasks between other jobs, portability matters. If the machine will sit in one bay, then extractor placement, cable length and storage become more important. A good starter kit should support proper practice, not just first day operation.
- List the top 5 jobs you want to do
- Write down the material types and thicknesses
- Note whether work is repair only or daily production
- Check if the machine must move between bays or sites
Core Kit Items That Should Come First
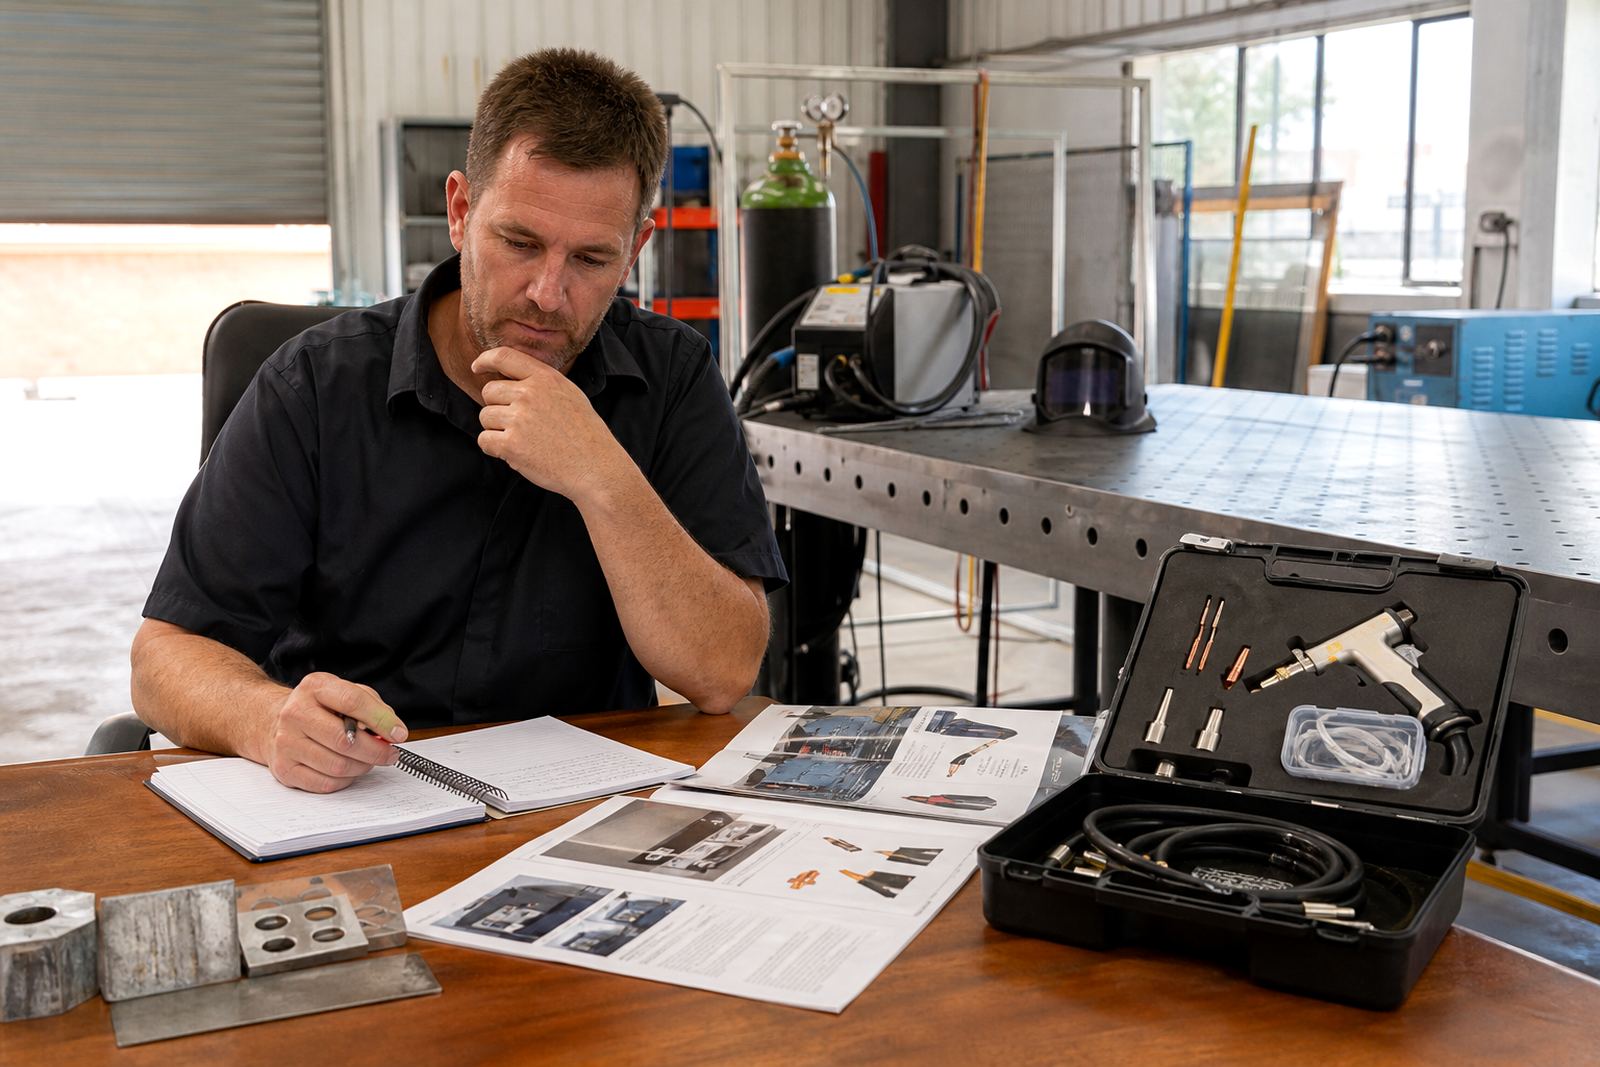
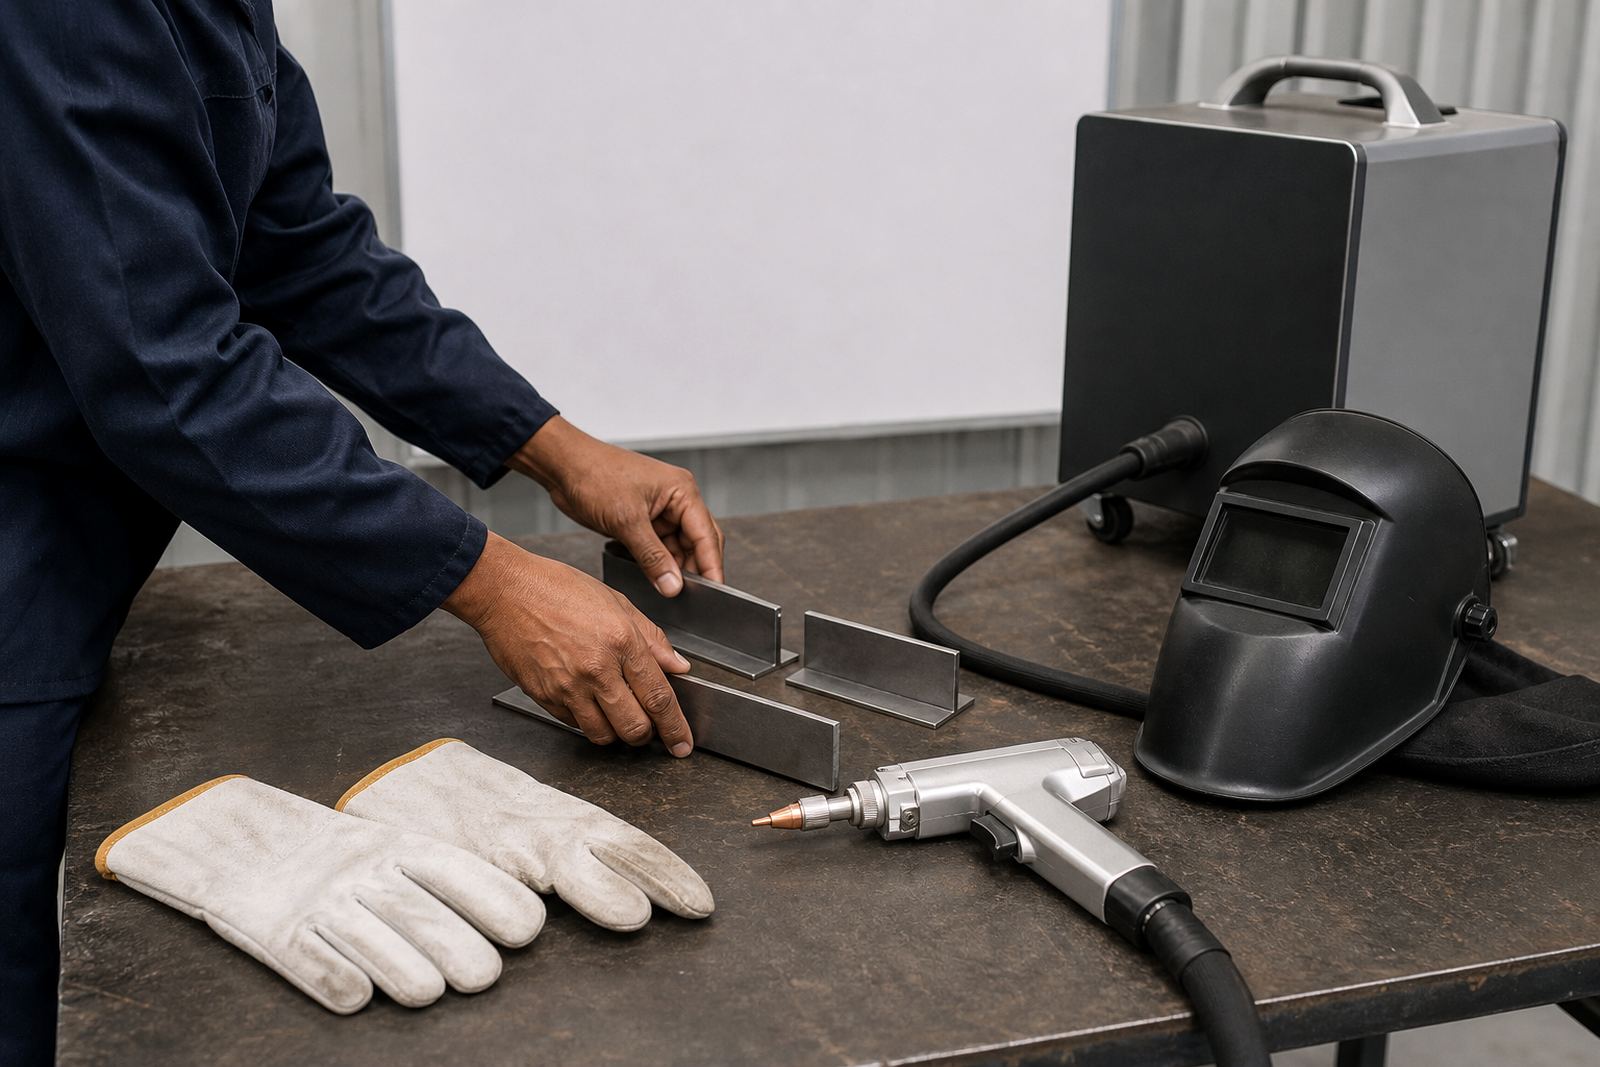
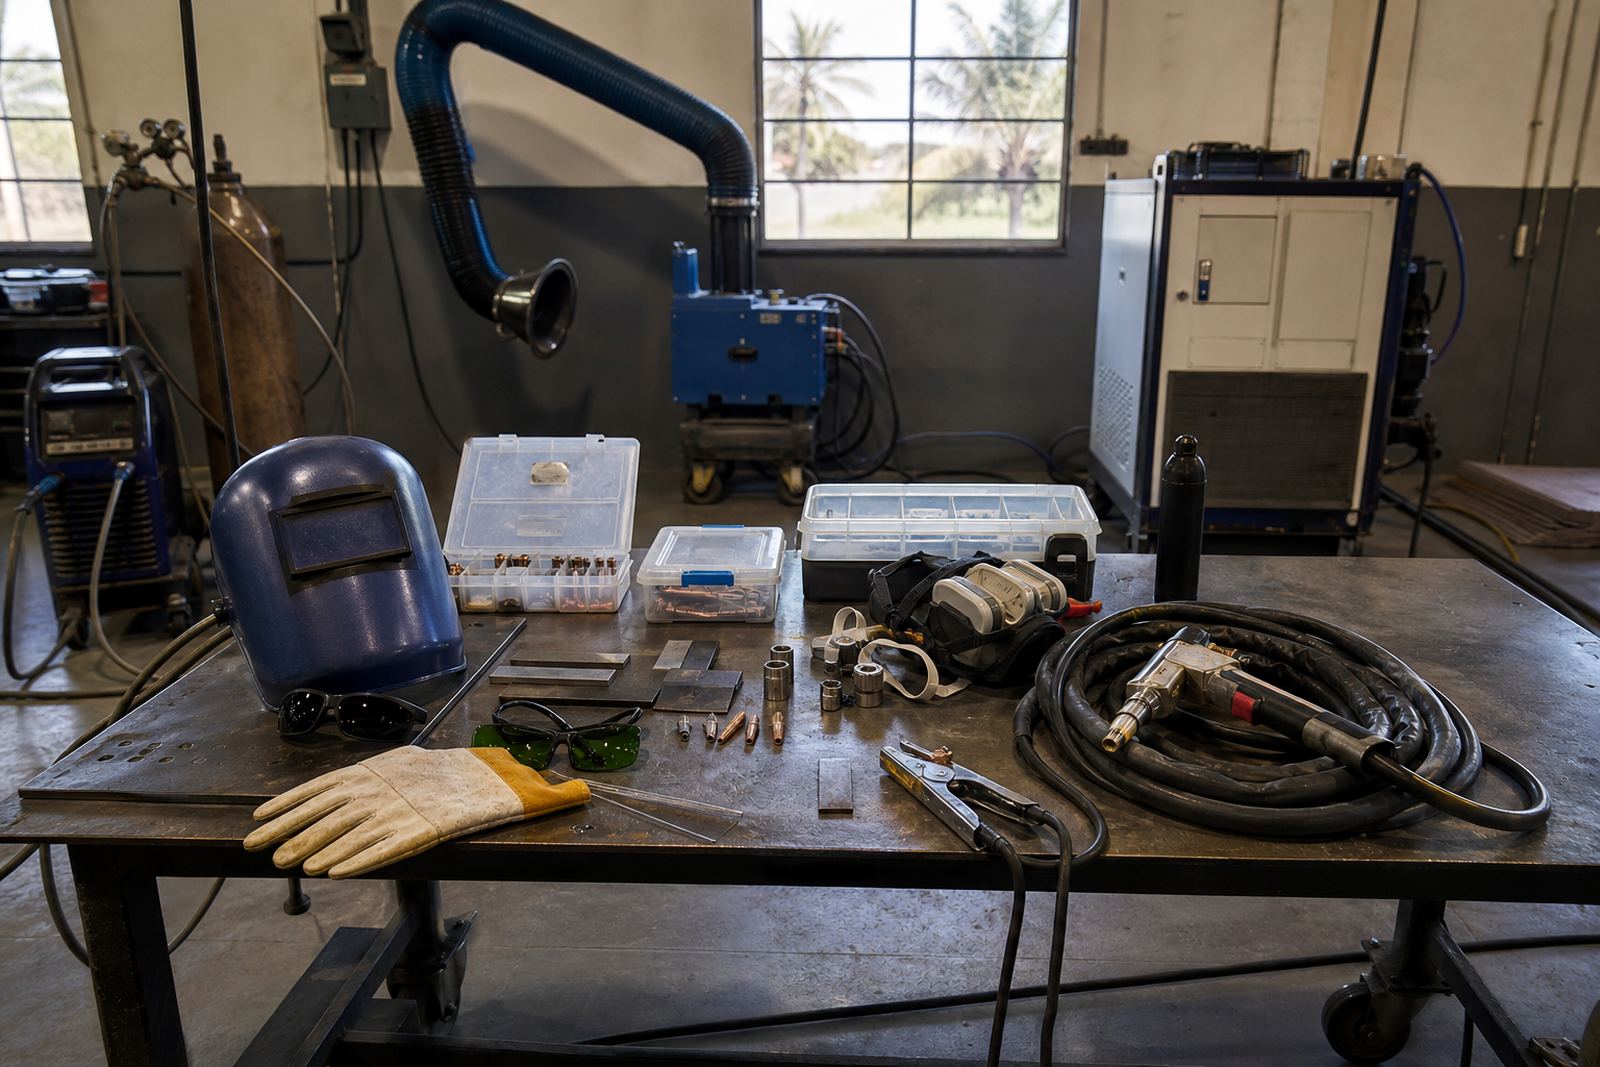
A practical starter kit for handheld laser welding should cover the machine, the torch, the cooling arrangement, protective eyewear rated for the laser class in use, and the basic setup tools needed to get started. Some workshops also need a work table, clamps, cleaning tools and a clear storage plan for nozzles, lenses and wire feed parts. If these are missing, the first few weeks become slow and messy.
It is worth checking whether the kit includes setup guidance for alignment, focus checks and basic maintenance. In our experience, small teams do better when the kit matches the way they work on the floor, not when they are forced to adapt their workflow around missing parts. A starter kit should make it easier to produce repeatable results, not harder.
- Handheld laser welding unit and torch
- Cooling and power support matched to the machine
- Laser safety eyewear for every person in the area
- Basic cleaning and maintenance tools
- Storage for tips, lenses and other consumables
Safety Needs That Must Be In The Kit Plan
Laser welding is not a normal hand tool job. The workshop needs controls for laser class exposure, eye protection and fumes from heated metal, coatings and cleaning residues. The right eyewear is not optional, and it should match the machine and the working setup. If more than one person is near the bay, every person needs to know the exclusion area, the reflection risks and when to step away.
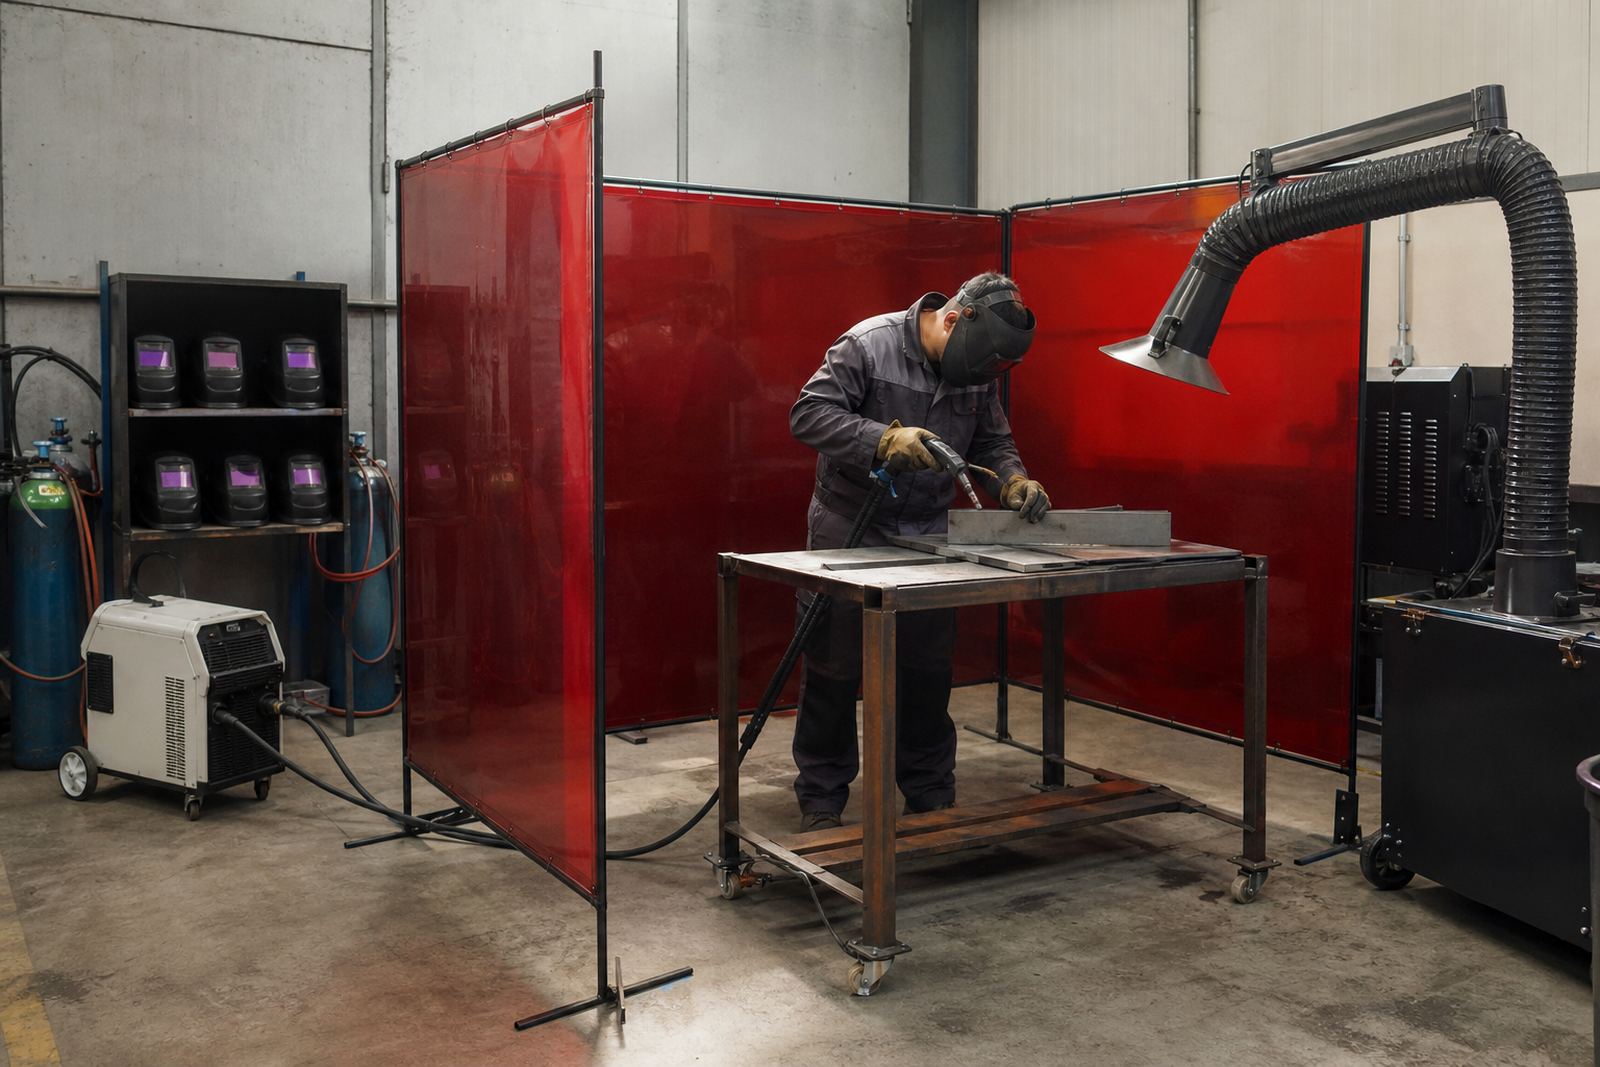
Fume extraction is another item people leave too late. Even when the weld looks neat, the process can still produce smoke and fine particles. Local extraction at the point of work is best, especially in enclosed workshops, coastal humidity areas, or rooms with limited airflow. In summer heat or during load shedding backup runs, poor ventilation becomes a real problem fast.
- Confirm the laser class and the correct eyewear
- Set a marked safety zone around the work area
- Use fume extraction close to the weld point
- Keep reflective surfaces away from the bay
- Brief every operator and nearby worker before use
How To Set Up A Small Workshop Bay
A tidy bay saves time. The machine should sit where the operator can reach the joint comfortably, without stretching over leads or workpieces. Keep the floor clear, store cables off the ground where possible, and make sure the torch path is free of trip hazards. For small shops in Boksburg, Johannesburg or Pretoria, a single bay can work well if it is laid out properly.
Workshops on the coast, like Durban or Cape Town, should pay extra attention to moisture and stored consumables. Keep parts dry, seal spares in proper containers and inspect any signs of corrosion before a shift starts. For rural or remote jobs, a simple backup plan for power interruptions matters too, so the kit can still be used safely when the day does not run as planned.
- Place the machine on stable, level ground
- Keep cleaning tools and spares within reach
- Separate the welding zone from general foot traffic
- Store consumables in dry, labelled containers
What To Ask Before You Buy
Before taking a kit, ask how it is meant to be used in a real workshop, not only on paper. A good supplier should be able to explain what is included, what the operator must add later, and how the setup changes for different jobs. If the machine is for a team, make sure the training covers the people who will actually run it on the floor, not only the supervisor.
It also helps to ask about support after delivery. Will there be help with first setup, safety briefings, workflow advice and refresher visits if the machine is moved or the team changes? That support can save a lot of time later. A starter kit is not just a box of parts, it is the starting point for a safe working method.
- What is included in the starter kit
- Which consumables need regular replacement
- What safety gear is required from day one
- How setup help is handled after delivery
- Whether training covers your actual work tasks
A Simple Buy In Steps Checklist
If you want a practical way to choose, use a step-by-step checklist. First, list the jobs. Second, confirm the space and power available. Third, check the safety controls and extraction. Fourth, match the kit to the operator skill level. Fifth, plan the consumables and spares you will need in the first month. This keeps the purchase focused and avoids buying items that sit unused.
For small workshops, the best starter kit is usually the one that helps the crew build good habits from the start. That means proper eye protection, clear work methods, clean storage, and enough support to keep the machine running. If you are unsure, it is better to begin with a sensible kit and add only what the work proves you need.
- Match the kit to your actual jobs
- Check the bay layout and safety controls
- Plan extraction and storage before first use
- Train the operator and the supervisor together
- Keep a short list of spares and consumables