Start With The Work Area, Not The Torch
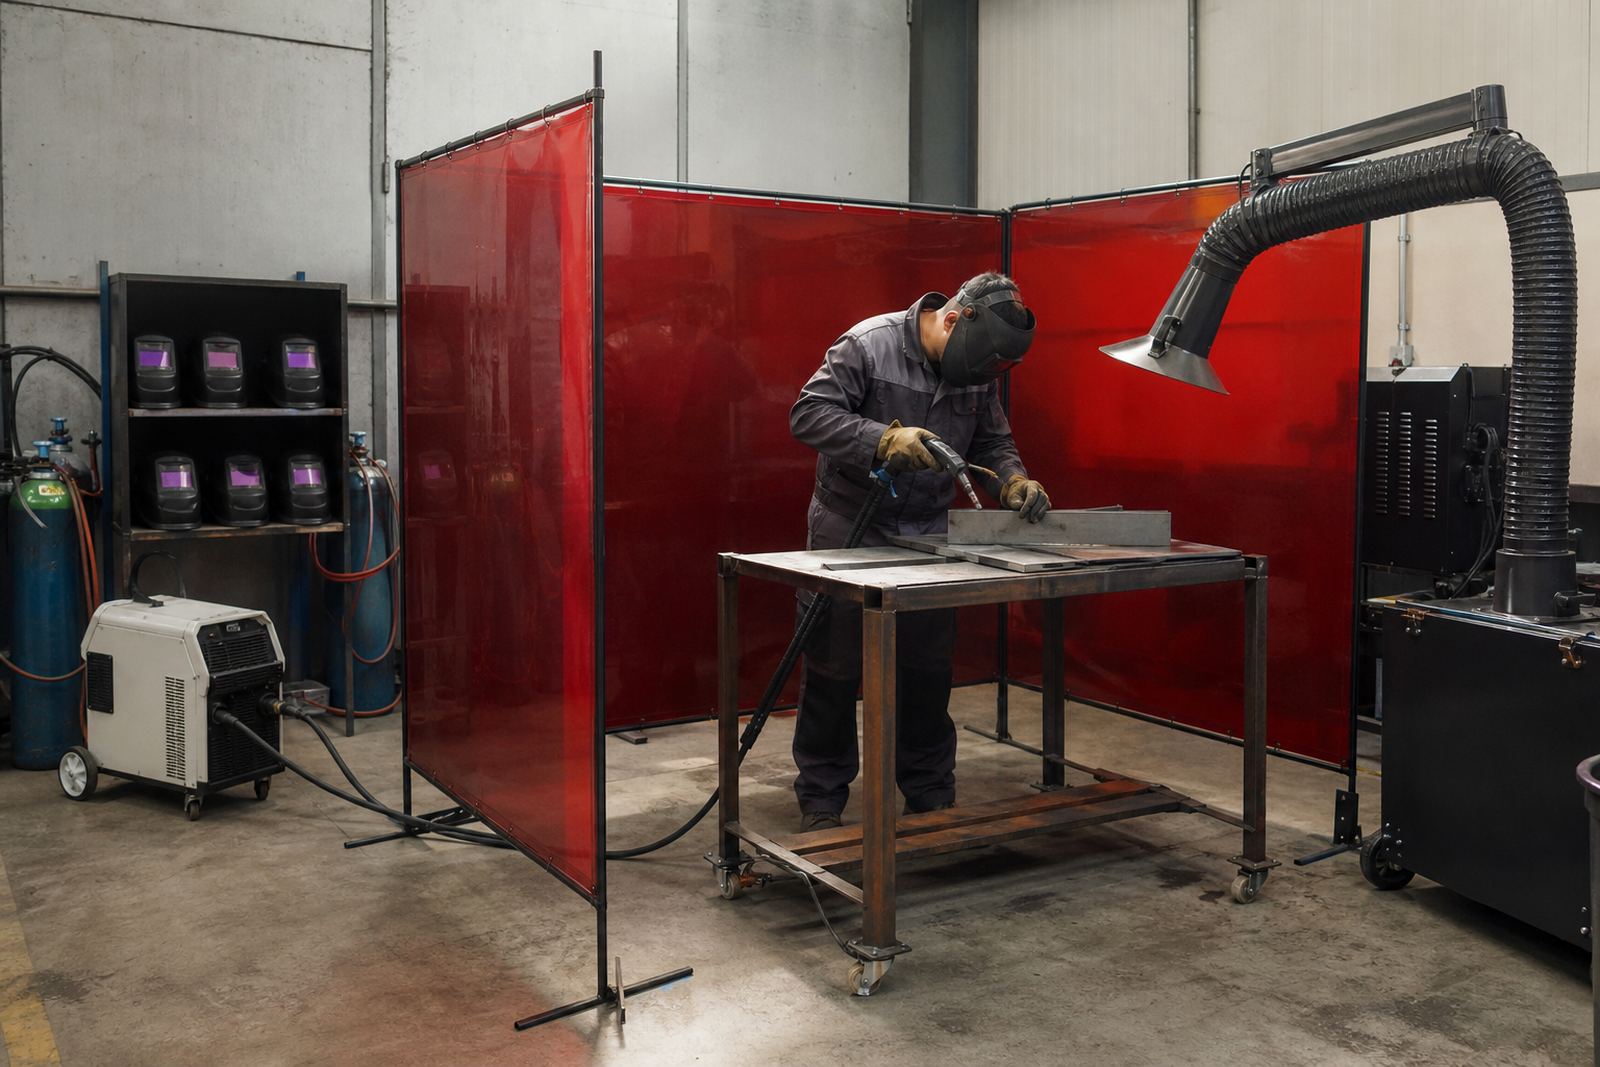
Before any handheld laser welding starts, look at the space itself. The work area must suit the job, the operator and the material being welded. In a busy workshop, that means choosing a bay with enough room to move around the part, keep walkways clear and stop unauthorised people from wandering in. In Boksburg and across Gauteng, many workshops also have to think about shared spaces, dust from neighbouring processes and load-shedding that can interrupt extraction and lighting, so the setup needs to be practical and simple to control.
Keep the welding point stable, the floor dry, and the cable runs tidy. If the job is outdoors or near an open roller door, plan for wind, glare and dust movement. On coastal jobs in Durban or Cape Town, humidity can also affect storage of starter kit parts and consumables, so the area should stay dry and well ordered.
Choose Eye Protection That Matches The Laser Class
Laser welding is not a case of any pair of safety glasses will do. The eye protection must match the laser class, the wavelength and the way the machine is used. Training should start with a clear check of the equipment label, the beam delivery method and the required protection level. If the operator is changing settings, testing alignment or moving between tasks, the same standard still applies.
Use eye protection that is clean, undamaged and suitable for the task. Scratched lenses, loose side coverage or worn straps reduce protection. Keep spare eyewear available in the work area, especially where several people share the same bay. A simple pre-use check helps prevent mistakes.
- Confirm the laser class before switching on
- Use eye protection rated for the wavelength and task
- Check lenses for cracks, scratches or clouding
- Make sure side coverage and fit are correct
- Keep visitors out unless they are properly protected
Set Up A Controlled Area That Stays Controlled
A controlled area is there to stop exposure and keep the process calm. Mark the space clearly so everyone knows where the laser work starts and ends. Use signs, barriers or screens where needed, and keep reflective tools, loose sheet metal and mirrors away from the beam path. Even small reflective surfaces can bounce light in unwanted directions, so housekeeping matters more than people often think.
For training rooms and workshop inductions, the area should also include a place for the learner to pause, inspect the workpiece and ask questions without standing in the active zone. If supervisors are running operator inductions or refresher visits, they should check that emergency stop points are visible and that everyone knows the shutdown steps. A controlled area only works if it is kept that way every shift.
- Mark the laser work zone clearly
- Keep bystanders and visitors outside the zone
- Remove reflective clutter from benches and floors
- Check emergency stop access before starting
- Use screens or barriers where the layout requires it
Plan Fume Extraction Before Welding Starts
Handheld laser welding can generate fumes, fine particles and smoke depending on the metal, surface coating and filler use. Fume extraction should be planned before the first practice run, not after someone coughs. The extraction point needs to sit close enough to capture fumes at source, but not so close that it disturbs the weld or draws in the shielding effect where applicable. In small workshops, a portable extraction unit may suit the layout. In larger sites, fixed ducting and a proper capture point may be better.
Do not rely on open doors, a fan in the corner or an extraction unit that has not been serviced. Filter condition, airflow and hose placement all need checking. If a site has frequent power cuts, the workshop should decide what happens during load-shedding and whether work pauses until extraction is active again. That conversation saves trouble later and keeps the room more comfortable for everyone.
Materials matter too. Coated steels, painted parts and dirty surfaces can produce more fumes than clean metal. Build this into the setup, because the wrong assumption can lead to poor visibility and a messy finish, bit of a nuisance on a small job.
Build A Simple Safety Checklist For Every Session
A checklist helps learners and workshop teams follow the same process each time. It should be short enough to use, but detailed enough to catch the common misses. At LaserWelder Training, the focus is on practical habits that learners can repeat in a workshop after training ends. That is where safety becomes a normal part of the job instead of a last-minute fix.
- Confirm the equipment is suitable for the material and thickness
- Check eye protection and face protection before switch-on
- Inspect the work area for reflective items and trip hazards
- Test extraction, lighting and emergency stop controls
- Review the job steps with the operator or learner
- Keep a record of the briefing and any issues found
If the checklist is used during site readiness checks or operator inductions, it should also note who was briefed and what still needs attention. That way, the workshop can track improvements instead of repeating the same faults week after week.
Use Starter Kits And Training Plans The Right Way
Starter kits are useful when they are matched to the learner’s space and the type of work being done. A good kit should be easy to store, easy to inspect and suitable for the planned practice work. It should not encourage shortcuts. If the kit is going into a small workshop in Polokwane or a production area in Pretoria, think about power supply, bench space, ventilation and who will be responsible for setup and storage.
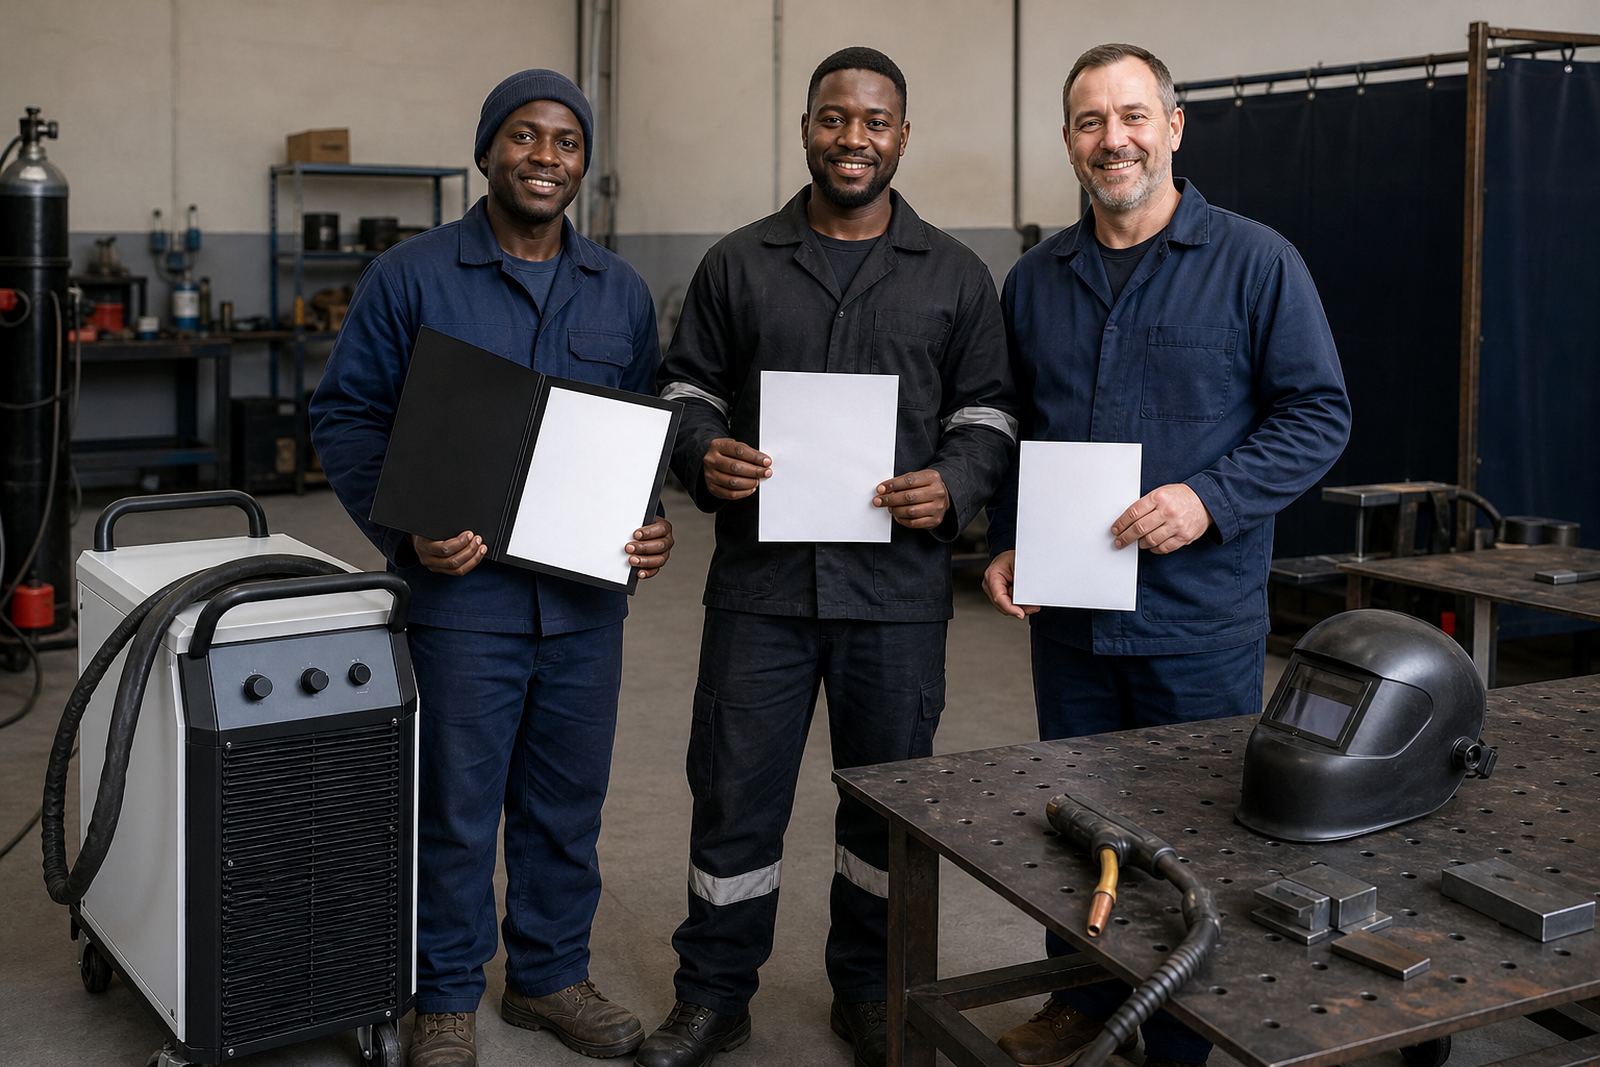
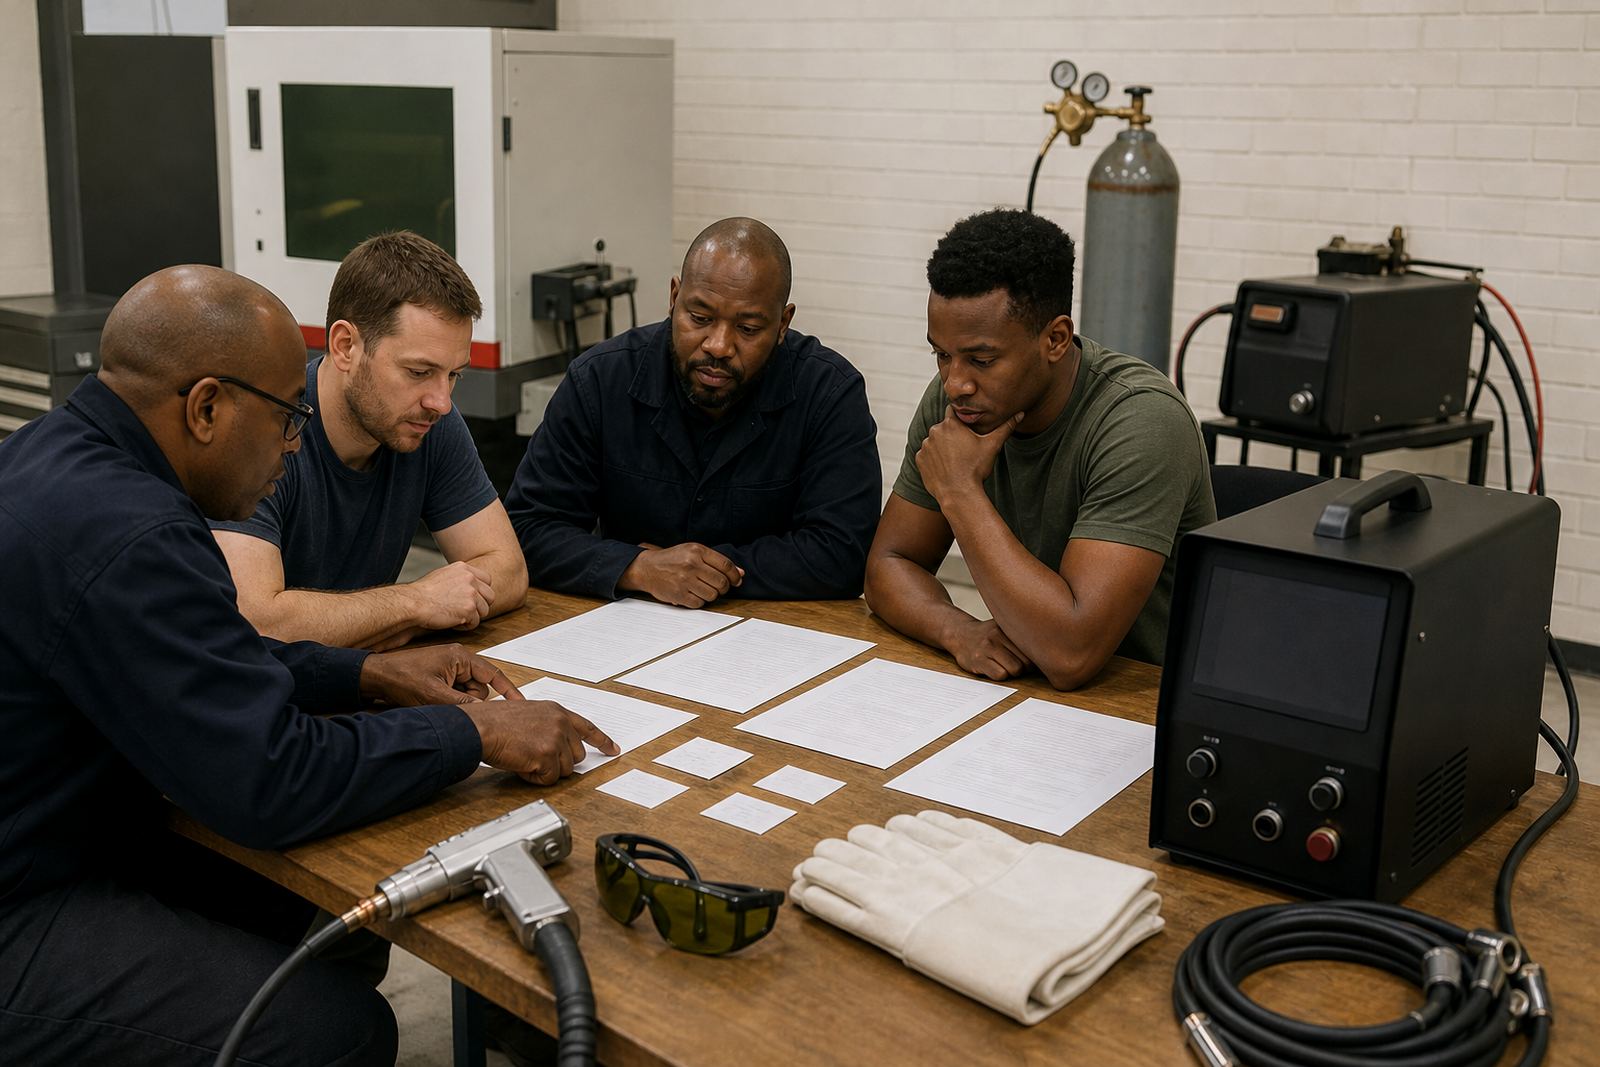
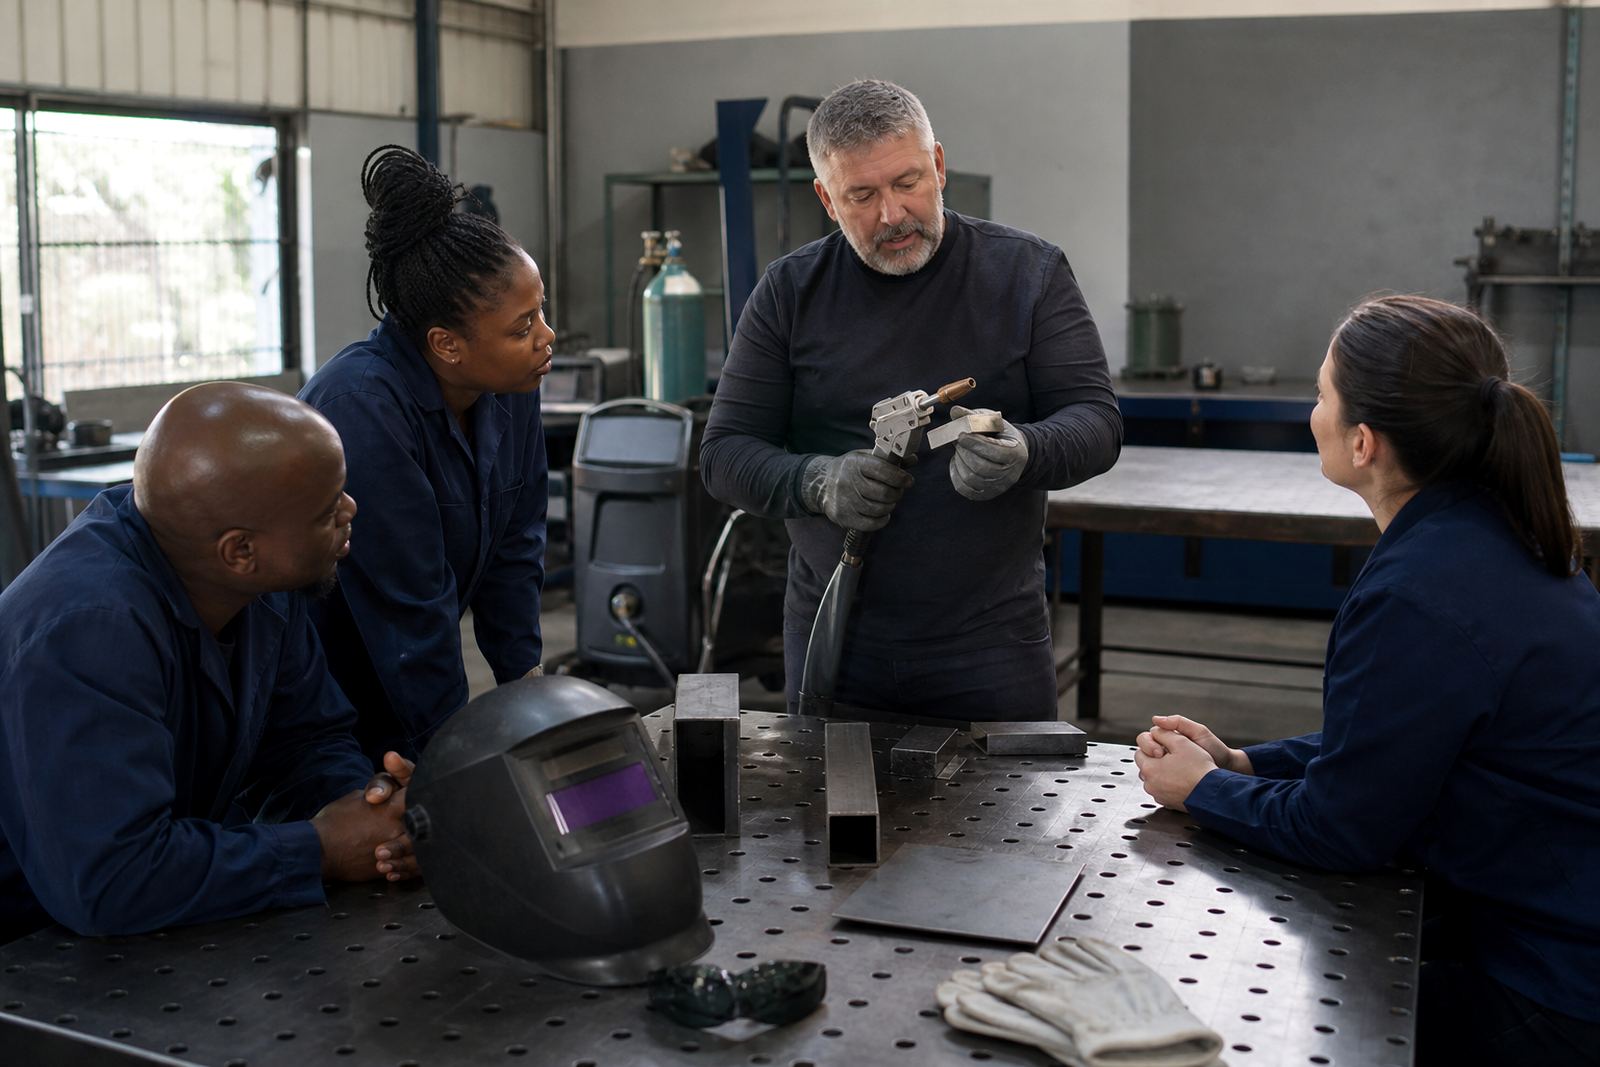
Training should include practice plans, supervisor coaching and a document pack that explains the safe routine in plain language. Learners need to know how to prepare the area, check protection, position extraction and shut down properly. Once that routine is in place, the certificate of completion from LaserWelder Training carries more practical value because the learner has worked through the same safety steps each time.
For businesses, the best results usually come from pairing the kit with refresher visits and technical help. A new setup might work on day one and then drift as people get busy. Regular checks help keep the process steady and safer for everyone on site.