
Set a weekly practice rhythm that fits real workshop work
Start by fixing a simple routine instead of waiting for a quiet day that never comes. For most learners, two or three short sessions a week work better than one long session. A 30 to 60 minute block is usually enough to rehearse torch handling, joint preparation and bead placement without rushing. If your workshop runs in Johannesburg, Pretoria, Durban, Cape Town or Polokwane, build the plan around the hours when the floor is least busy and power interruptions are less disruptive.
Keep the same order each time so the body learns the sequence. Begin with inspection, then set-up, then practice runs on scrap material, then a short review. That rhythm helps new operators settle in and gives experienced users a clean way to spot drift in technique. A steady plan also makes it easier to train during load-shedding because you know exactly which steps can be done while the machine is offline and which steps need power.
- Choose fixed days and start times
- Keep each session short and focused
- Use the same material type where possible
- Record what was practised and what changed
Use a simple checklist before every practice run
A repeatable checklist keeps practice safe and consistent. Handheld laser welding must be treated as controlled industrial work, not casual tinkering. Check the laser class marking, confirm eye protection is fitted and unbroken, and make sure the work area has proper fume extraction or local extraction close to the weld zone. Fine metal fumes and reflected light can cause harm, so this is not a step to skip when the pressure is on.
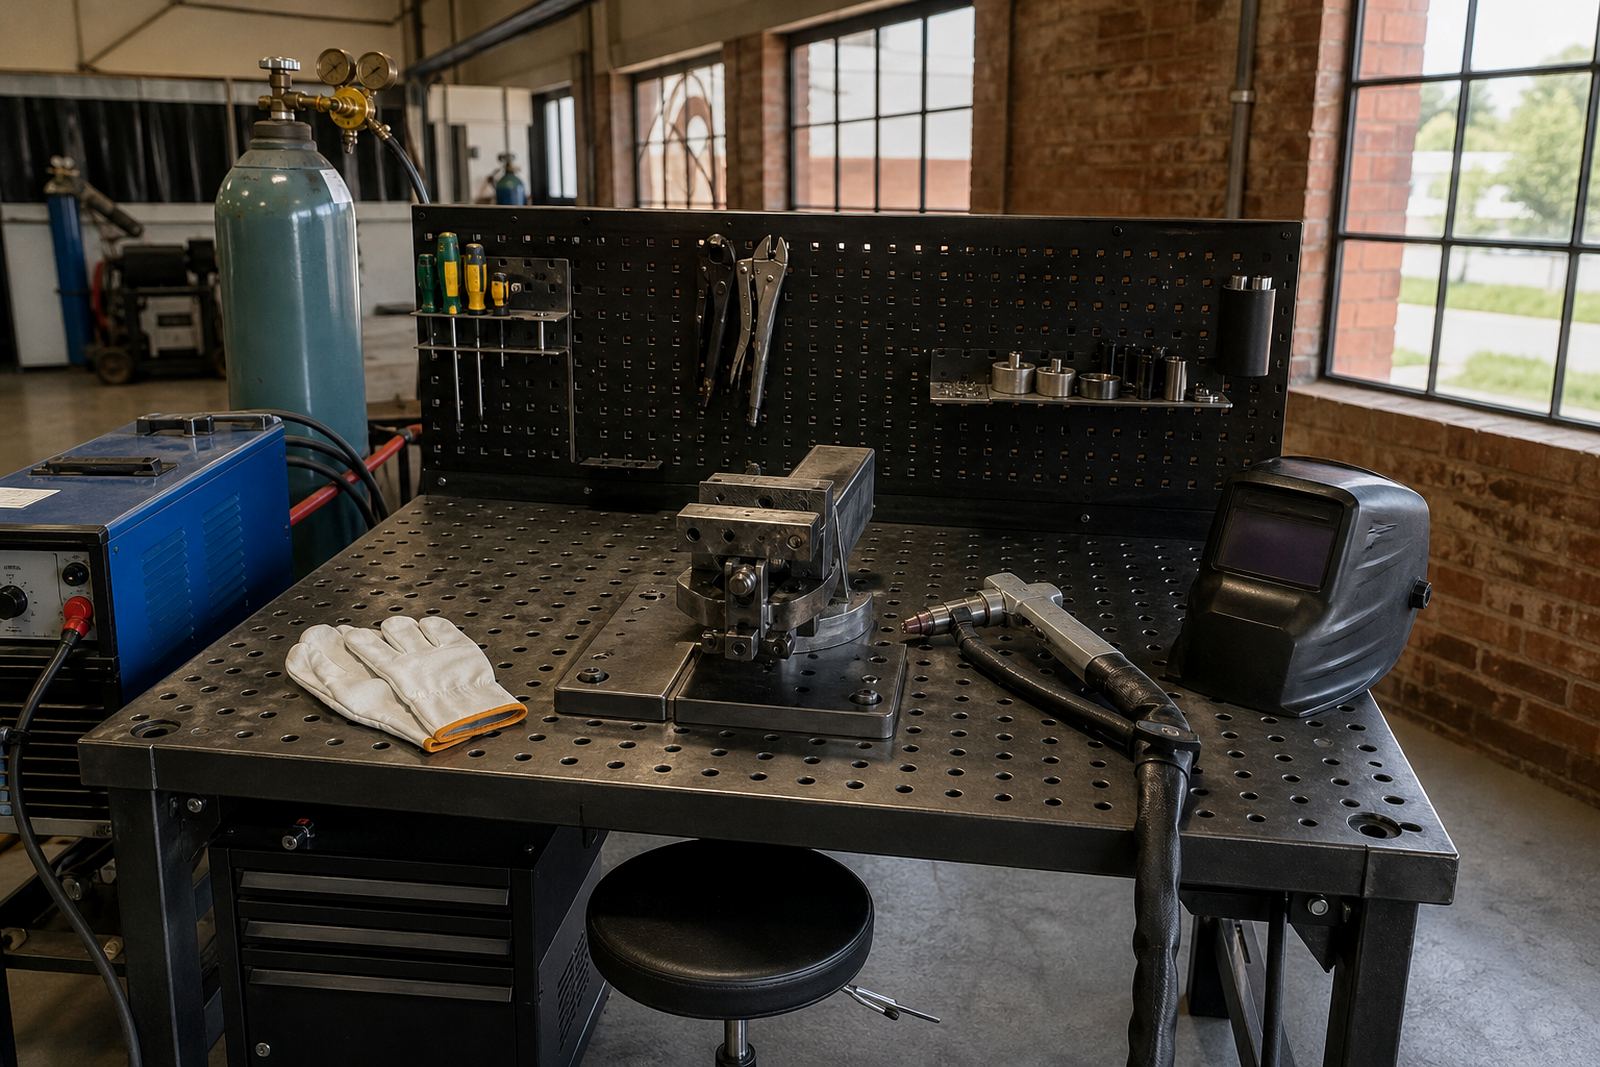
Also check the material, clamps, cable condition and nozzle cleanliness. If the head, lens area or consumables are dirty the results will vary, and the learner will end up chasing faults that are really setup issues. A tidy bench, dry floor and clear walkways matter too, especially in busy Gauteng workshops where people move parts around all day. Small checks save time later and help everyone work in a safer manner, not just the person holding the torch.
- Confirm eye protection for everyone in the area
- Check fume extraction before striking up
- Inspect cables, hose routing and connections
- Clamp the workpiece and remove loose scrap
- Verify scrap material thickness before testing settings
Build each session around one skill, not ten
Progress comes faster when each practice block has one clear aim. Do not try to cover tacking, travel speed, filler control, overlap and finishing all in the same run unless you are reviewing already learned skills. A better approach is to spend one session on torch angle, another on speed control, and another on edge tracking or seam consistency. That way the learner can feel the difference and correct errors before they become habit.
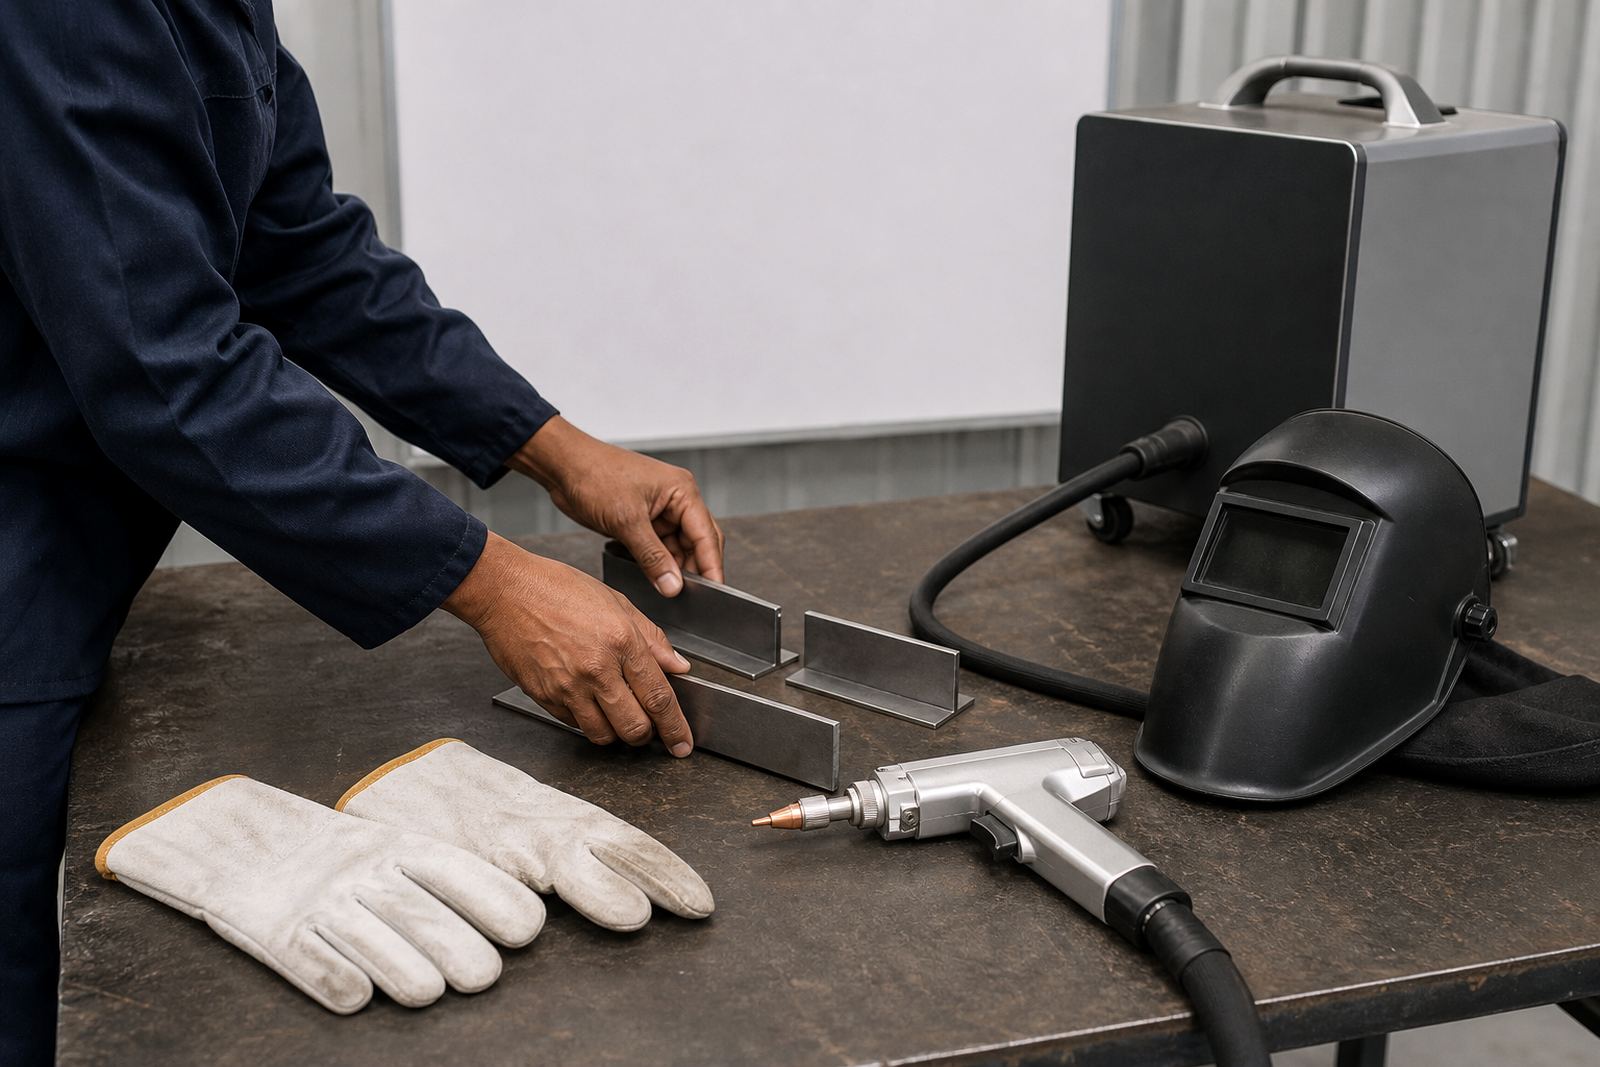
For beginners, start with straight runs on scrap plate, then move to corners, short seams and simple repair joints. For more experienced operators, add position changes, repeated starts and stops, and speed variation across similar joints. Use the same material thickness for a few sessions before moving on. Repetition matters here, because handheld laser welding rewards a calm hand and a repeatable pace more than fast movement.
- Choose one skill focus per session
- Use test coupons of the same thickness
- Repeat the same bead 5 to 10 times
- Write down the setting range that worked best
- Keep notes on hand speed and torch angle
Track results with a short scorecard
A simple scorecard helps learners see progress without guessing. Rate each run for bead shape, heat control, edge wetting, start and stop quality, and how much clean-up was needed after welding. You do not need a complicated system. A basic 1 to 5 score and a short note is enough. Over a few weeks, the pattern will show where the operator needs more help and where the technique is settling in.
This matters for businesses as well as individuals. Supervisors can use the notes during refresher visits or coaching sessions to decide whether the team needs more time on setup, safety or workflow. If defects keep showing up on the same joint, the issue may be in preparation rather than the weld itself. The scorecard makes that easier to prove instead of arguing by feel. Keep the sheets in the Training Document Pack so they are easy to pull out when needed.
- Rate each sample for appearance and consistency
- Note any porosity, undercut or uneven fill
- Record whether the same result was repeated twice
- Keep one folder for all practice notes and photos
Match practice to the parts your workshop actually handles
Good practice plans are based on real work, not random test pieces. A sheet metal shop, repair workshop or maintenance team will all face different joints and material finishes. Practice should mirror the parts you see most often, whether that is thin plate, brackets, frames or small repair work. If the workshop works near the coast, include a routine for keeping consumables dry and stored properly because humidity can affect storage and surface condition.
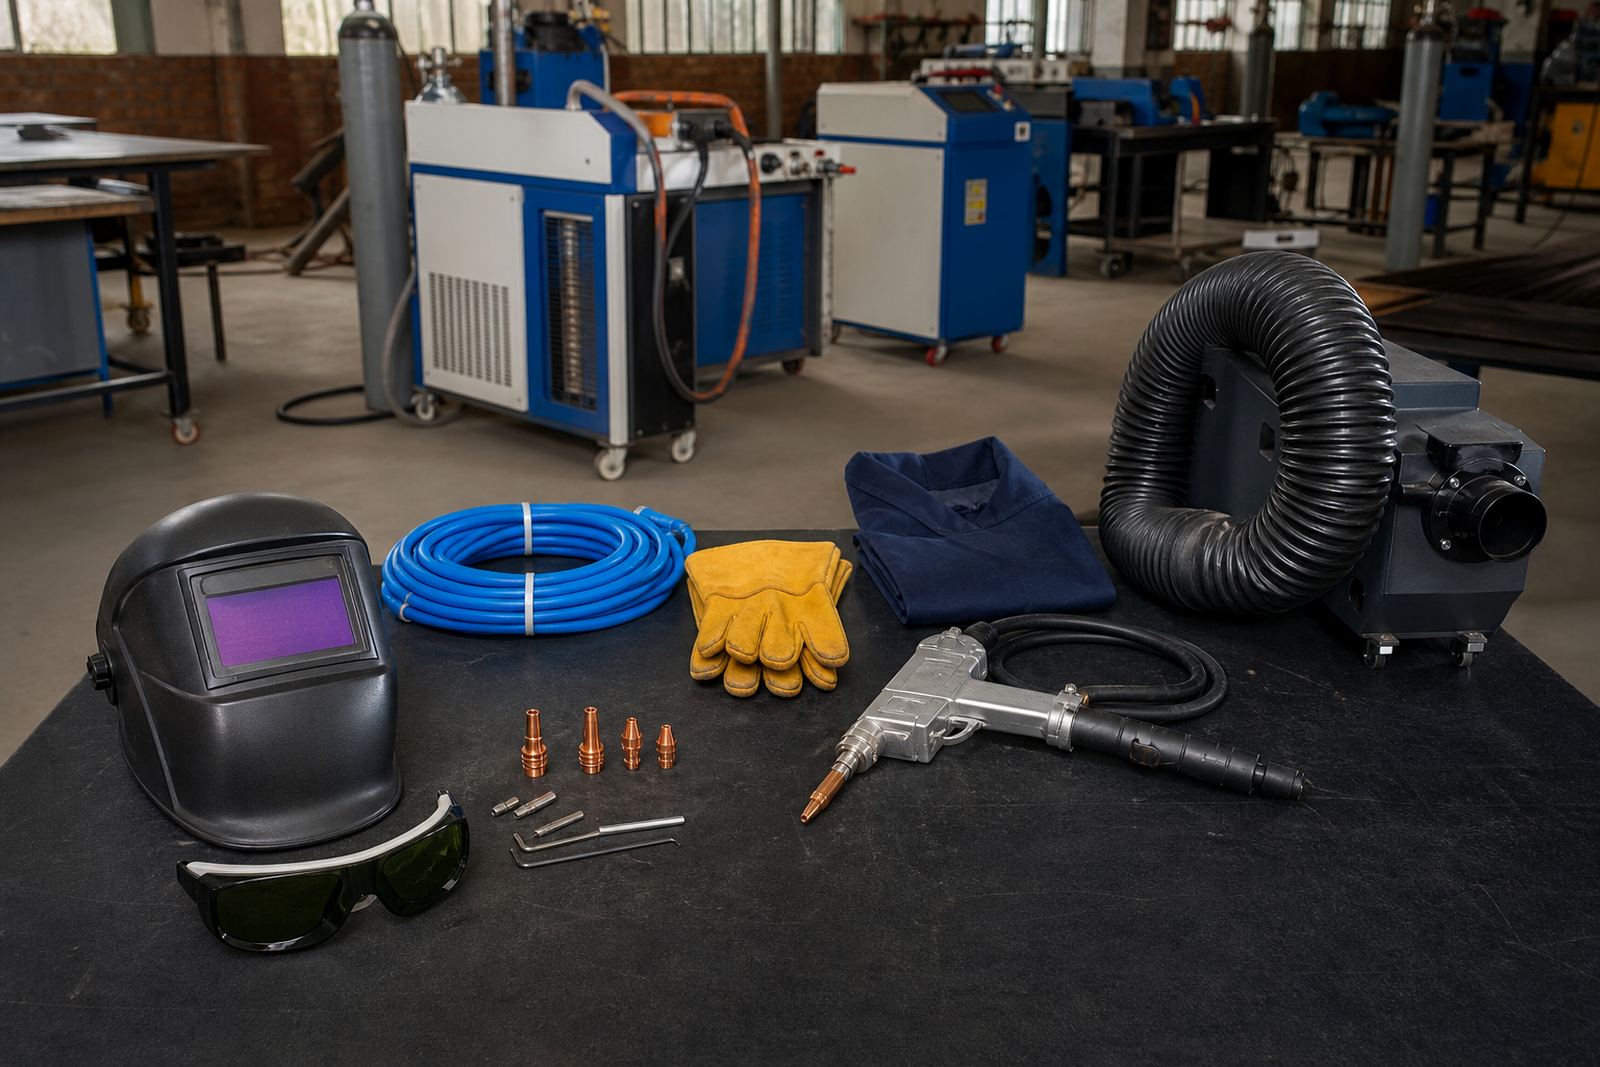
If you sell or use a starter kit, build a practice sequence around the items in that kit. Check how the hand piece sits in the operator’s grip, whether cable routing gets in the way, and how quickly the set-up can be moved between benches. The aim is to get the learner comfortable with real working conditions, not just ideal test samples. That includes co-worker movement, noise, dust and the sort of interruptions that happen in live workshops every day.
- Use the same job types your workshop sees often
- Include storage checks for humid or coastal conditions
- Test cable routing and hose movement around benches
- Practise under normal workshop noise and pace
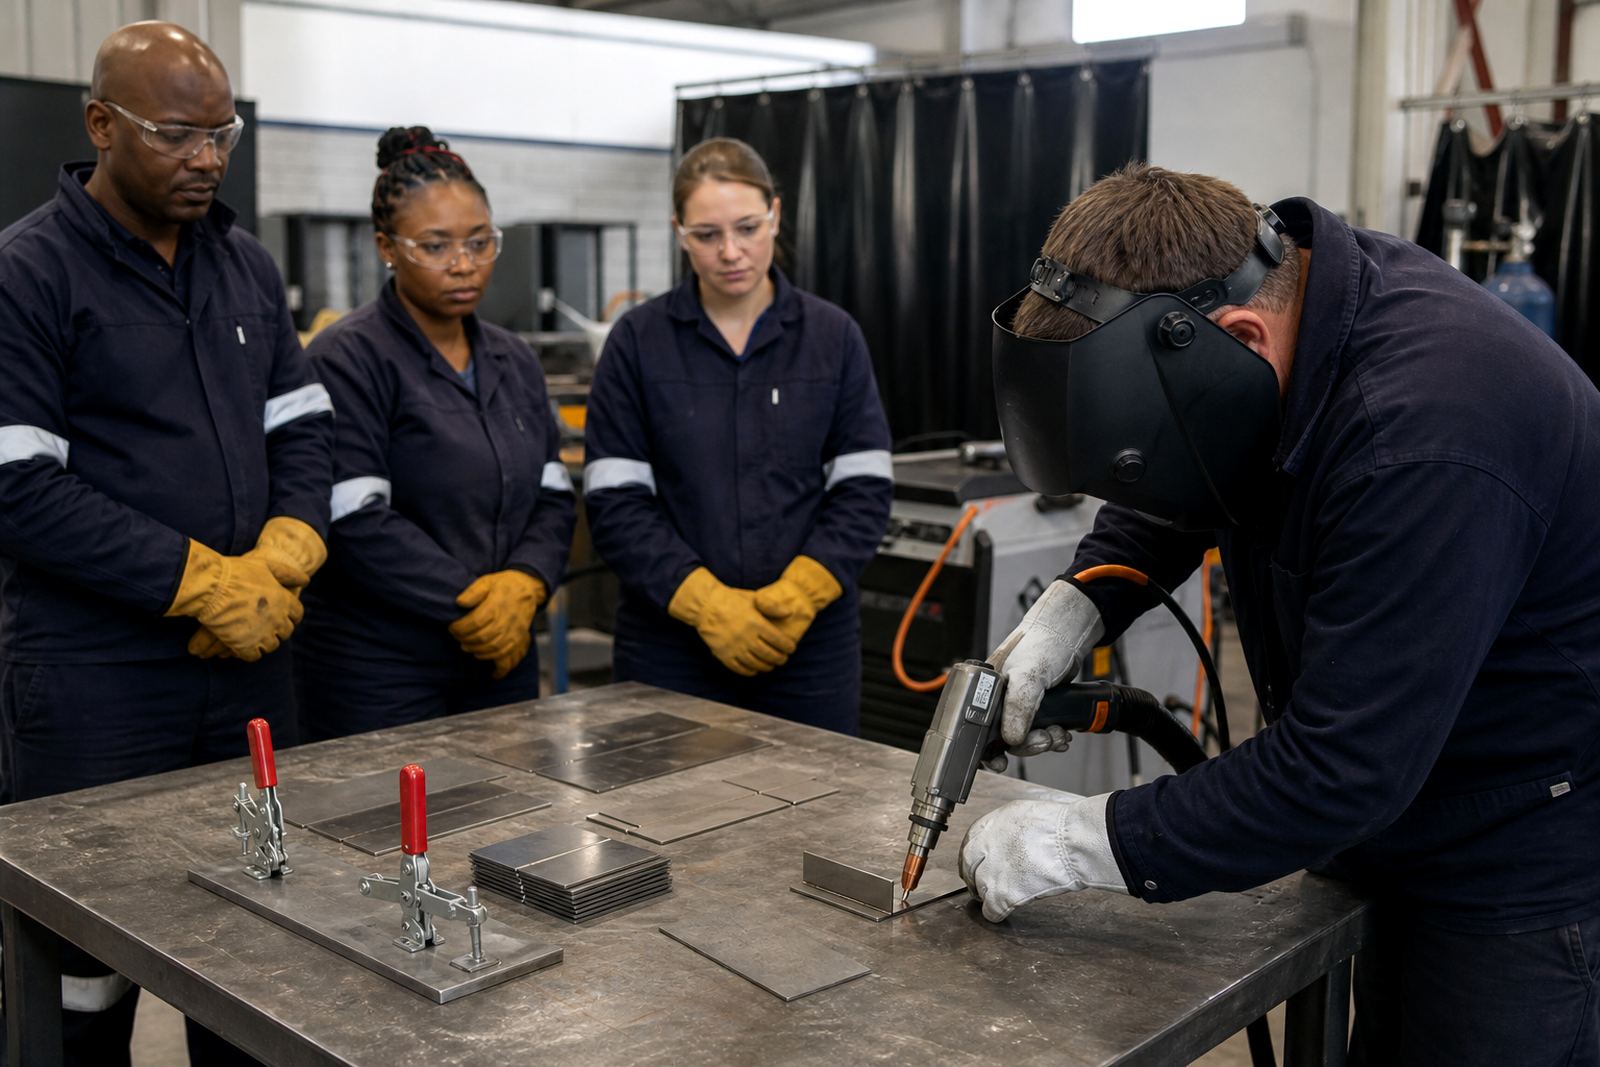
Know when to add a refresher visit or supervisor coaching
Not every problem needs a full retrain. Some teams only need a short refresher visit, a supervisor coaching session or a practical workflow review. If the operator keeps changing settings without reason, struggles with repeatability, or works safely only when watched, it is time to bring the plan back to basics. A short follow-up can reset habits before they become expensive mistakes.
For businesses in Boksburg and the wider Gauteng area, regular check-ins help keep practice realistic. The work area changes, staff change, and the loads on the team change too. A refresher can cover operator inductions, safety briefings, starter kit setup, consumables planning or a full practice plan update. The point is to keep the process useful and calm, so people know exactly what to do when a job lands on the bench. No one benefits from guesswork.
- Call for help when repeat errors show up
- Update the plan after equipment or staff changes
- Review safety steps when the work area changes
- Keep the supervisor involved in ongoing practice