Start with material thickness and joint fit-up
Thin sheet needs a different approach from heavier plate. On material around 0.8 mm to 2.0 mm, small gaps, poor clamping or dirty edges can quickly lead to burn-through, distortion or a weak weld line. Before you start, check the sheet thickness with a proper gauge and make sure both sides of the joint are clean and flat.
Good fit-up matters more as the material gets thinner. If the joint opens and closes along the seam, the beam energy will not stay consistent and the weld will show uneven penetration. For learners, the safest habit is to stop and correct fit-up before touching the trigger, even if the job looks simple.
- Confirm the exact thickness of each sheet section
- Remove oil, paint, rust and marker lines near the weld zone
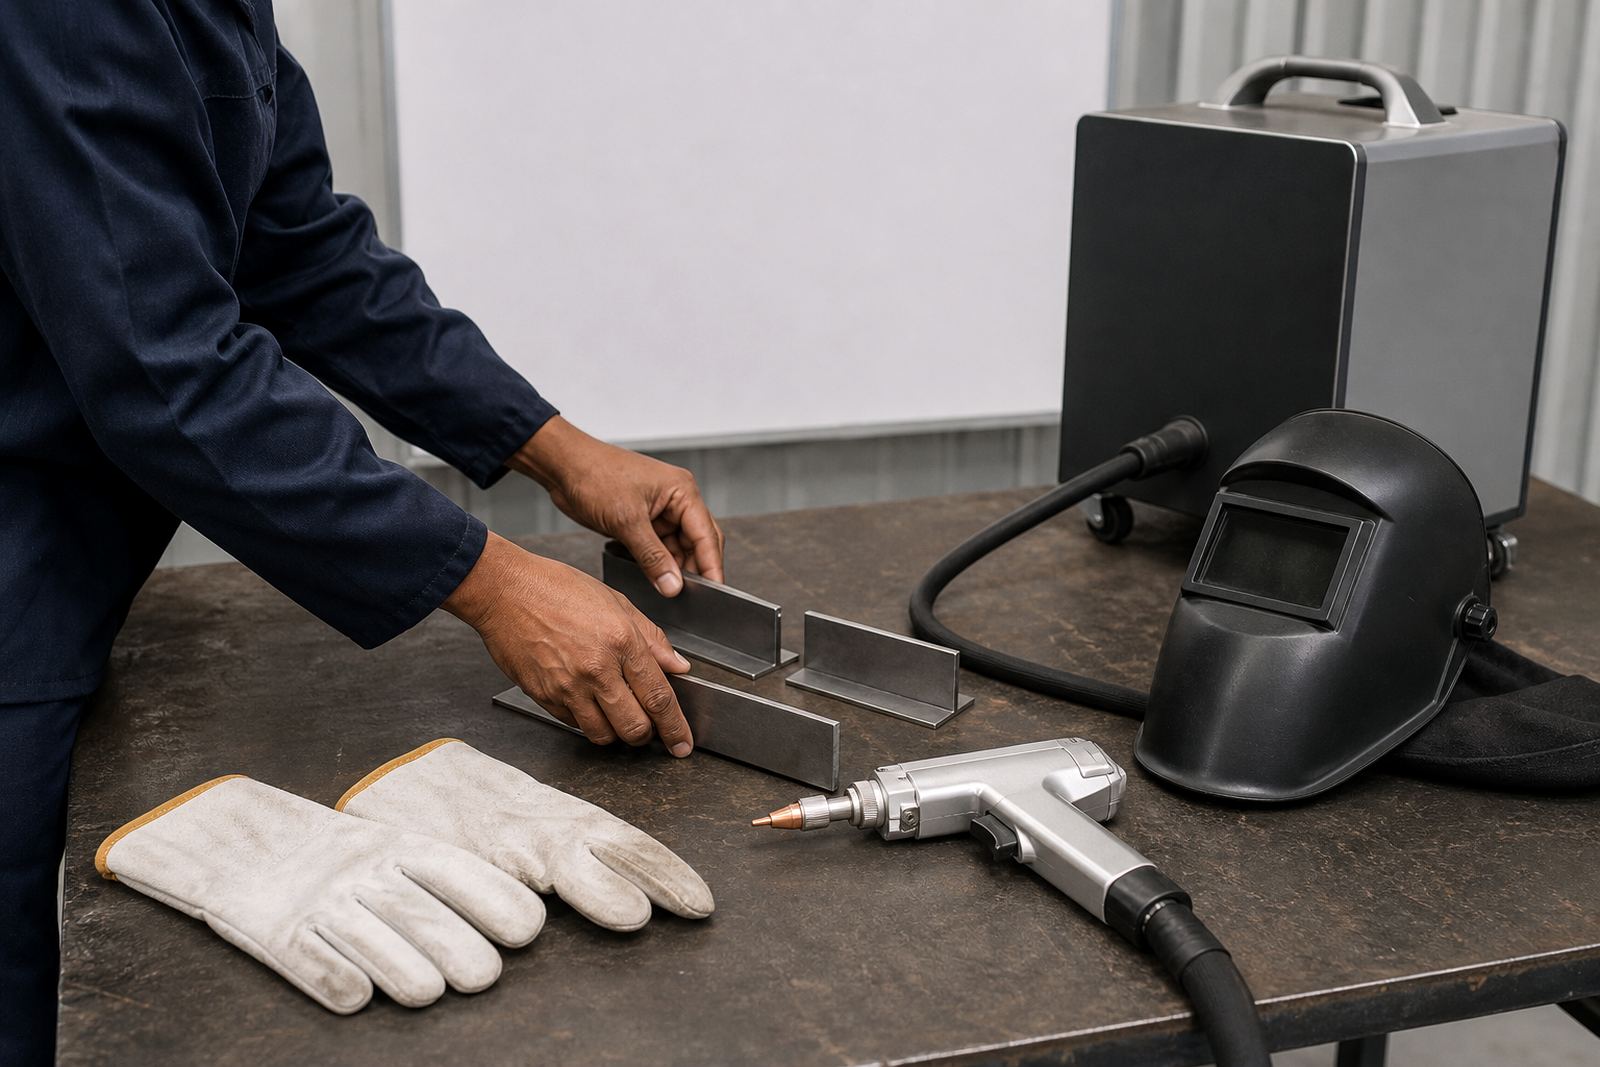
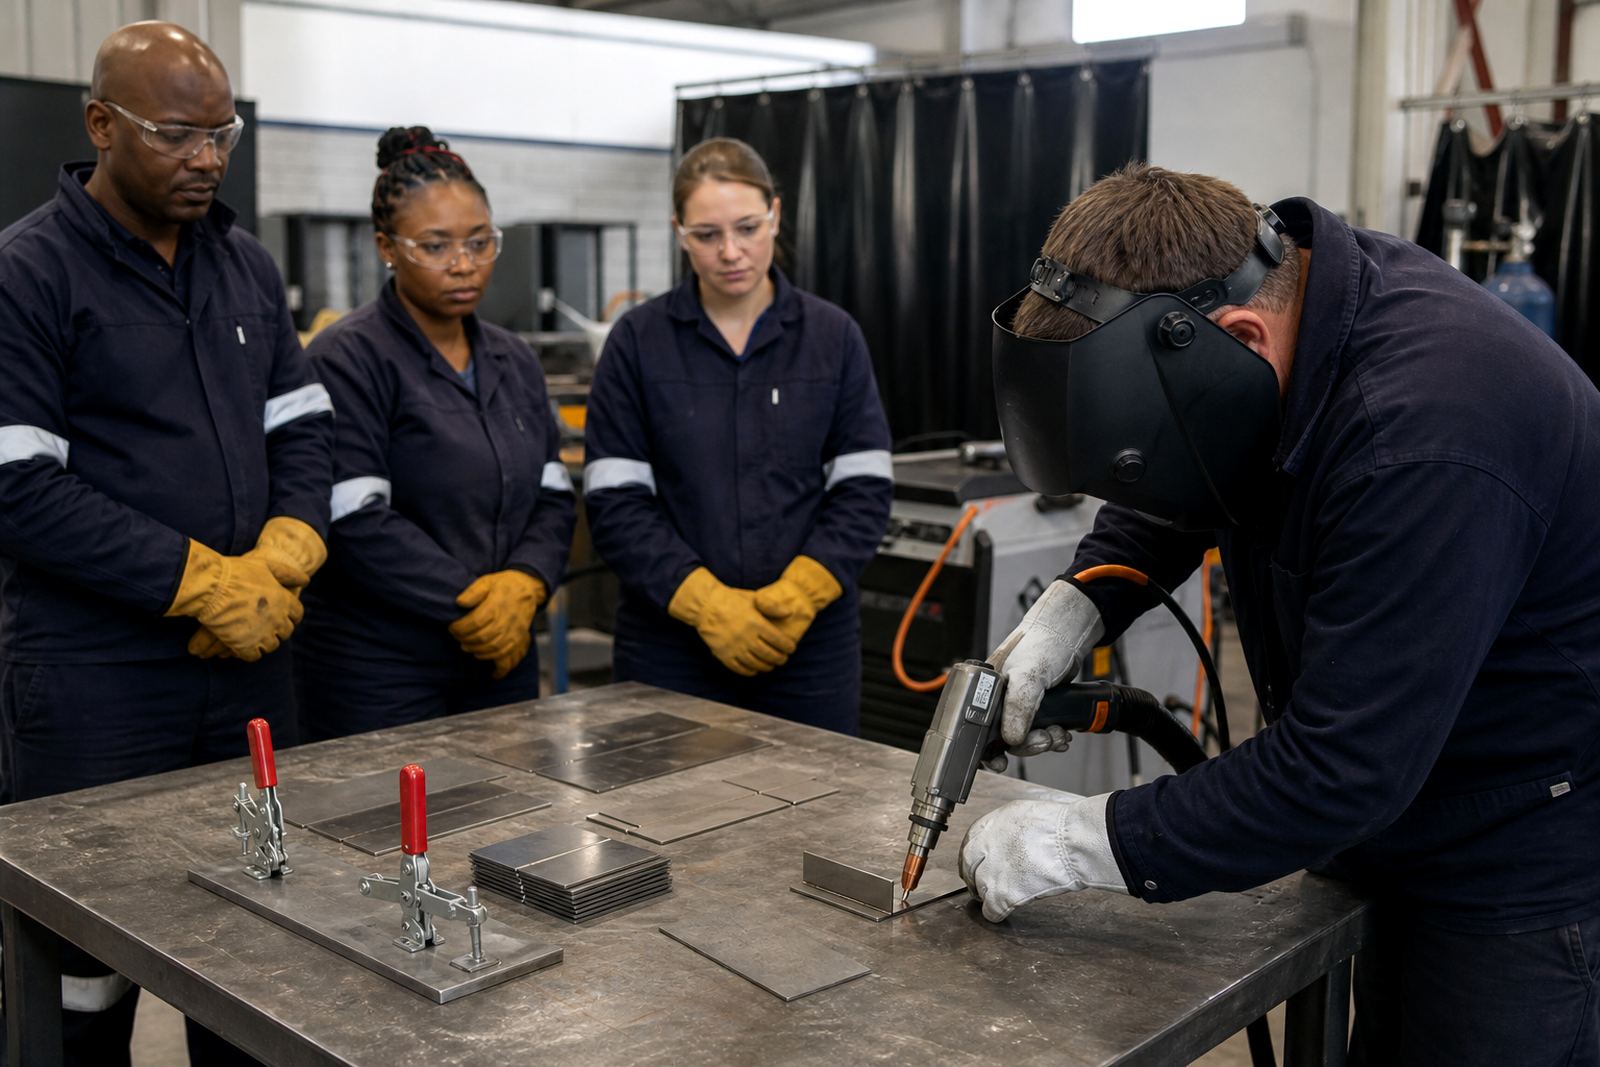
- Use clamps, magnets or simple jigs to keep the seam tight
- Check for warp, dents and edge damage before welding
- Leave enough access for the torch to move without dragging on the work
Control heat before the sheet starts moving
With thin sheet, the main problem is not only getting fusion, but keeping the job flat. Too much heat causes panel pull, rippling and edge collapse. Too little heat leaves a cold weld that sits on top rather than tying into the base metal. The answer is controlled travel, steady hand position and careful test pieces before the final seam.
Handheld laser welding can be very effective on lighter gauge material because the heat is focused, but the operator still needs discipline. Keep the torch angle consistent and do not linger in one spot. If the sheet starts to discolour too far from the seam or the edges begin to sink, pause and reassess the setup.
- Use short test runs on offcuts before production work
- Keep the torch moving at a steady pace
- Avoid stopping on the same point unless the joint really needs it
- Watch for colour change, edge melt and panel movement as you go
- Let each section cool enough before the next pass when needed
Use the right safety controls for handheld laser work
Safety on thin sheet is not only about sparks. Handheld laser welding typically falls under a higher laser class, so eye protection must match the equipment and the task. Anyone in the work area should understand the beam risk, reflections from shiny sheet and the need to keep bystanders out of the line of fire.
Fume extraction is also important, especially when welding coated steel, galvanised material or work in a small workshop with limited airflow. In places like Boksburg, Johannesburg or Pretoria, many workshops work in enclosed bays and with load-shedding in the mix, so a planned ventilation setup and backup power for extraction can make a real difference. Learn the safety routine first, then repeat it every time.
- Wear eye protection suitable for the laser class in use
- Keep reflective tools, clamps and loose scrap away from the beam path
- Use local fume extraction close to the weld zone
- Keep the area clear of flammables, solvent rags and offcuts
- Brief everyone nearby before work starts, even on short jobs
What a starter kit should help you practise
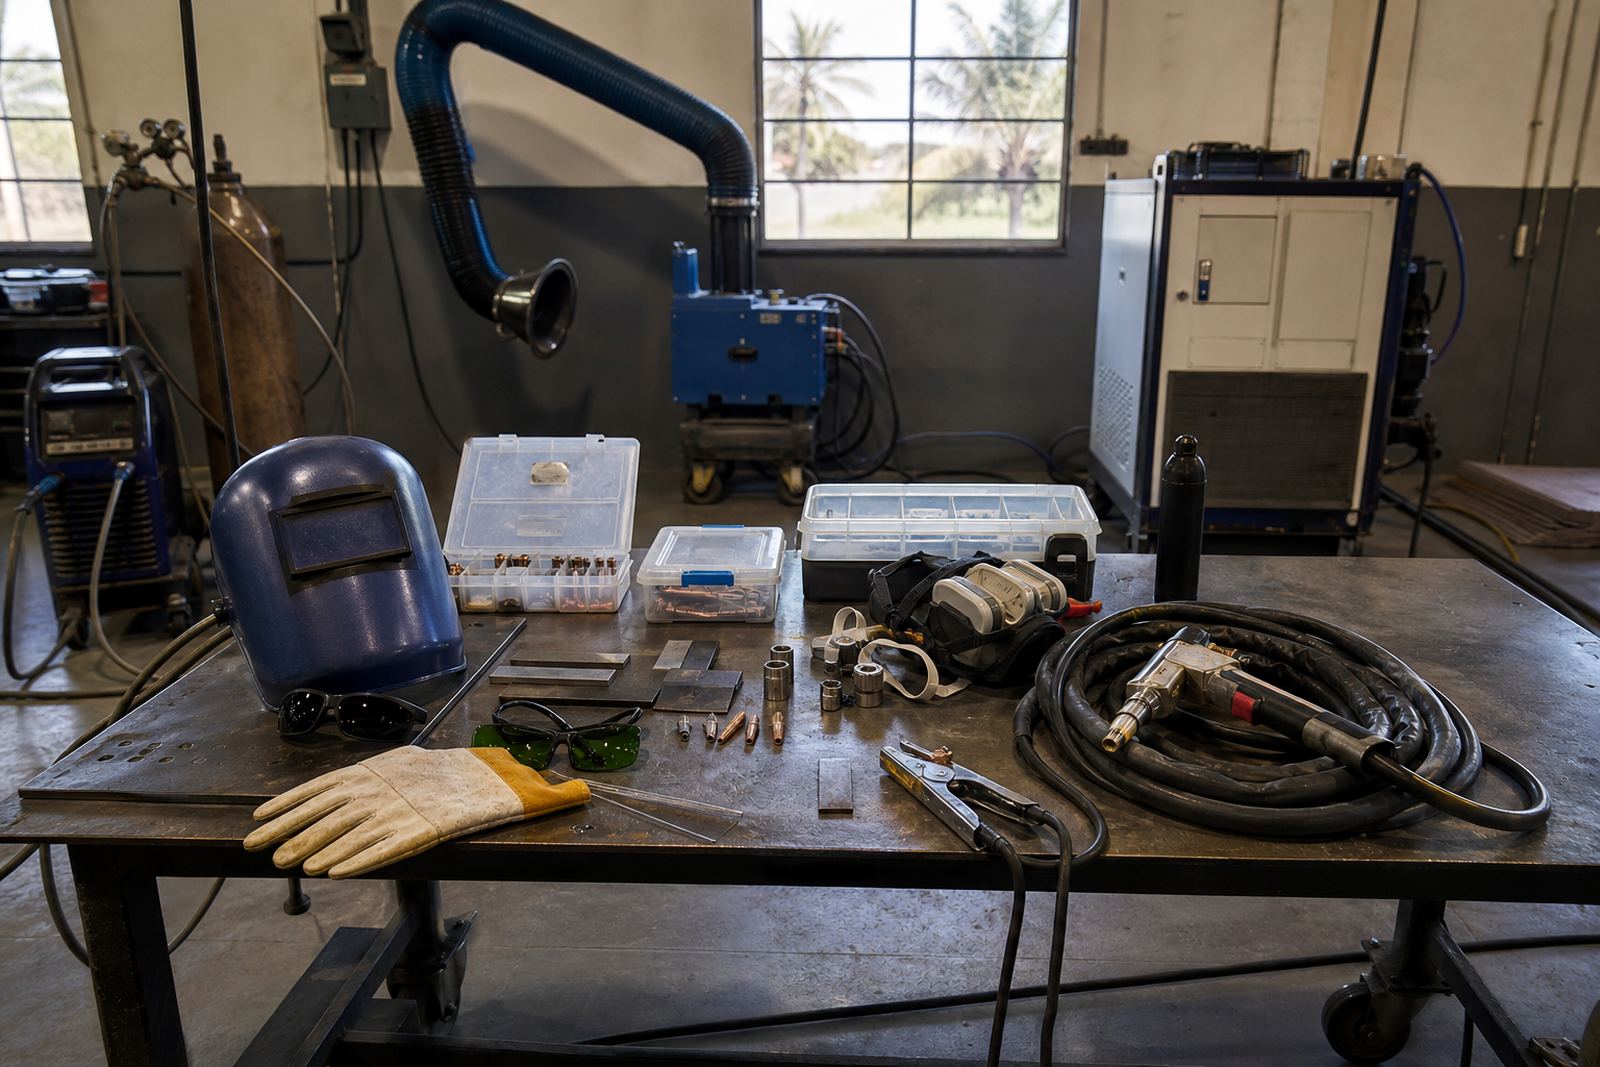
A starter kit should make practice easier, not complicate it. For thin sheet work, the useful items are the ones that help you set up, hold alignment and repeat the same result on each sample. The kit should also support safe routine work for learners, supervisors and small workshops that are building confidence with handheld laser welding.
When you are comparing kit contents, think about the jobs you actually do. A workshop that works on gates, panels, enclosures or stainless covers may need different practice pieces and consumables than a learner working on general sheet samples. Good kit planning saves time, reduces waste and helps you build a proper workflow from the first session.
- Practice coupons in common thin sheet thicknesses
- Clamps, alignment aids and simple holding tools
- Basic cleaning tools for removing oil and surface contamination
- Consumables used in normal test and training runs
- Written setup notes and a safe start checklist
A simple checklist before every thin sheet weld
For thin material, a repeatable check is often the difference between a clean seam and a scrap piece. Whether you are training in Boksburg or setting up work in Durban, Cape Town or Polokwane, the same basics still apply. Keep the process short, practical and the same each time.
Use this checklist before every job, even if you have welded the same type of part before. Small changes in material finish, clamping pressure or room airflow can affect the result. If anything feels off, stop and reset the job rather than forcing the weld through.
- Is the material thickness confirmed and the joint clean
- Are clamps holding the seam tight and level
- Is eye protection on and the work area cleared
- Is fume extraction running properly
- Have you done a test weld on a scrap piece
- Is the torch angle, speed and hand position steady
- Have you checked the finished seam for burn-through, undercut or distortion
How training support helps workshops build consistency
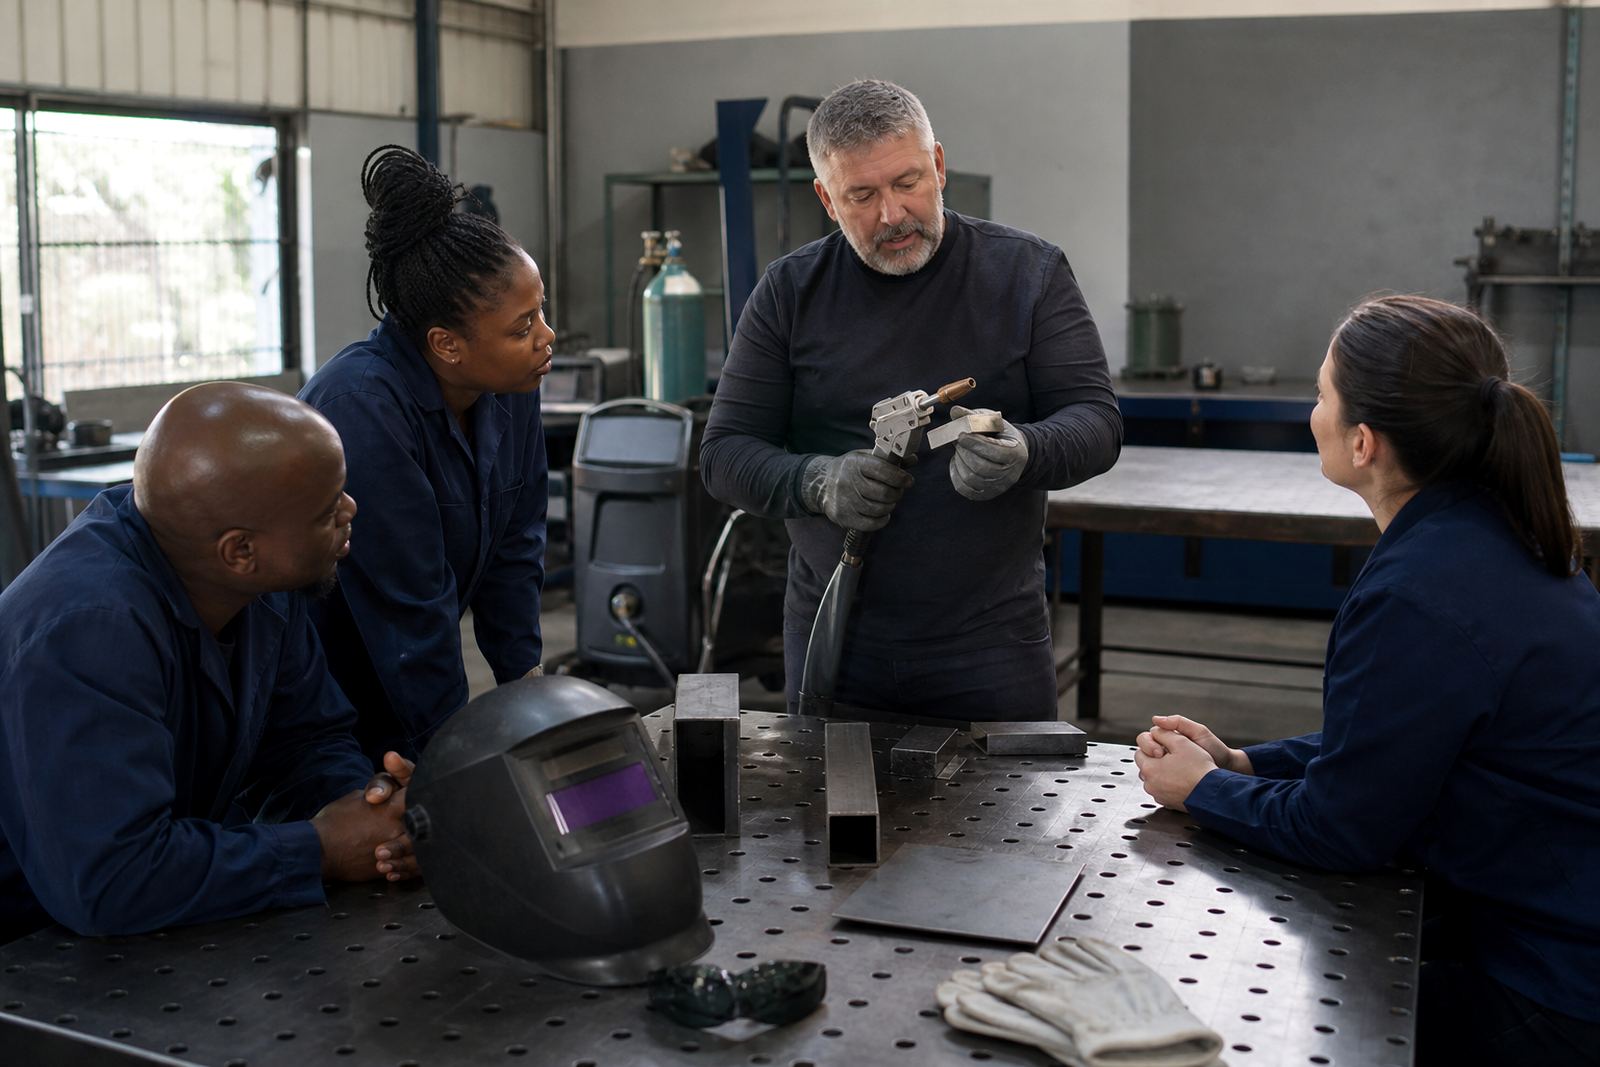
Thin sheet work improves faster when the team follows one method. That is why practical guidance matters for learners, supervisors and workshop staff. A structured course and certificate of completion from LaserWelder Training can help keep the same habits in place across a team, from first setup through to the final check.
Support services such as site readiness checks, operator inductions, safety briefings, workflow advice, supervisor coaching and refresher visits are useful when a workshop is taking on more thin sheet work. The aim is not only to make the weld look better, but to help the job run properly from start to finish with fewer mistakes and less rework.