Start With the Material You Will Weld Most Often
Stainless work needs a cleaner approach than mild steel because surface contamination shows quickly and heat marks can spoil the finish. Before training, identify the common job types you expect to handle, such as brackets, guards, frames, small fabrications and repair work on thin stainless sheet or tube.
For buyers, this matters because the right starter kit and training plan should match the material thickness you will see most often. A learner who will weld 1 mm to 3 mm stainless every week needs a different practice plan from a workshop that only does occasional repairs.
- Check the typical sheet or tube thickness you handle.
- Confirm whether your work is cosmetic, structural, or both.
- Ask if the job needs back purging, grinding or brushing after welding.
- Note where heat tint is acceptable and where a clean finish is essential.
What Handheld Laser Welding Changes in the Workshop
Handheld laser welding gives a controlled heat input and can reduce distortion on stainless when the operator keeps a steady travel speed and clean joint fit-up. It is still a skilled process, not a quick fix. The torch angle, focus position and joint gap all affect bead shape and finish.
In training, learners should practise on offcuts before touching customer parts. That way they can judge how the puddle behaves, how fast the joint closes, and how the stainless reacts when the machine settings are moved up or down a little. A tidy joint saves time later and cuts down on rework.
For daily use, keep a simple routine. Clean the surface, check the clamp points, set the focus, run a short test bead and inspect it under good light. On busy sites in Gauteng and along the coast, humidity and dust can change how clean the work area stays so a quick wipe-down before each shift helps a lot.
Safety Checks Before Any Stainless Session
Laser welding safety starts before the trigger is pulled. The machine class must be clearly identified, and the operator should understand the exposure controls that apply to that class. Everyone in the area needs suitable eye protection rated for the wavelength in use, plus clear rules for who may stand near the work zone.
Stainless also produces fumes that must be managed properly. Use local fume extraction close to the weld zone and keep the air path clear. If you are working indoors in a closed workshop, extraction is not optional. It also helps reduce spatter residue on nearby tools and keeps the area easier to maintain during load-shedding when ventilation systems may need to be planned carefully.
- Confirm laser class and access control before each shift.
- Wear the correct eye protection for the machine in use.
- Use fume extraction at the source, not only general room ventilation.
- Keep reflective stainless surfaces covered or positioned safely.
- Remove loose rags, solvents and other ignition risks from the bay.
A Practical Setup Checklist for Learners and Workshops
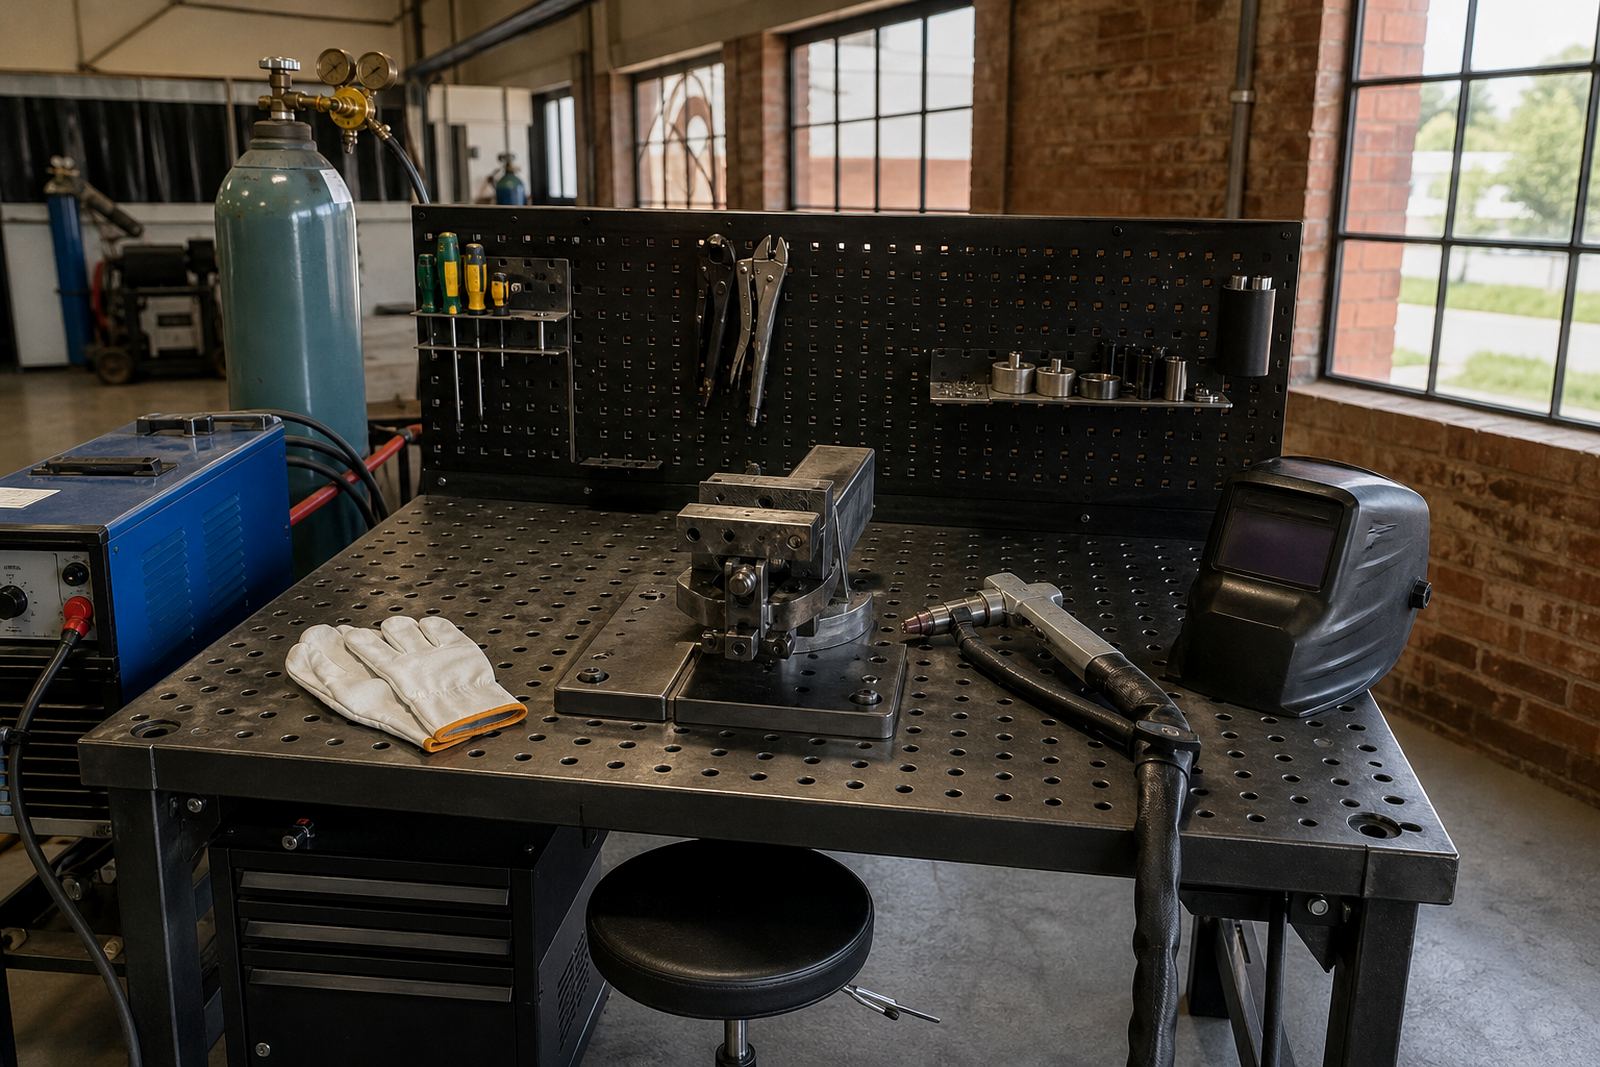
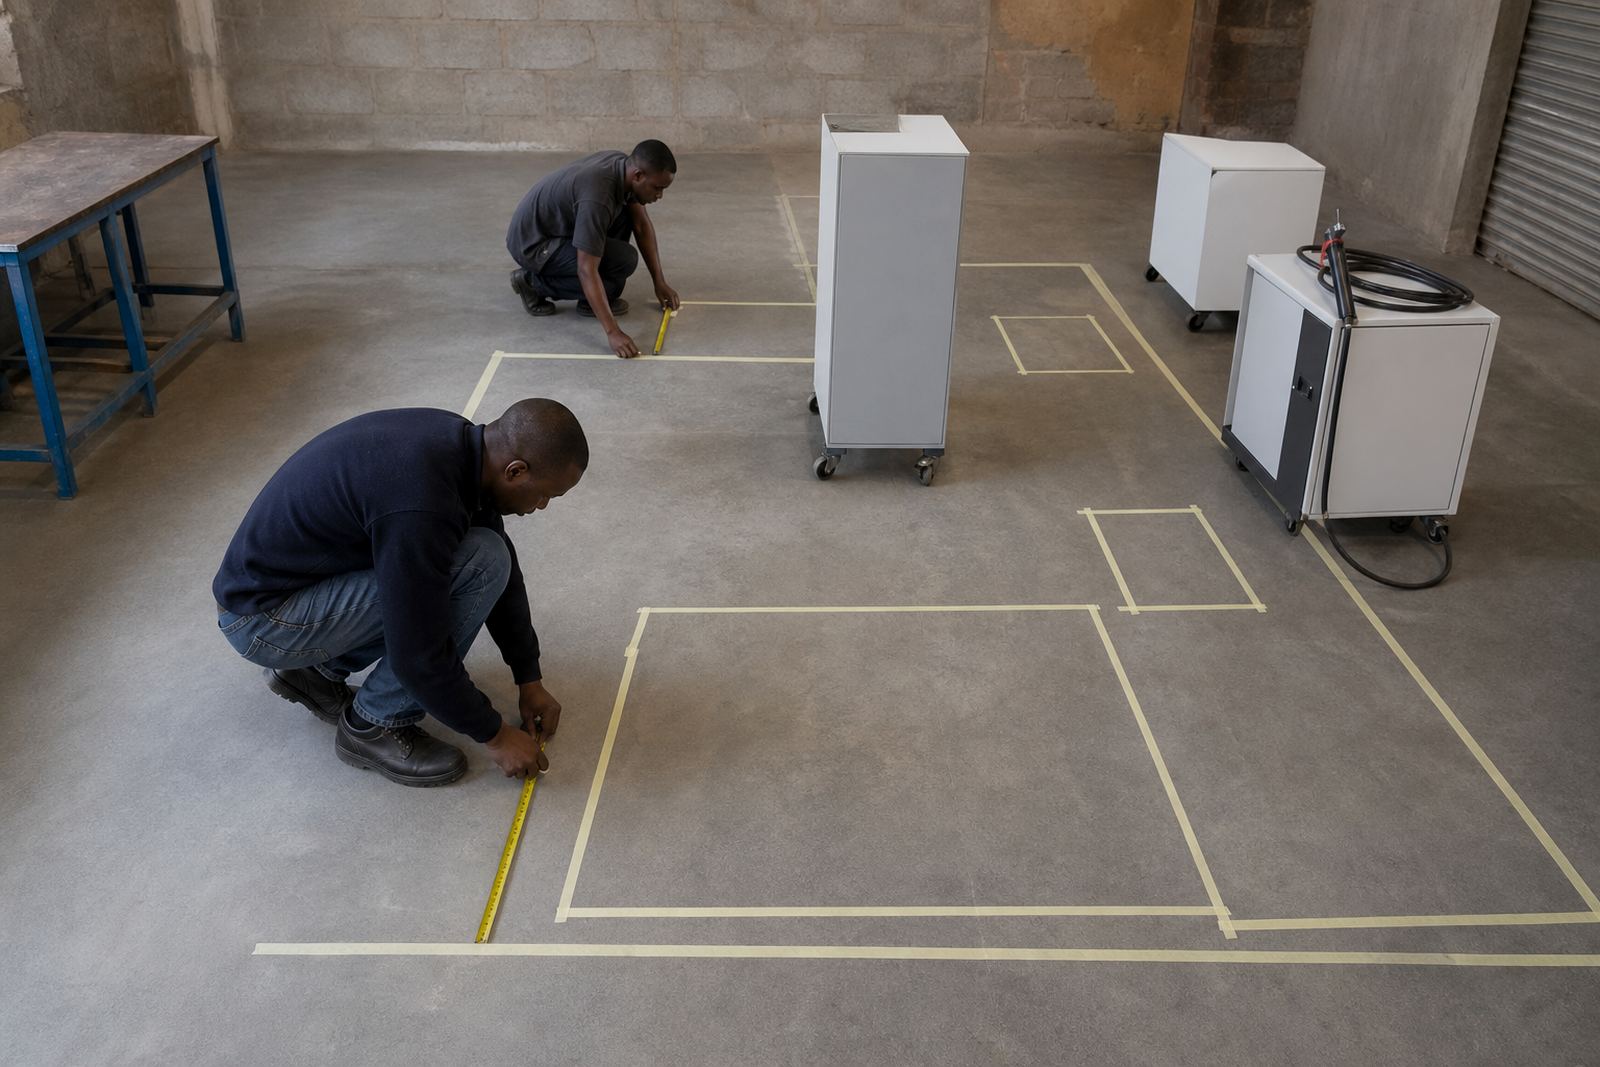
Good results start with a stable setup. Before the first lesson or customer job, check the machine, the handpiece, the wire feed if fitted, the shielding gas supply and the workholding. A lot of faults blamed on technique are actually caused by poor setup or dirty consumables.
LaserWelder Training uses practical setup habits in its courses and starter kit guidance, so learners can repeat the same steps at home or in a workshop. The aim is to make the process predictable. If the setup changes from one shift to the next, the weld results will move too.
- Power supply ready and protected for local load-shedding conditions.
- Clean work surface with no oil, scale or loose grinding dust.
- Clamps placed so the joint stays closed but not distorted.
- Lens, nozzle and handpiece checks completed before use.
- Extraction running and fire extinguisher accessible.
- Offcuts available for a short practice run before production.
Choosing a Starter Kit for Regular Stainless Work
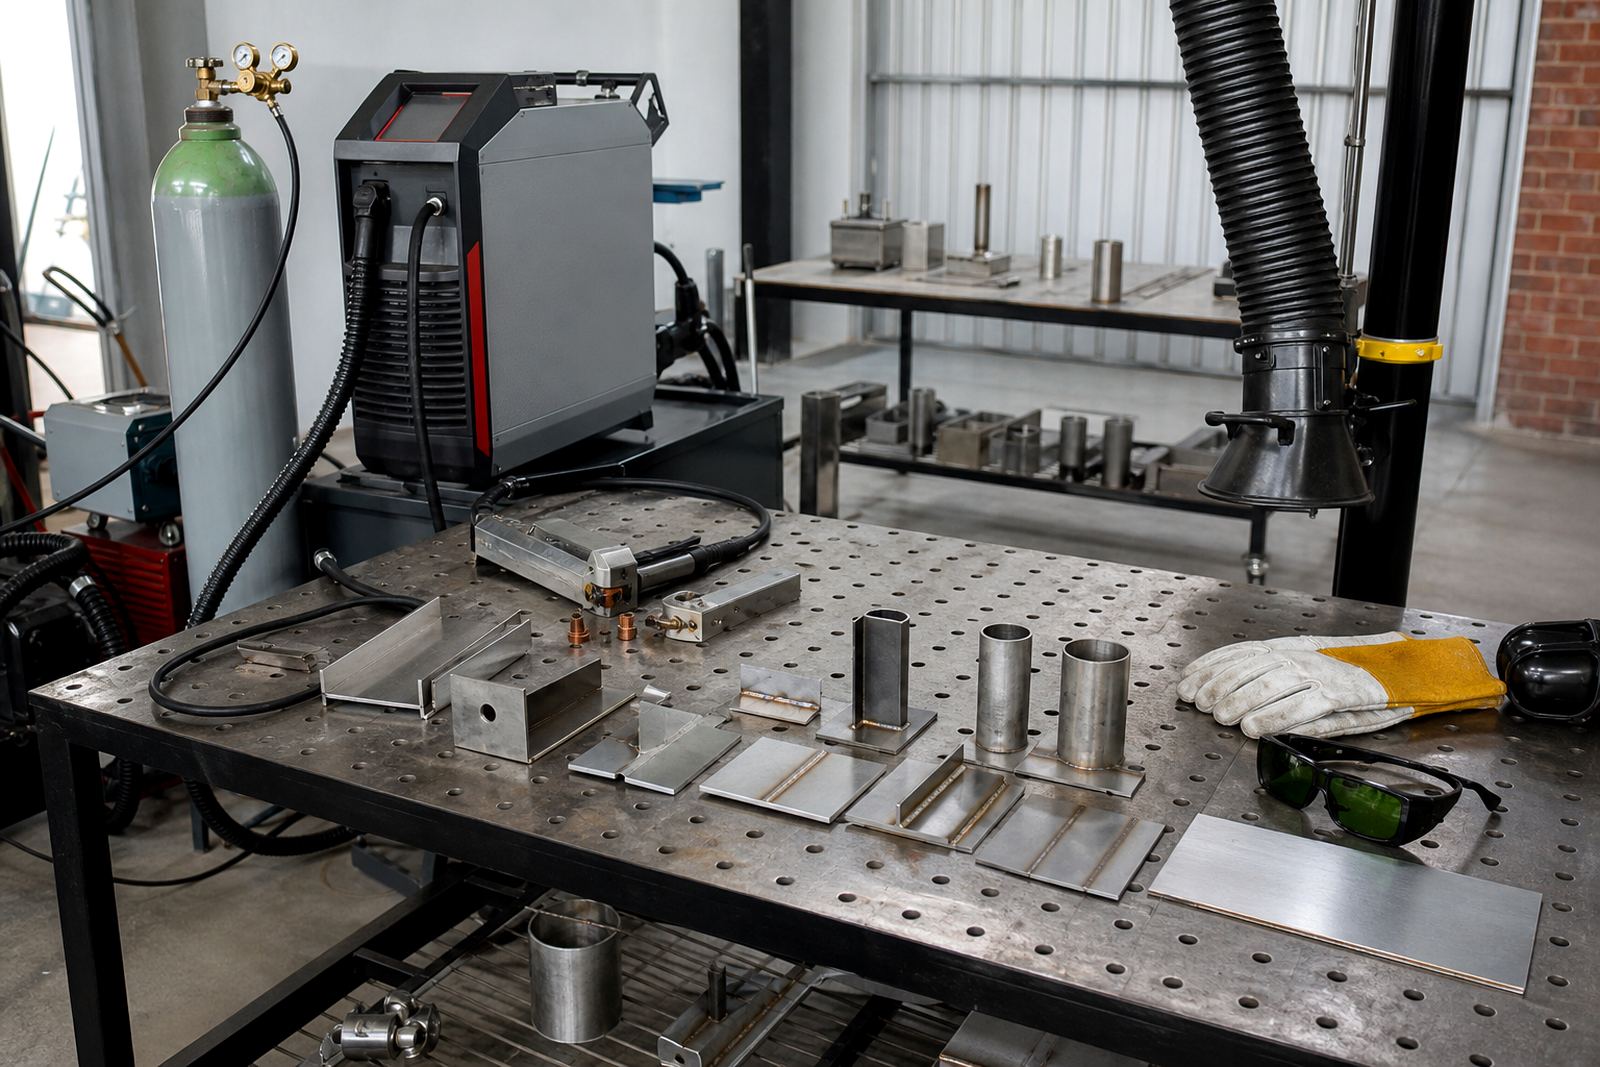
A starter kit should help a learner build confidence on stainless without filling the workshop with parts that will not be used. Look for the items that support practice, setup and safe operation first. If the kit is meant for regular stainless use, the consumables and cleaning tools matter as much as the machine itself.
When comparing starter kits, think about the jobs you want to handle in the next six to twelve months. A small workshop may need a compact kit with essentials only, while a team training multiple operators may need more spares and clearer labelling. It is also worth planning for consumables that are easy to replace in South Africa and for storage that keeps items dry in coastal humidity.
- Protective gear matched to laser work.
- Cleaning tools for stainless preparation and finish control.
- Practice offcuts and basic joint samples.
- Consumables planning for nozzles, lenses or related wear parts.
- Storage that keeps parts clean, dry and easy to issue.
How to Judge Progress After Training
After the course, learners should not judge progress only by the look of one bead. A better test is whether the operator can repeat the same result across several samples without changing too many settings. Consistency is what matters on stainless, especially when the final part must look neat and stay dimensionally accurate.
Use a simple review sheet after each practice session. Check fit-up, surface finish, heat tint, bead width and any distortion. If the same mistake appears twice, stop and correct the cause before moving on. That habit saves material and time, and it builds confidence for site work.
- Can you repeat the same weld on three samples in a row?
- Is the heat tint within the finish standard for the job?
- Did the part move or warp during the weld?
- Were all safety checks done before the session?
- Can the operator explain the setup without notes?
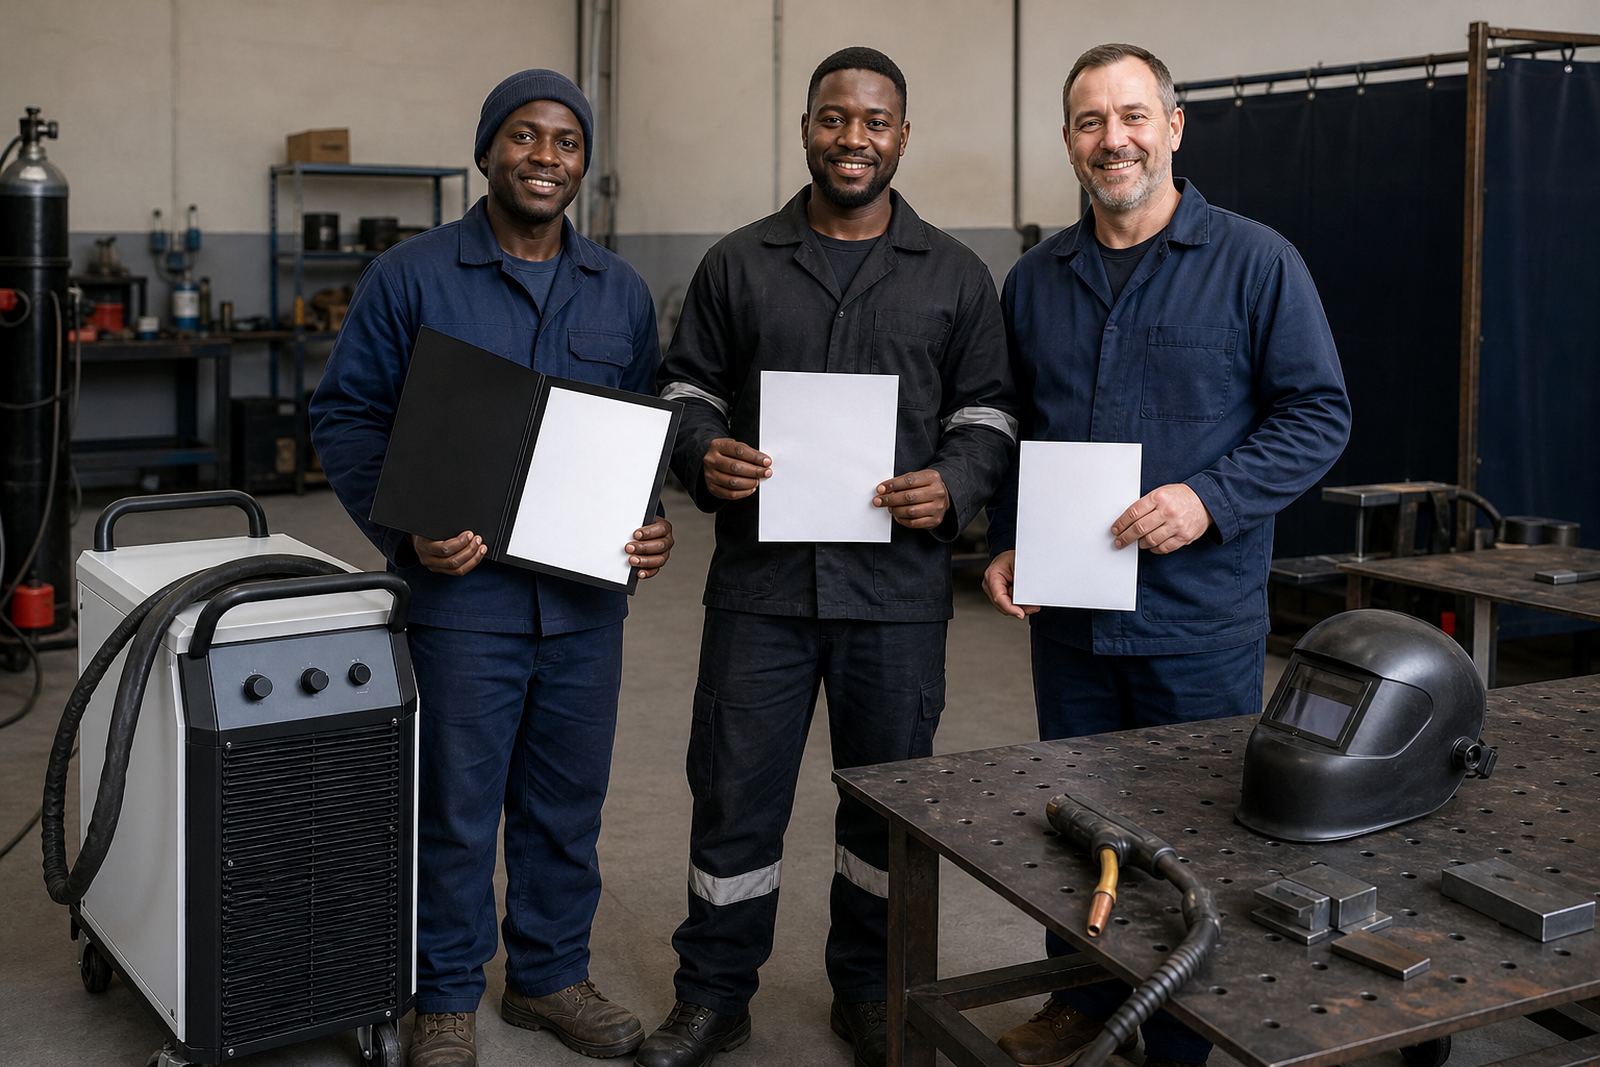
Every course at LaserWelder Training leads to a certificate of completion from LaserWelder Training only. If you need site readiness checks, supervisor coaching, operator inductions or refresher visits, those can be planned for teams in Boksburg, Johannesburg, Pretoria, Durban, Cape Town and Polokwane.