Start With a Straight Line Flow from Prep to Finish
For handheld laser welding, the best workshop layout is usually a simple one way flow. Material comes in, parts are cleaned and marked, welding happens in a controlled bay, then the work moves to inspection and packing. That flow cuts down on cross traffic, keeps leads and hoses out of the way, and helps a team work faster without bumping into one another.
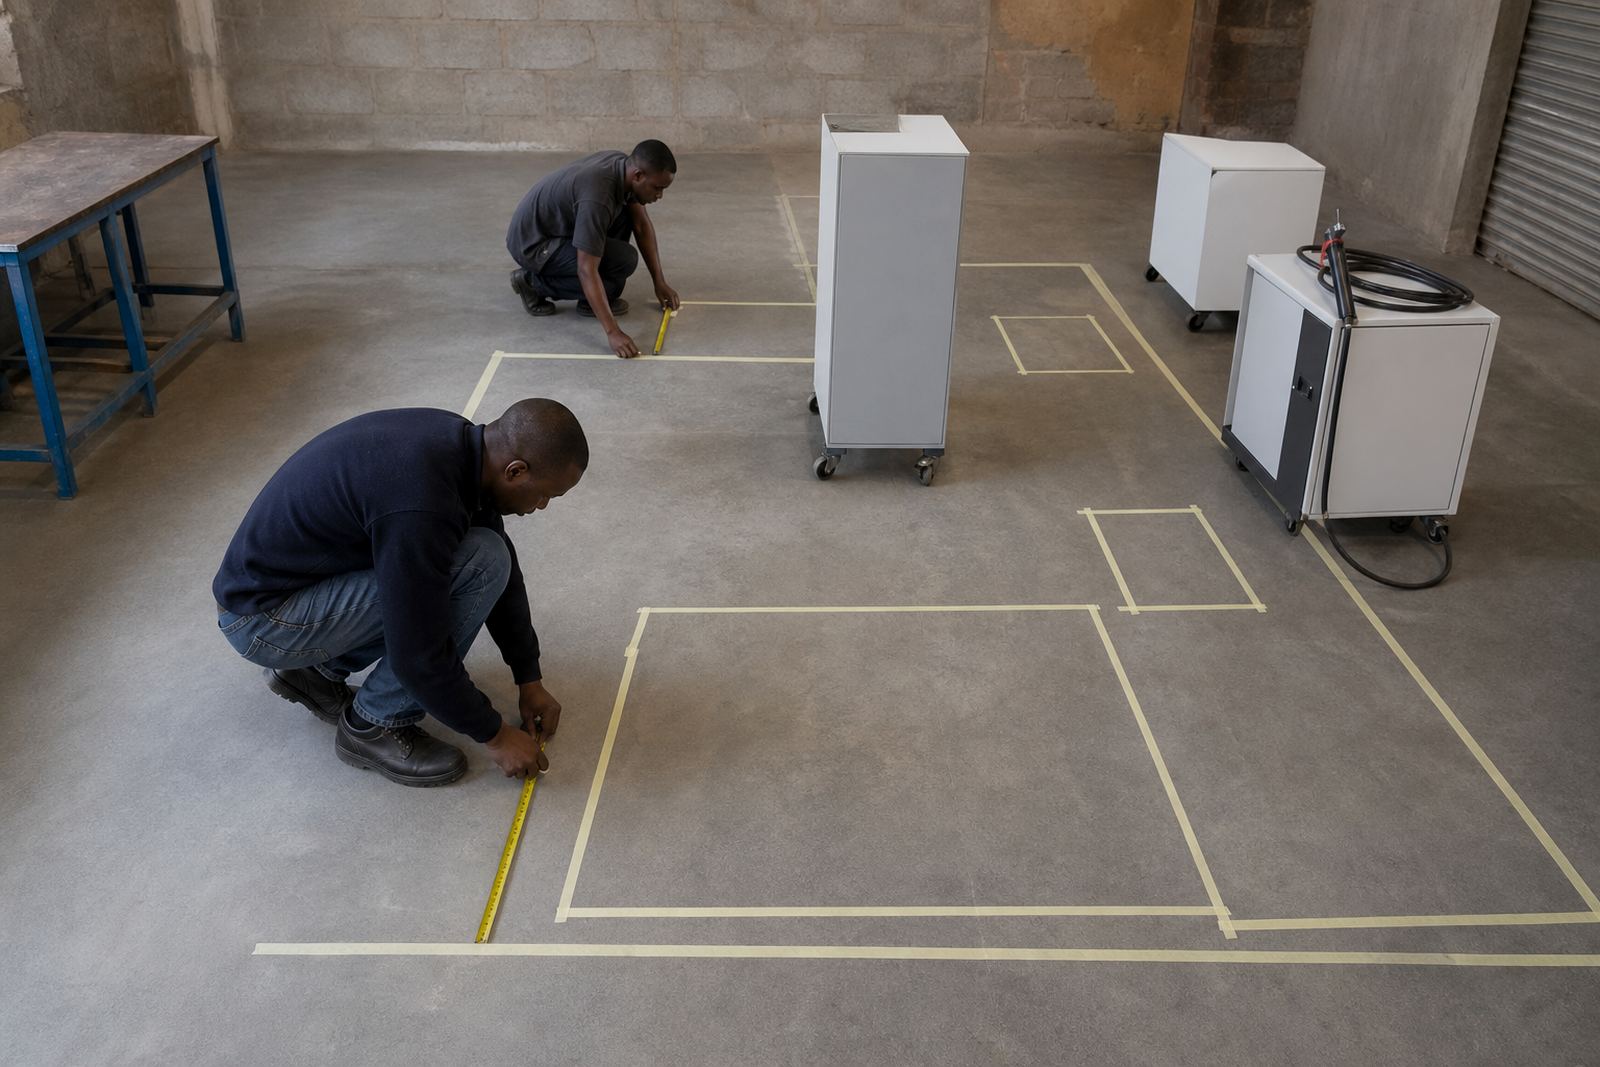
In a small Boksburg or East Rand workshop, this can be done with clear floor markings, benches placed against the walls, and a central aisle kept open for moving parts. If the space also handles grinding or cutting, keep those tasks away from the welding zone so dust and sparks do not interfere. In coastal areas like Durban or Cape Town, it also helps to keep consumables and electronics in a dry store room because humidity can affect finish and storage life.
- Keep incoming stock, prep, welding and inspection in separate zones
- Leave a clear walking path for people and trolleys
- Store cleaning cloths, filler material and spare lenses away from grinding dust
- Mark the floor so each zone stays where it should be
Set Up the Prep Zone for Clean Joints and Fast Changeovers
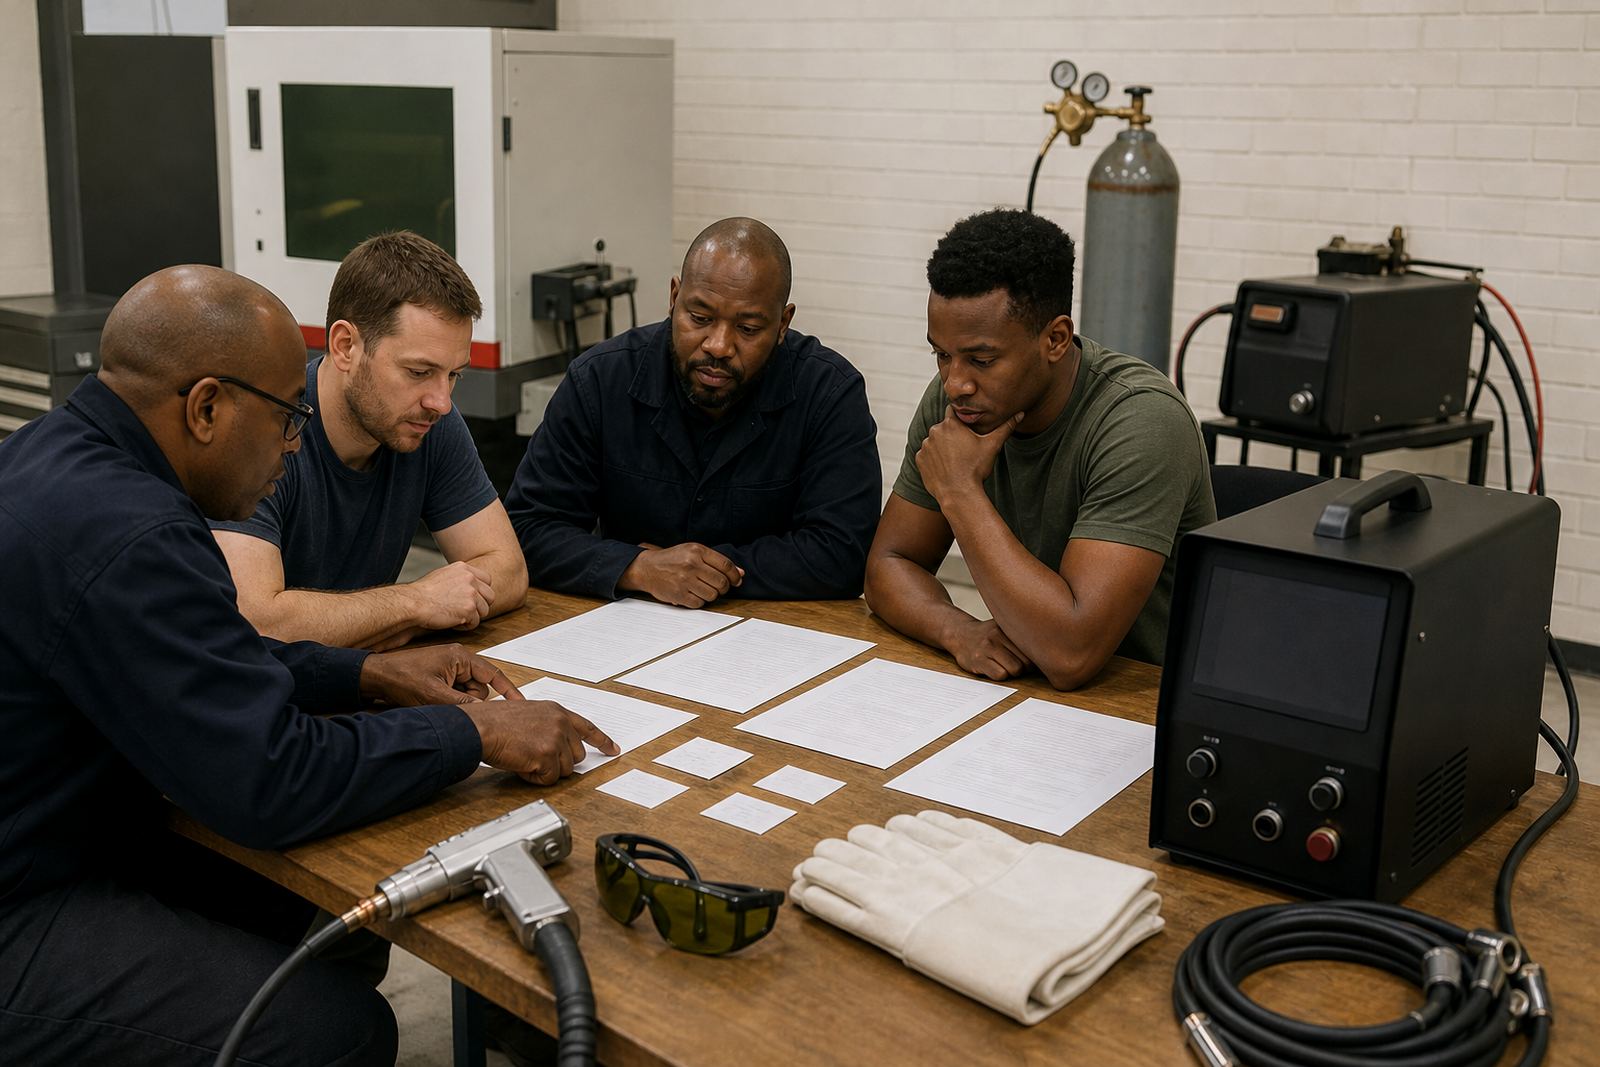
The prep zone should be close to the welding station, but not inside it. This is where operators clean metal, check fit-up, clamp parts and confirm measurements before any beam work starts. A good prep area needs a sturdy bench, vice grips, hand tools, non-flammable storage for small items, and enough light to spot oil, scale and burrs. If the parts are oily or painted, they must be cleaned properly first because handheld laser welding works best on clean, well aligned joints.
Use the prep zone to sort work by size and material. Keep stainless, mild steel and aluminium separate if your jobs vary, and label bins clearly so there is less mix-up during busy shifts. In Gauteng workshops where loadshedding can interrupt the day, plan a prep surface that still works well under backup lighting. If your team runs operator inductions, this is also the right place to explain how parts are measured, clamped and released safely.
- Bench with a flat surface and non-slip matting
- Basic measuring tools and permanent markers
- Clamps, magnetic holders and part trays
- Cleaning cloths, brushes and approved degreasing materials
- Clear labels for material type, job number and due date
Build a Welding Bay That Controls Light, Heat and Movement
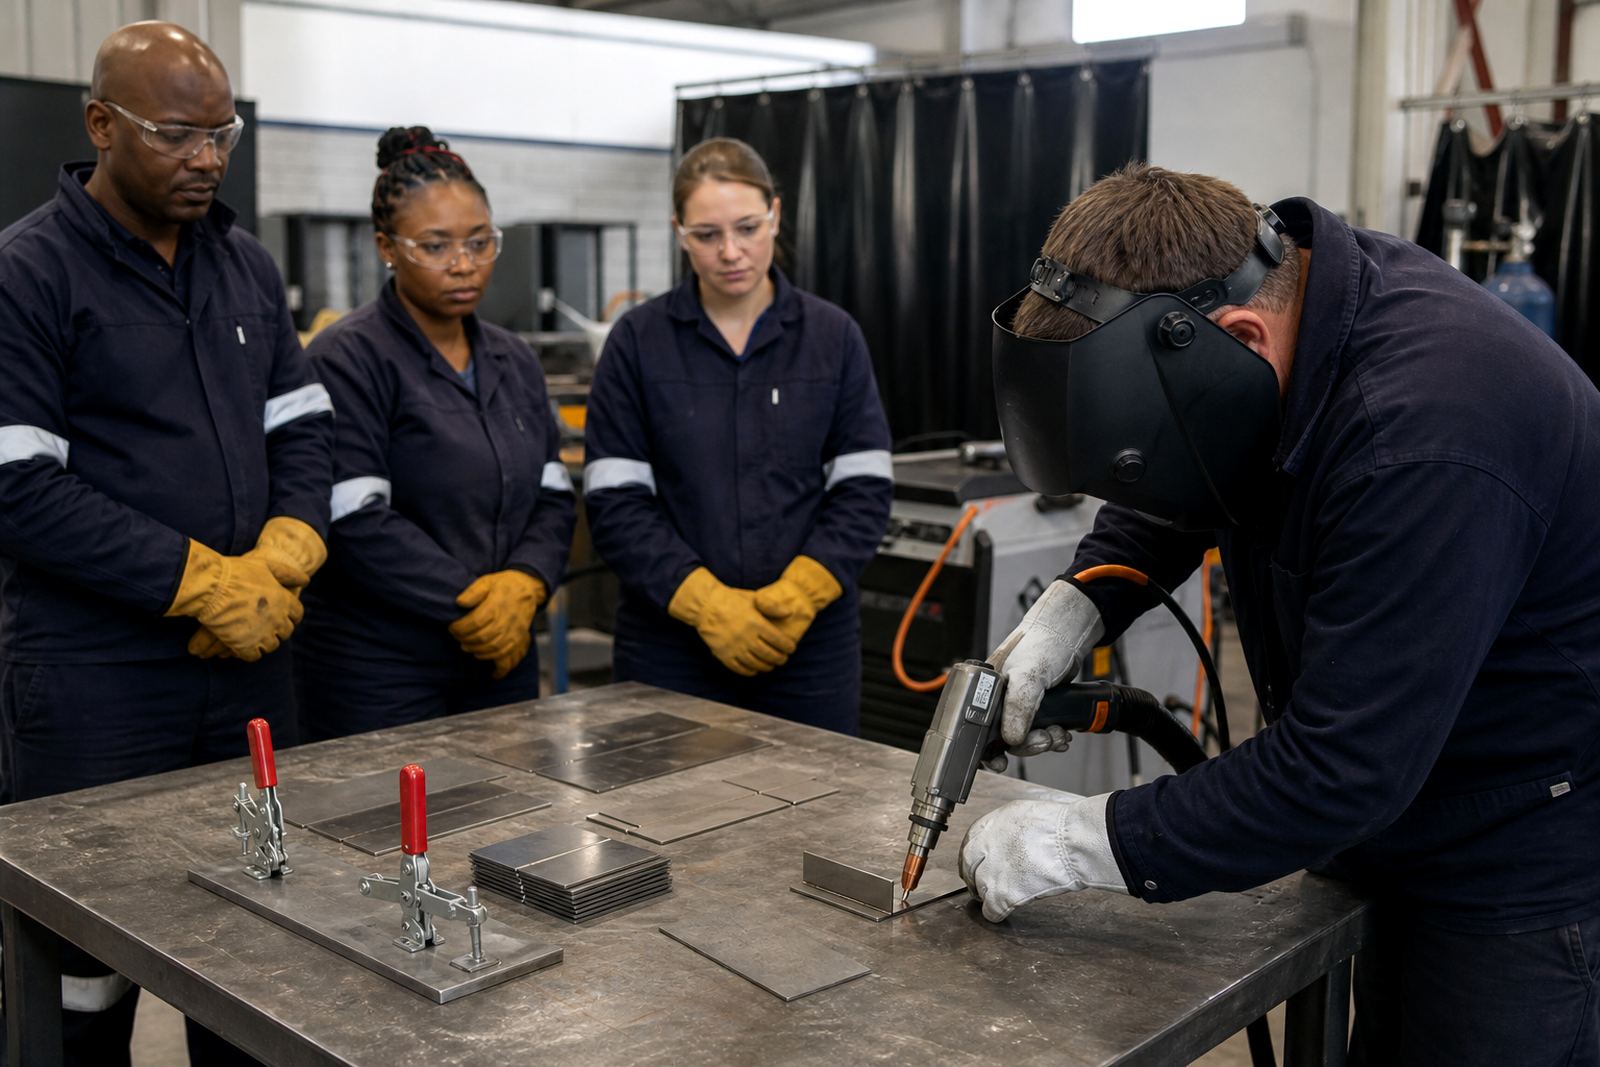
The welding bay is the most important space in the workshop. Handheld laser welding needs controlled access, good visibility and enough room for the operator to move around the work without trailing cables across the floor. A screened bay works well, especially where other staff are active nearby. The screens should reduce stray light and create a clear boundary so no one walks in by mistake.
Position the machine, power source and work surface so the operator can stand comfortably with both hands steady. The torch path should stay clear, and the cable run should not cross the main aisle. If you are fitting out a new workshop in Pretoria, Johannesburg or Polokwane, think about door swing, emergency access and where the fire extinguisher sits. A cramped corner may look tidy but it often leads to poor posture and more mistakes.
Keep the welding bay free of loose cardboard, oily rags and clutter. If the job changes often, use a mobile trolley for accessories rather than storing everything on the floor. That makes the bay easier to clean and quicker to reset between jobs.
Control Fumes, Light and Safety from the First Day
Laser welding safety starts with the right class of equipment awareness, proper eye protection and disciplined access control. Every operator and anyone working near the bay should understand the exposure risk from the beam and reflections, and should wear suitable eye protection rated for the wavelength in use. Do not rely on casual sunglasses or generic safety glasses. That is not enough.
Fume extraction must be planned before work begins. Even neat welds can produce fine particles and vapour, especially when coatings or contamination are present. A local extraction arm close to the weld point is better than a general fan in the corner. In workshops with limited windows or in winter when doors stay closed, extraction becomes even more important. For training sessions, we recommend a simple safety briefing before every practical block so learners know where to stand, where to watch from and what to do if there is a fault.
- Confirm the laser class and train staff on the correct controls
- Issue suitable eye protection for operators and observers
- Fit extraction close to the weld point, not across the room
- Keep reflective items away from the bay
- Post clear rules for access, shutdown and emergency response
Leave Space for Inspection, Records and Rework
After welding, parts should move to a separate inspection zone. This space does not need heavy equipment, but it does need good light, a flat table and a clean surface for checking bead quality, fit and finish. Keep measuring tools, gauges and quality notes here so the operator can confirm the job before it leaves the workshop. A good inspection area also helps with repeat jobs, because the team can compare current work with previous samples.
If defects are found, move the part back to a small rework spot rather than taking it straight to the main welding bay. This stops unfinished jobs from blocking the line. For businesses that support multiple sites across South Africa, a simple quality walkthrough at the end of the day can save time and reduce scrap. It also gives supervisors a clear view of what needs fixing before the next batch starts.
Plan for Starter Kits, Training and Daily Housekeeping
Starter kits should have a fixed home in the workshop so learners and staff can find what they need quickly. Keep consumables, nozzles, lenses, spare tips and cleaning items in labelled storage near the welding bay but not inside it. When a team knows where the kit lives, setup is faster and loss is less likely. For workshops serving Johannesburg, Durban, Cape Town or smaller towns further out, a well ordered kit also makes it easier to train new operators who only visit once or twice a month.
Daily housekeeping matters. Sweep metal dust, wipe benches, check the extraction system and confirm that eye protection is stored properly. Replace damaged labels and note any missing items. If the workshop runs on shifts, make the handover simple so the next operator can see what is ready, what is pending and what needs attention. A neat shop is not just about looks, it is part of control and safety.
- Dedicated storage for starter kit items
- End of day cleaning checklist
- Spot checks on extraction, screens and lighting
- Training notes and a clear job handover sheet