
Why Visual Checks Matter After Every Weld
Visual inspection is the first step in judging whether a practice weld has gone well. You do not need special equipment to begin with, just good lighting, clean eyes and a repeatable habit after each weld pass. For beginners this is often the fastest way to notice if travel speed, focus distance or hand control needs work.
In a workshop, the same habit also helps with safety and housekeeping. If you can see smoke staining, spatters, distortion or edge burn, you can correct the process before the same fault shows up on the next sample. That is important when you are learning handheld laser welding on thin sheet, brackets, tubes or repair work where the finish matters.
At our Boksburg base we often tell learners to treat the weld as a report card. The torch, the joint and the finished bead all leave clues. If you learn to read them early, your progress becomes easier to track.
Start With A Clean Look At The Joint
Before judging the weld itself, check the area around it. Remove loose scale, dust, oil residue and any remaining marking pen. A dirty joint can hide faults and make a good weld look worse than it is. On stainless steel, even fingerprints can show up once heat has gone through the metal.
Use a simple routine every time:
- Look at the joint line before and after welding
- Check for gaps that were not closed properly
- Note any movement of the parts during the weld
- Confirm that the workpiece is still flat and not pulling up at one side
If you are working near the coast in Durban or Cape Town, moisture in the air can also affect surface condition. That does not mean the weld failed, but it does mean you should keep the material clean and dry before each practice run. Small surface changes can mislead a learner who is trying to understand bead quality.
What A Good Bead Usually Looks Like
A sound practice weld normally looks even from start to finish. The width should stay fairly consistent, the surface should not be overly rough and the heat affected area should be tidy rather than spread too far. On a simple lap or butt joint, the bead should sit neatly without obvious underfill or tall ridges on the edges.
When checking the bead, look for these signs:
- Steady width along the full length
- Even colour change without severe blue or black marks
- Minimal undercut along the edge of the joint
- No visible holes, cracks or missed sections
- No heavy spatter around the weld zone
Handheld laser welding can produce a neat finish when the torch angle and travel speed are controlled well. If the bead suddenly changes shape halfway through, it often points to inconsistent hand movement or a small shift in the workpiece. That is worth noting in your training book, because patterns matter more than one-off guesses.
Signs The Settings Or Technique Need Adjusting
Visual inspection is most useful when you use it to decide what to change next. A narrow bead with weak edge wetting may suggest poor overlap or travel too fast. A bead that looks too wide and flat may point to moving too slowly or holding the torch too long over one spot. Excessive colour change can show too much heat getting into the base material.
Common faults to watch for include:
- Undercut along one side of the joint
- Overheating and visible distortion
- Pinholes or porosity on the surface
- Cracked sections after cooling
- End craters where the weld was stopped too suddenly
If you are training in a busy workshop in Johannesburg or Pretoria, it helps to inspect each sample before the next person starts. That keeps the learning loop tight. One learner may need to slow down, another may need a steadier hand position and another may simply need better joint preparation.
Safety Signs To Check Before You Touch The Work Again
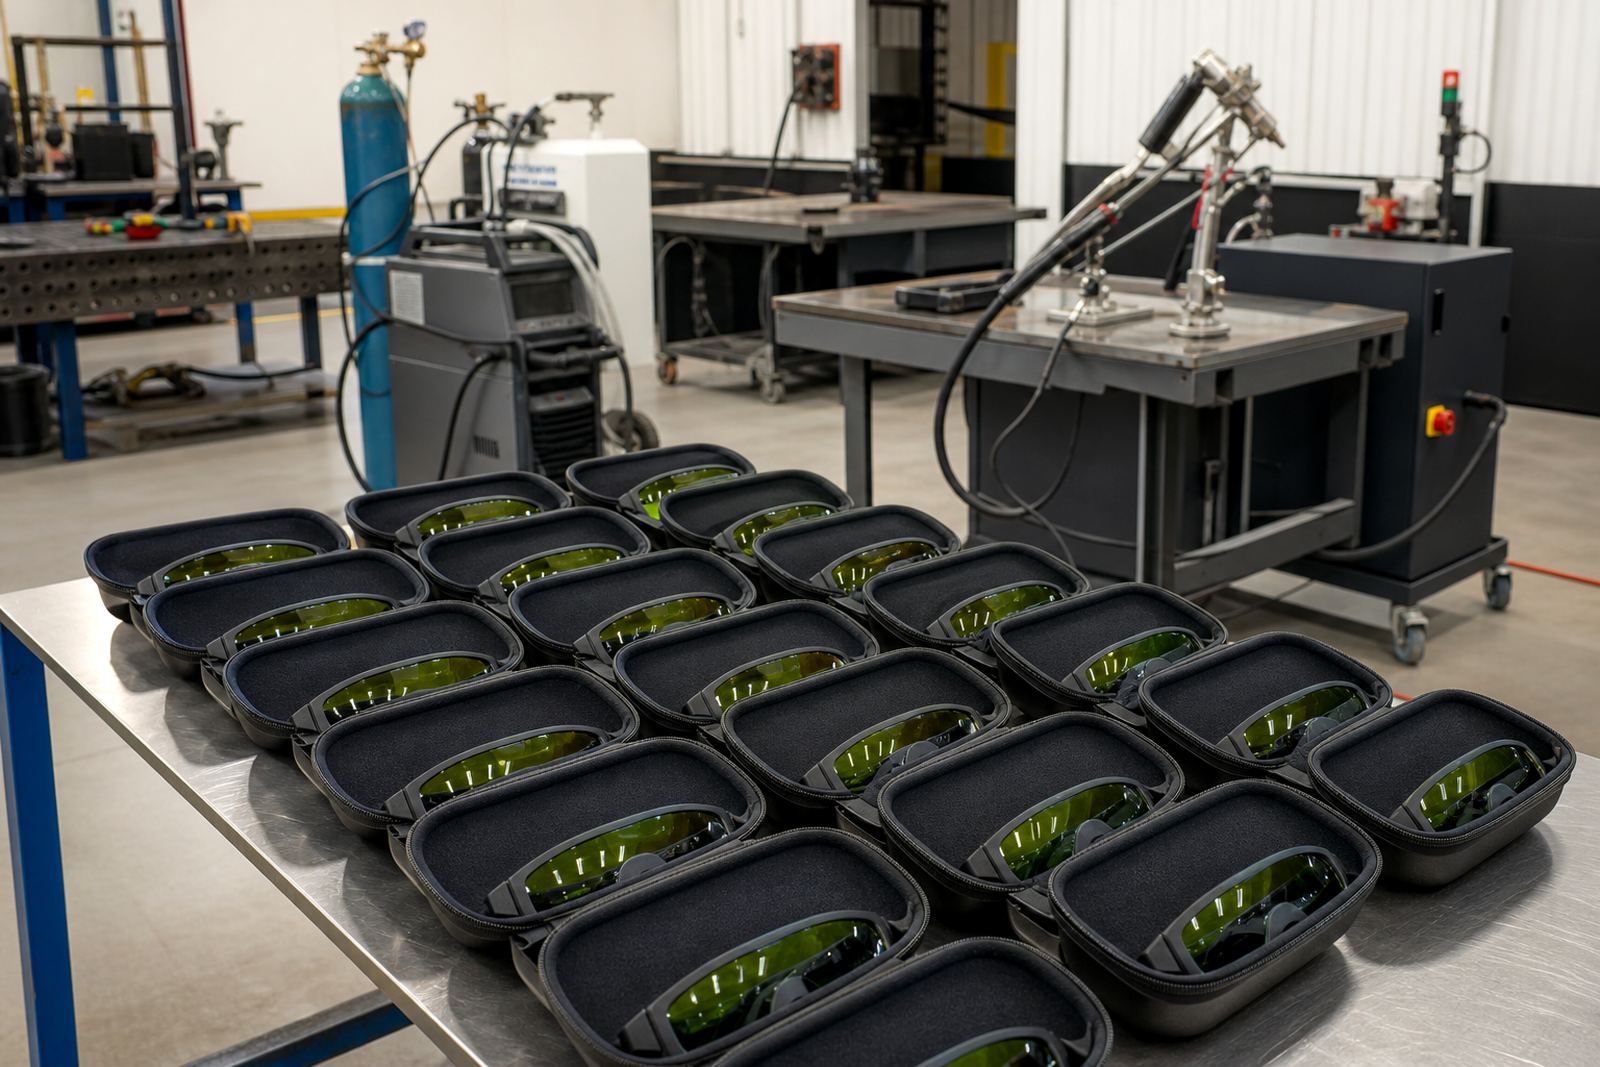
Visual inspection is not only about the weld quality. It is also about checking whether the setup stayed safe throughout the practice run. Laser welding equipment should be used with the correct laser class controls, suitable eye protection and proper fume extraction. Do not assume that a clean-looking weld means the area was safe during the job.
After each practice weld, look for these safety points:
- Were the protective lenses or shields kept in place
- Did the operator wear the correct eye protection for the laser class used
- Was the extraction arm positioned close enough to capture fumes
- Did any cable, hose or lead sit too near the work area
- Was the bench free from loose offcuts and reflectiv surfaces
A simple visual check helps supervisors spot poor habits early, which is useful during operator inductions and refresher visits. It also makes it easier to keep the workshop in line with house rules and local safety expectations. In a small training room, even a misplaced clamp can become a problem if someone turns quickly or reaches across the bench.
A Simple Method Learners Can Repeat Every Time
The best inspection method is one that can be done the same way after every weld. That consistency makes it easier to compare one sample with the next. We suggest a short routine that takes less than a minute:
- Let the work cool enough to handle safely
- Check the full length of the weld under good light
- Look from above and from the side
- Note bead shape, colour and edge condition
- Write down one thing that went well and one thing to improve
For learners using starter kits, this habit is especially valuable because it connects the machine to the result. You begin to see how focus, hand speed, joint fit-up and cleanliness affect the finished bead. Over time, that makes practice more deliberate and less random.
Using Visual Notes To Improve Your Next Practice Weld
Visual inspection should lead to action. If the bead was too wide, adjust one thing only on the next sample. If the edges were rough, check the joint fit and the hand angle. If the work moved during welding, improve clamping before trying again. Changing too many things at once makes it hard to know what actually helped.
At our Boksburg workshop, learners are encouraged to keep a small note sheet with each practice batch. That record is useful for refresher visits, supervisor coaching and later review. It also helps workshops planning for starter kit setup and consumables planning because the notes show what materials and settings are being used most often.
A short inspection habit builds confidence. It also saves material, which matters when you are working on-site in Gauteng, or sending out training support to Durban, Cape Town or Polokwane. The more clearly you can read the weld, the quicker you improve.