
Start With a Stable Work Position
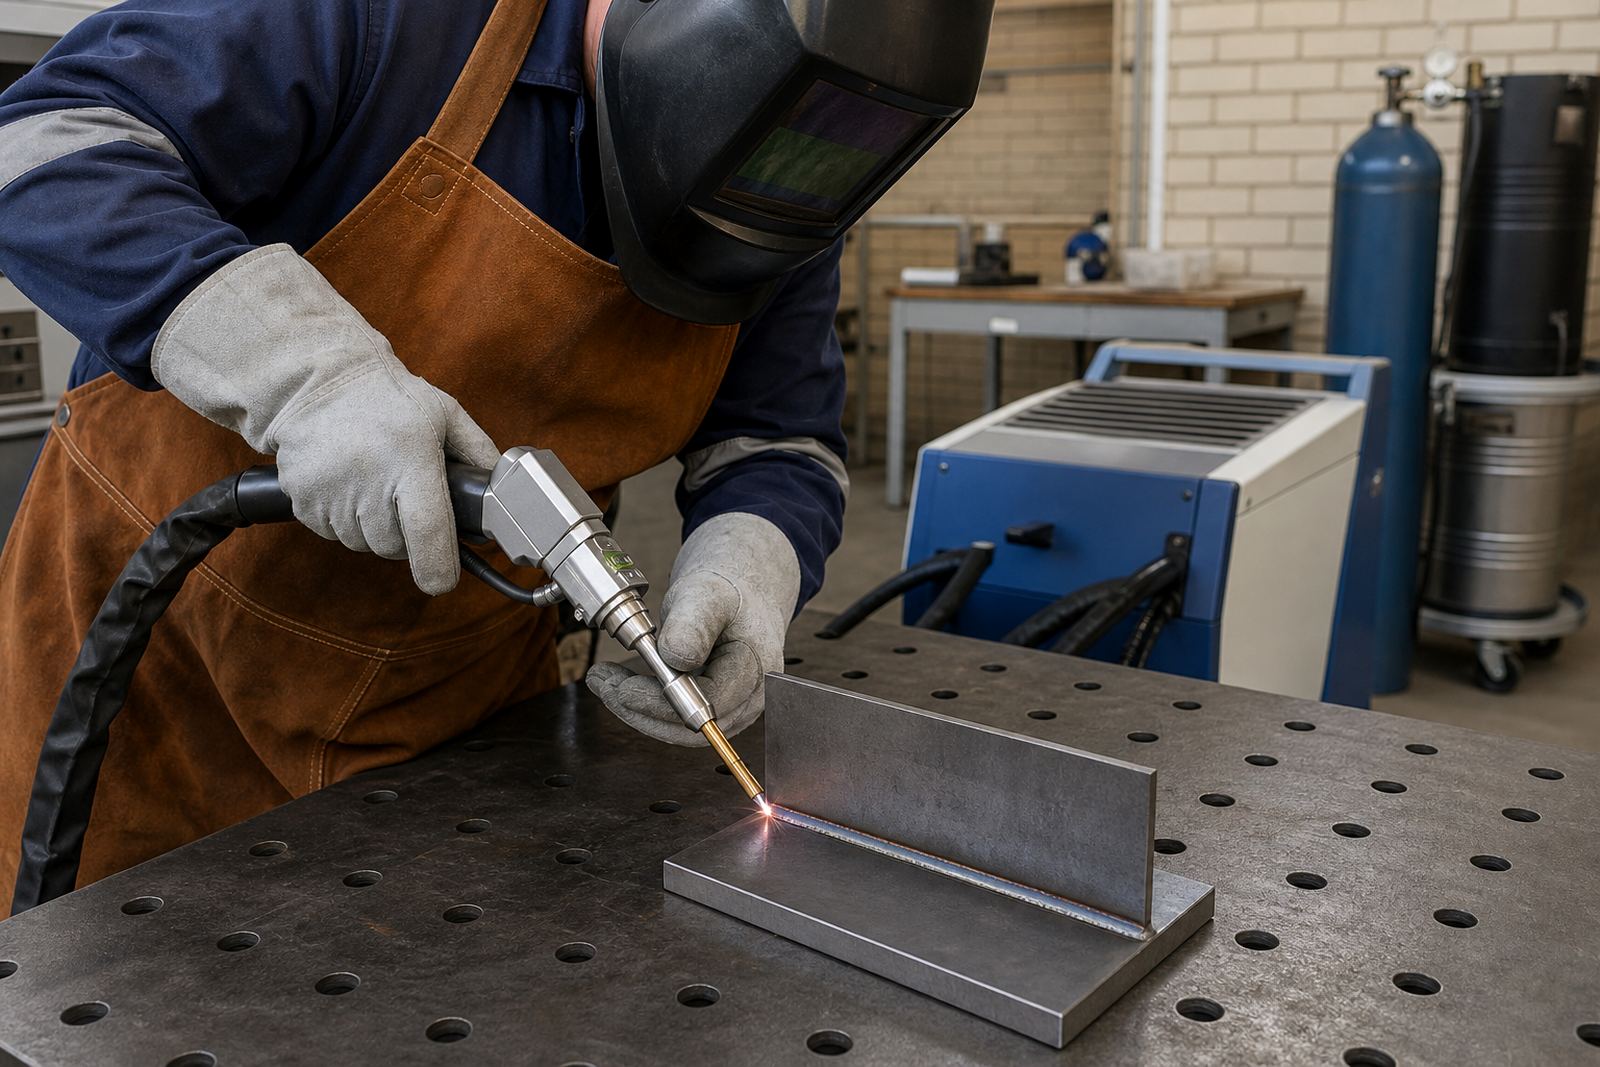
Before you even strike a bead, set your body up so the torch does not fight you. Keep both feet planted, stand close enough to the workpiece to avoid reaching, and support your elbows or forearms where you can. In a workshop in Boksburg or on a site in Johannesburg, that small bit of planning helps a lot when you are welding for long periods and the floor is busy, noisy or slightly uneven.
With handheld laser welding, the torch is light compared with many older welding tools, but you still need a repeatable posture. Hold the torch like a precision tool rather than a hammer. That means a firm grip, relaxed shoulders and a wrist that stays aligned with the direction of travel. If your hand is tense, the bead often shows it. If you lean too far across the joint, your speed and angle will drift.
Before starting, check the joint line, clamp the work properly and clear the area of loose offcuts. A clean setup reduces stops and restarts, which is important for beginners learning rhythm.
Find a Grip That Gives Control Without Strain
The best torch grip is the one you can repeat without shaking. Keep your dominant hand on the torch handle and use your other hand to steady the cable or support your wrist if the task allows it. On thinner material, even small movements can change the heat input, so comfort matters. If the torch feels awkward, slow down and reset your stance instead of pushing through it.
It helps to practice the same grip on short test pieces before moving to proper work. Many new operators hold the torch too tightly at first, which causes fatigue and can make the travel line wander. Try to keep the torch pointed in a way that lets the nozzle stay clear of the surface, while still giving you a good view of the joint. That balance takes practice, not guesswork.
- Keep your wrist straight where possible, not bent sharply downward.
- Use the same hand position for similar joints so your muscle memory builds.
- Pause often enough to avoid a tired grip that starts pulling the torch off line.
- Check that the cable is not snagging on the bench, trolley or floor.
Angle, Distance and Travel Speed Work Together
Torch handling is not only about holding the tool still. The angle of the torch, the distance from the work and the speed of travel all affect the bead. A good starting point is to keep the nozzle at a consistent distance and move in a steady line along the joint. If you dip too close, the front of the pool can become hard to read. If you drift too far back, the energy transfer becomes less controlled.
When training learners in Gauteng and on practical visits to workshops across South Africa, we often find that the torch angle changes every few centimetres. That usually comes from moving the wrist instead of moving the whole arm and body together. Keep the motion smooth and let your stance carry you along the seam. On long runs, use markers or reference points so you do not speed up near the end and leave an uneven finish.
For lap joints, corner work and edge repairs, the angle may change slightly, but the idea stays the same: maintain a steady relationship between the torch, the joint and your movement. The more repeatable your motion, the easier it is to keep the bead neat and the penetration consistent.
Respect the Safety Rules Every Time
Handheld laser welding is not a casual process. In most workshop settings it falls under laser class 4, which means strict eye protection and controlled use are essential. The right laser-rated eye protection must suit the wavelength and be worn properly, with no gaps and no shortcuts. Regular workshop spectacles are not enough. Anyone standing nearby also needs to be kept clear of the working zone.
Fume extraction is just as important. Even when the bead looks clean, welding fumes and smoke can build up fast, especially in enclosed spaces or where the ventilation is poor. Use extraction close to the work area and keep the workspace open enough for air to move. This matters in winter when doors stay shut, and it matters even more in coastal conditions where humidity can affect comfort and airflow around the bench.
- Confirm the correct laser protection before switching on the unit.
- Keep bystanders out of the line of beam exposure.
- Use fume extraction at source, not only general room ventilation.
- Check cables, power supply and torch connections before each session.
Load-shedding also changes the routine. After a power interruption, check the machine settings and workspace again before resuming. A rushed restart can lead to mistakes that are easy to avoid.
Use Starter Kit Items to Build Consistency
A starter kit should make learning easier, not more confusing. Good generic starter kit items usually include the torch assembly, protective eyewear, basic cleaning tools, sample material, a practice setup guide and the consumables needed for early training sessions. The point is to help the learner focus on torch movement, not on hunting for missing parts before every lesson.
When setting up a starter kit for a home workshop or a busy fabrication floor, keep the layout simple. Store consumables where they can be reached quickly. Label your practice pieces, keep the work table clear and pack away anything that could contaminate the joint. A tidy setup saves time and helps learners repeat the same steps every session. It also makes supervisor checks easier when a team is training several operators at once.
Starter kit setup works best when it is matched to the learner’s actual work. A small repair shop in Pretoria may need different practice routines from a fabrication team in Durban that works on larger batches. The kit should support the person using it, not overload them with extras they will never touch.
A Simple Practice Plan for Better Beads
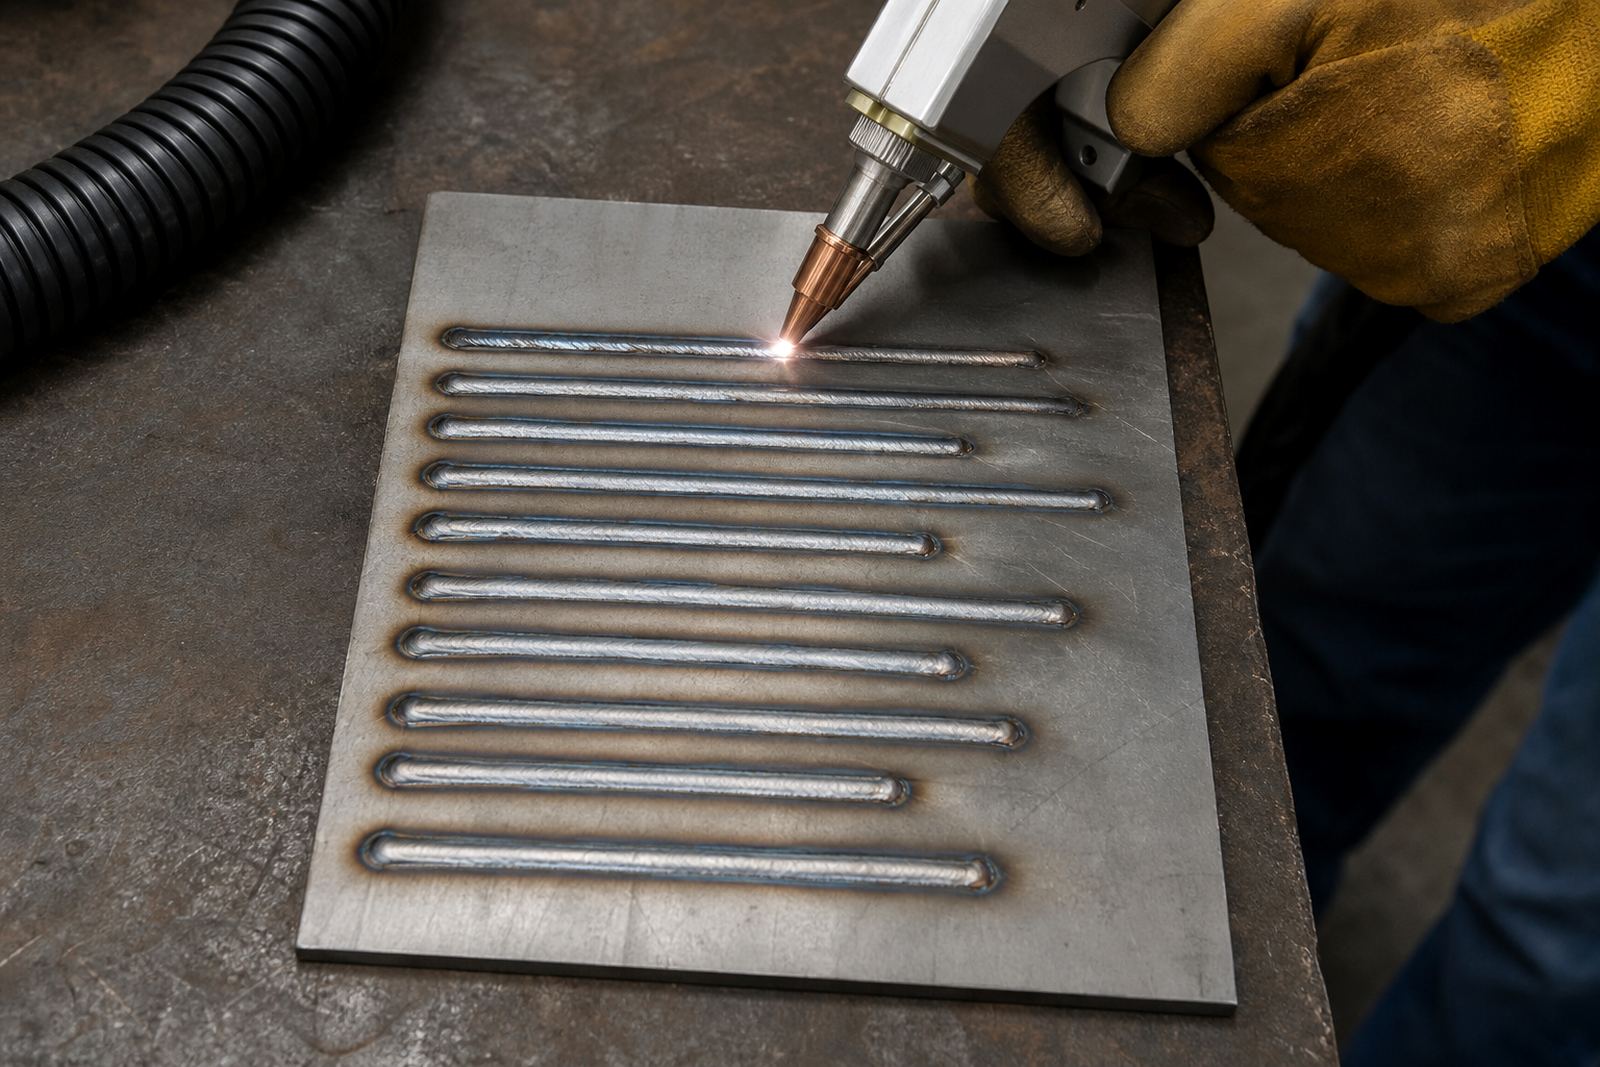
The fastest way to improve torch handling is through short, focused practice. Start with straight lines on flat material, then move to lap joints and corners once the basic hand position feels natural. Do not try to chase perfect results on the first day. Concentrate on one thing at a time, such as keeping the angle steady or slowing the travel speed slightly. That is how new operators build real control.
Use a simple routine: inspect the joint, set your stance, check safety gear, run a short pass, then look at the bead before making changes. If the bead shows drift, ask what changed first. Was it your grip, your speed, your distance or your breathing? When you can answer that question, you can correct it. This kind of disciplined practice is what turns a nervous operator into a reliable one.
For workshops that want structured support, a refresher visit, supervisor coaching or a training document pack can help keep everyone on the same method. Consistent torch handling is not about fancy tricks. It is about repeatable habits that work on the shop floor, on site and under ordinary South African conditions.