
Start With the Job Flow, Not the Furniture
Before you place anything, map the work from entry to finish: where material comes in, where parts are prepared, where welding happens, and where finished items are checked. Handheld laser welding works best when the operator can move between prep, weld, inspection and packing without crossing traffic paths or carrying parts around awkwardly.
In a small Boksburg workshop, for example, a straight line from storage to prep to welding station can save a lot of time. Keep the route short and free of clutter, because dropped offcuts and cables can become a trip hazard fast. If more than one person shares the area, mark walking space on the floor and keep access to exits clear.
- Place raw material close to prep, but not in the welding zone.
- Keep a clear route for operators carrying parts or fixtures.
- Separate dirty work like grinding from the clean welding area where possible.
- Leave space for inspection, cooling and packing after welding.
Plan Around Laser Safety From the First Day
Laser welding is not the same as general arc welding, so the safety setup must suit the class of equipment used. Only trained users should run the machine, and everyone in the room should understand the warning signs, the controlled area and the basic safety rules before work starts. Eye protection must be selected for the correct laser wavelength and optical density, not just any general workshop goggles.
The workspace should be arranged so that the beam path, reflective surfaces and bystanders are controlled. Polished steel, shiny clamps and mirrors of light from nearby machines can all create trouble if the area is not planned properly. Keep screens, signs and access control in place, especially when learners or visitors are present.
- Use the correct laser safety eyewear for everyone inside the controlled area.
- Post clear warning signs at the entrance to the welding space.
- Keep reflective surfaces out of the direct work zone where possible.
- Restrict access during operation, even for quick tasks.
Give Fumes and Heat a Proper Place to Go
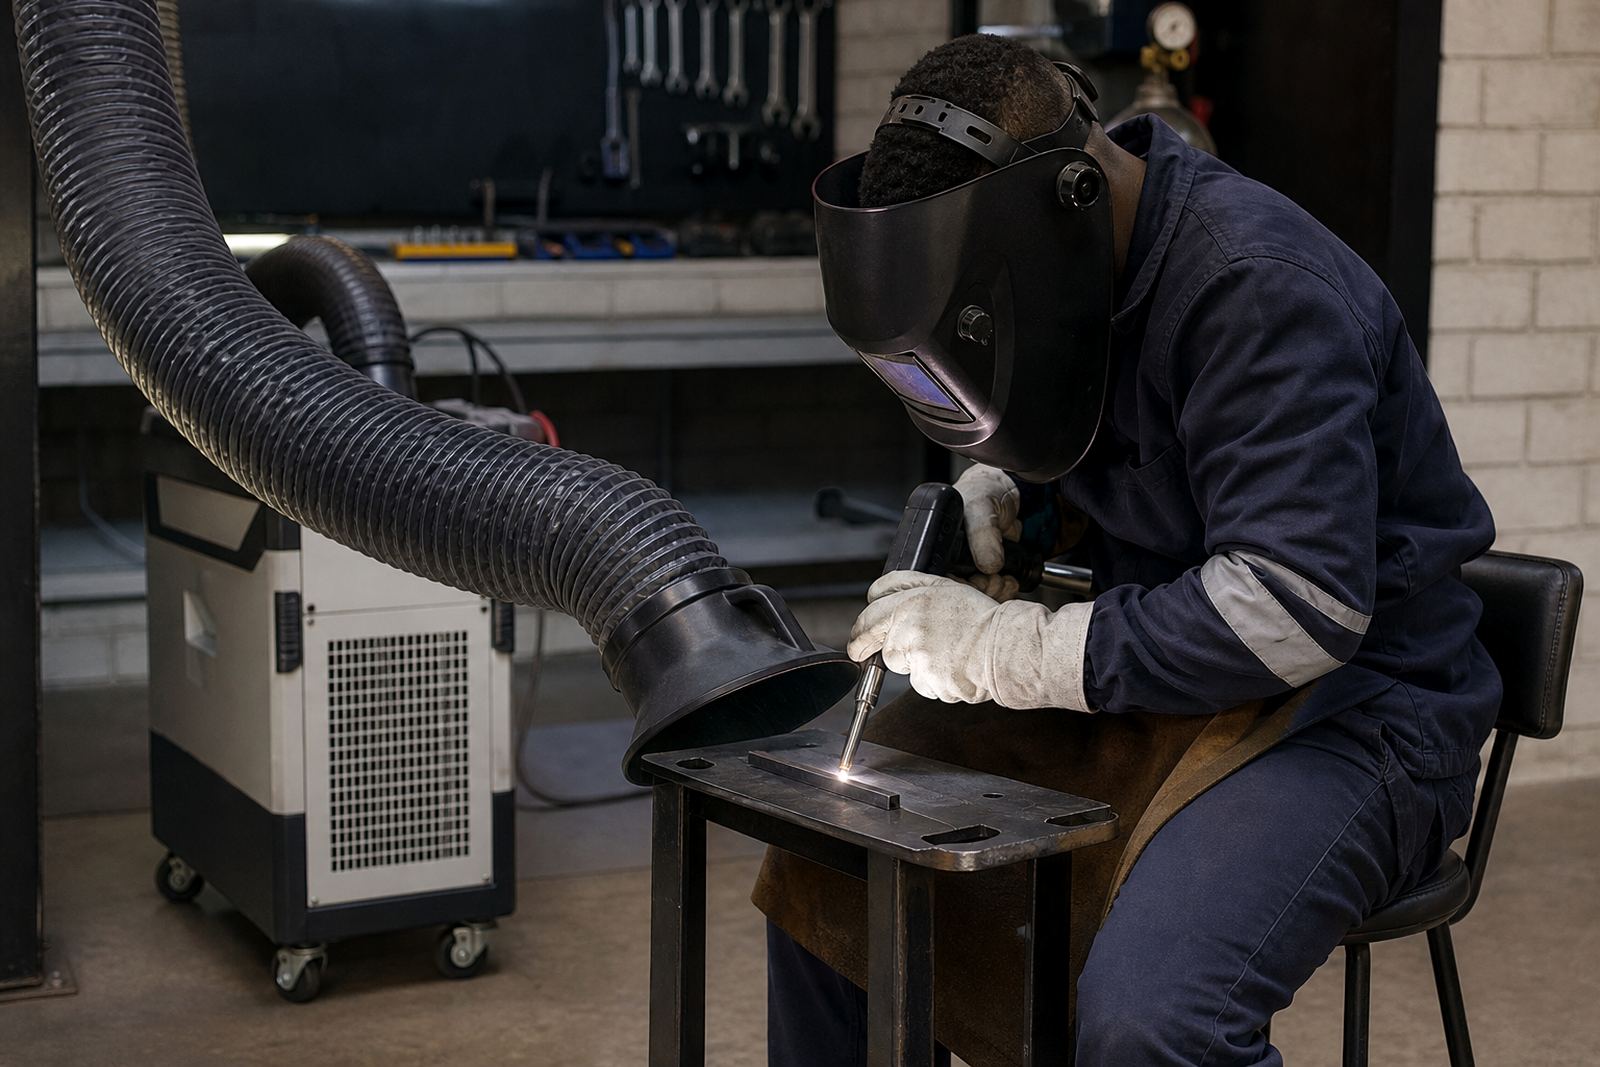
Laser welding produces fumes and fine particles, especially when working on coated material, dirty edges or certain filler materials. The workspace should have proper extraction close to the point of work, not just a fan in the corner. Good extraction protects breathing, keeps the room clearer, and helps operators see the joint properly.
In coastal areas like Durban, humidity can also affect stored parts, consumables and the general comfort of the room. In Gauteng, dry air and dust can build up on filters and machine surfaces. Both cases call for regular cleaning and a clear plan for filter checks, because a blocked extraction unit will not help much when the room gets busy.
- Place extraction close to the welding point.
- Keep airflow from blowing fumes across the operator’s face.
- Check filters and ducts on a set schedule.
- Store consumables in dry, clean containers.
Set Up the Bench for Accuracy and Repeat Work
A good welding bench is stable, level and easy to clean. The surface should hold fixtures firmly and allow the operator to position parts without guessing. For handheld laser welding, the joint line, clamp placement and part support all need to be easy to see. If the piece shifts while the operator is working, the weld can wander or the finish may need rework.
Use a bench height that lets the operator keep a natural stance. That reduces strain during long sessions, especially when training beginners who are still learning torch control and travel speed. If the bench is too high or too low, people lean in too far and tire quicker. It sounds small, but it makes a big difference over a full day.
- Use fixtures that hold parts square and repeatable.
- Keep the bench free of loose offcuts, grinding dust and tools.
- Position lighting so the joint line is easy to see.
- Allow enough room for both left and right handed operators.
Build a Starter Kit Zone That Learners Can Actually Use
Starter kits work best when they have their own clean zone. Keep the machine, torch, cables, consumables and cleaning items together so a learner can check the setup in the same order every time. This helps with repeatability and makes fault finding easier when something does not feel right.
A proper kit area should also support setup training. Learners need a place to practise correct cable routing, nozzle checks, lens care, cleaning routines and basic pre-start checks. If these items are scattered around the room, the learner misses the habit pattern and the supervisor spends more time correcting simple mistakes.
- Keep all kit parts labelled and stored together.
- Use a clean, dry shelf or cupboard for consumables.
- Separate used items from ready-to-use items.
- Keep a written check list near the kit area.
Think Beyond Day One: Training, Power and House Rules
A workspace should be planned for normal conditions, not just the first session. That means thinking about power supply, backup lighting if load shedding affects the area, and clear house rules for cleaning, shutdown and storage. If the machine stops mid task, the operator should know how to secure the work, isolate power safely and return later without confusion.
House rules should also cover visitors, supervisor access and what happens when a learner is uncertain. A simple rule set works best: wear the right eye protection, keep the area clear, use extraction, and report any fault before continuing. This is where refresher visits, supervisor coaching and workflow advice can help a workshop settle into a better routine.
At LaserWelder Training in Boksburg, we see the same pattern across Gauteng, Durban, Cape Town and Polokwane: the work goes smoother when the room is planned around the job, not squeezed in around whatever furniture was already there. Even a modest space can support safe laser welding if the layout is clear, the safety steps are visible and the team knows the sequence. A neat setup also makes training more practical, and it gives learners a better chance to build good habits from the start.