
Why fit up matters before the first weld
Fit up is the simple habit of getting two or more parts to meet properly before welding starts. With handheld laser welding, that matters even more because the beam is concentrated and fast. If the joint has a gap, the parts move under heat, or the faces are not prepared properly, you can end up chasing the seam instead of joining it cleanly.
Many learners focus on power settings and travel speed, but poor clamping will undo good technique. A joint that shifts by even a few millimetres can change penetration, bead shape and finish. On thinner material, that movement can also cause burn through or a proud edge that needs extra grinding later.
In workshop terms, fit up is not fancy. It is about getting the job ready so the welder can do the work properly. That means checking cut length, edge condition, squareness and whether the parts actually sit where the drawing says they should sit.
The basic checks that save time later
Before clamping, look at the parts as they arrived. Are the edges clean, or do they still carry oil, rust, scale or marker residue? Are the faces flat, or is one side bowed from cutting or handling? A small twist in the material can pull the joint open once pressure is applied.
For handheld laser welding, it helps to keep the working area tidy and consistent. Even a light burr can stop two sheets from sitting flush. If you are welding stainless, mild steel or coated sections, remove contamination from both sides of the joint where possible. That reduces smoke and helps the weld pool behave predictably.
- Check the cut edges for burrs and sharp corners
- Dry fit the joint before applying clamp pressure
- Confirm the parts are square with a simple rule or square
- Make sure the work surface is level and stable
- Remove oil, dust and loose scale from the weld zone
It is also worth checking that the clamps themselves are in good condition. Bent jaws, worn threads or dirty contact pads can make the work slide when pressure is applied.
Choosing clamps that suit the job
Not every clamp suits every joint. A flat sheet, a box section, a round tube and a corner joint each ask for different support. The aim is to stop movement without distorting the work. Too much force can close one side of the joint and leave the other side gapped open.
For smaller fabrications, quick-action clamps, magnetic holders and backing blocks can be useful. For heavier sections, a proper fixture, stop block or bench clamp is better. When training learners in Boksburg, we often see the same issue: the clamp holds the parts, but not the shape. That is why support points need to be planned before the weld begins.
- Use backing bars for thin material where heat distortion is likely
- Use corner clamps for box sections and frame work
- Use stop blocks to keep repeat parts in the same position
- Use soft pads or clean contact points to avoid marking polished material
In coastal areas like Durban, stored clamps can pick up surface rust quickly if they are left in a damp corner. In Gauteng, dust build-up is more common, especially in workshops that open to the yard. Both conditions can affect grip and consistency, so clamp care is part of the job too.
Keeping the joint still during handheld laser welding
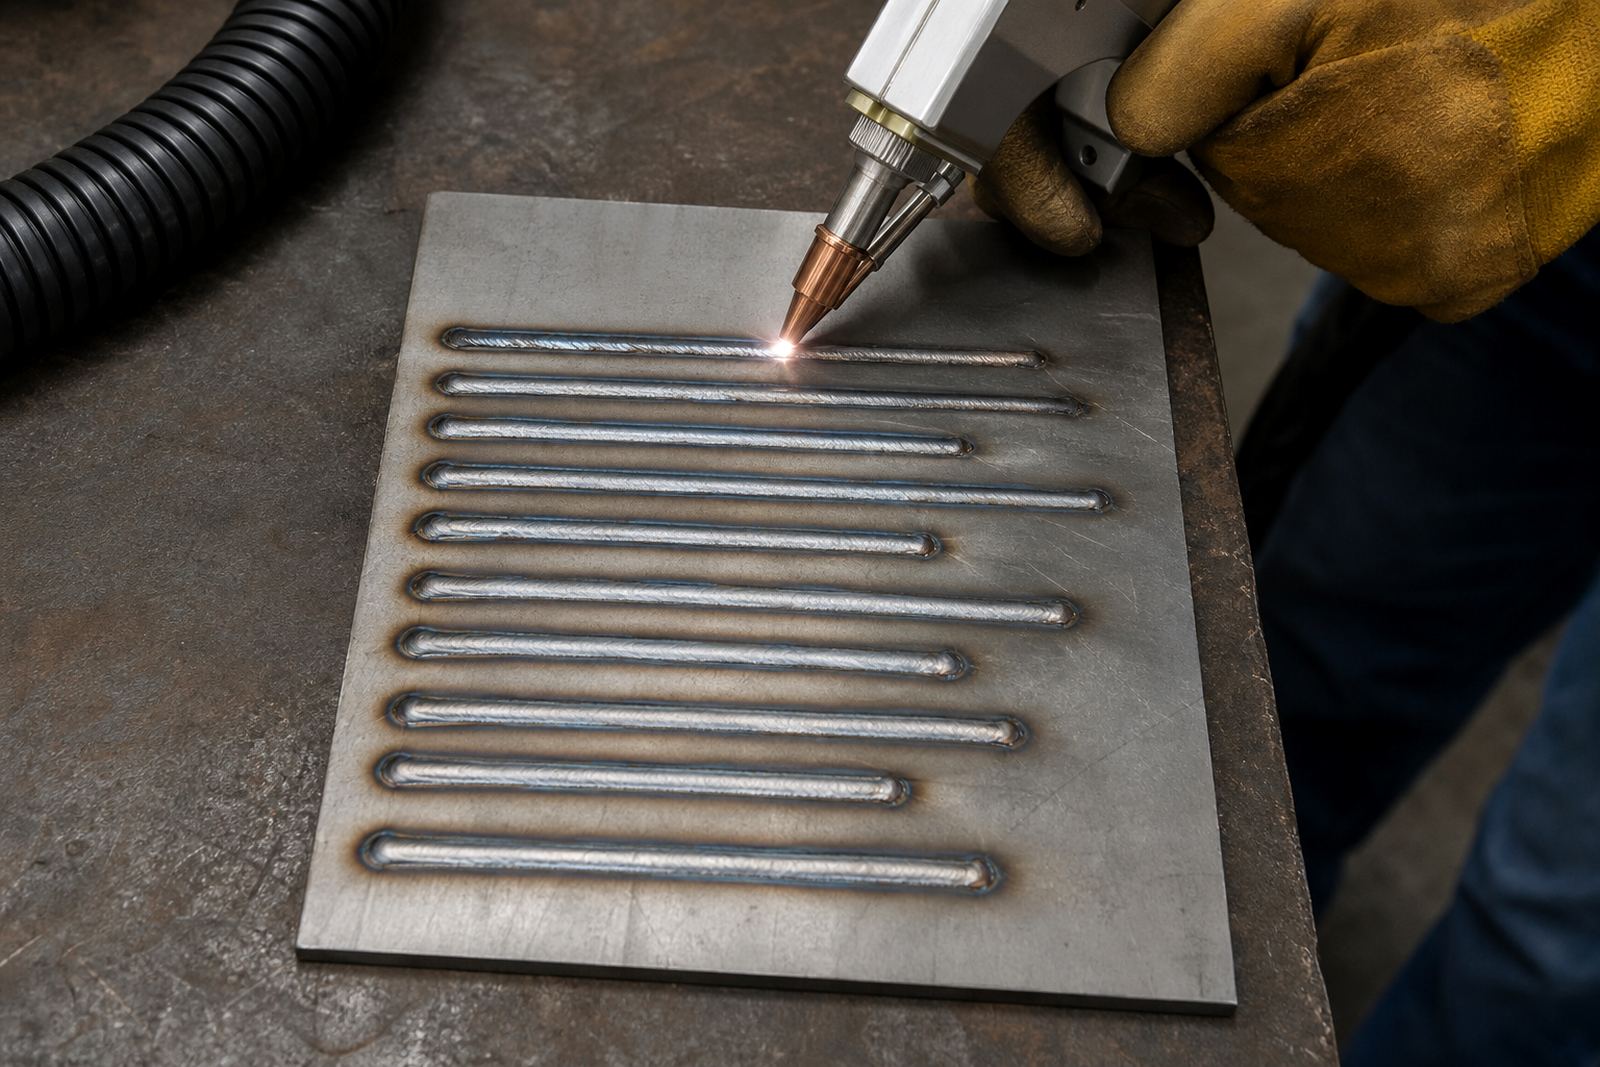
Once the torch is in position, the work should already be fully supported. Handheld laser welding does not forgive wobble very well because the heat input is focused. If the joint moves while you are tracking along it, the seam line can wander and the finish will show it.
Good practice is to place enough tacks or temporary holds to prevent the joint from opening or shifting. On long runs, work in short sections and recheck alignment between passes. If the part is large, ask for help holding the opposite end during setup rather than forcing the clamp to do all the work.
For learners, a useful rule is this: if you need to press down hard with your hand while welding, the fixturing is not finished. The clamp setup should carry the load, not the operator.
Movement control also helps with repeatability. When the same part is being made over and over, a consistent fixture means less adjustment, less scrap and a cleaner training process. That matters in a busy workshop where time is tight and load-shedding has already eaten into the day.
Safety, clearance and the working space around the weld
Fit up and clamping are not only about quality. They also shape the safety of the job. A tight, cluttered setup can leave no room for the operator to move the torch safely or to keep a clear path for the cable and hose. If the workpiece shifts into the beam path or the operator has to lean awkwardly, the risk goes up.
Laser welding must always be treated with proper laser safety controls for the class of equipment in use. That includes suitable eye protection, controlled access to the work area and safe handling of reflective material. Fume extraction should be in place too, especially when welding coated, painted or contaminated material. Even where the weld looks clean, the fumes can build up fast in a small bay.
- Wear eye protection suited to the laser setup in use
- Keep reflective offcuts away from the beam path
- Position extraction close enough to catch fumes at source
- Leave space for the operator to move without tripping on leads
- Check the area for other workers before starting
Training also helps here. A proper safety briefing before the job begins can reduce mistakes, especially when a team is still learning how to manage handheld laser equipment alongside normal workshop routines.
A Boksburg example from a busy workshop floor
Picture a small fabrication shop in Boksburg making stainless frames for a local fitting job. The material has arrived on time, but the cut ends are slightly uneven and the bench is crowded with offcuts from the morning shift. If the team rushes into welding, the frame can pull out of square before the first side is complete.
The better approach is simple. Clean the edges, place the frame on a level surface, set the stops, then clamp the corners and check the diagonals. Only after that should the operator start welding. It takes a few minutes longer at the start, but it avoids rework later and keeps the frame true.
This same thinking applies whether the work is staying in Gauteng or going to Pretoria, Polokwane, Johannesburg, Cape Town or Durban. The town changes, but the basics do not. If the fit up is weak, the weld will usually tell the story.
On training days, we often remind learners that a neat weld starts with a steady job. That is especially true on thin sections, where heat can move the material very quickly and any poor support shows up straight away.
What learners should practice until it becomes normal
Good fit up and clamping can be learned, but it does take repetition. The aim is to make the checks automatic before the torch comes out of the case. Over time, the operator starts to see where a joint wants to move and how to hold it before it does.
A practical training routine should include setup, inspection, clamping, a dry run, then welding. That order helps learners spot issues early and builds a habit that carries into the workshop. Starter kits are useful here because they give learners the chance to practise setup at home or on a bench before working on live jobs.
- Practise setting square parts without forcing them into place
- Learn how much clamp pressure is enough, and when it is too much
- Build a habit of checking the joint after every repositioning
- Use short test pieces to see how movement affects finish
- Repeat the same setup steps until they become part of the routine
For businesses, that habit pays back in fewer rejects, cleaner handover work and less time spent chasing small alignment problems. For learners, it builds confidence because the weld is supported by a proper setup, not by guesswork.