
Why Joint Prep Matters Before the First Weld
In handheld laser welding, the joint is only as good as the prep work behind it. When the edges are clean, the gap is controlled and the parts sit squarely, the beam can do its job without fighting dirt, rust, oil, or poor alignment. That is where practical results start to improve, even for a beginner.
Many learners focus on torch movement and power settings first, but the real gains often come from what happens on the bench. A well prepared joint cuts down on spatter, reduces inconsistent penetration, and makes the finished bead easier to inspect. It also saves time because you spend less time correcting the same fault over and over.
In our Boksburg training bay, we often see that a small habit change, like wiping the joint properly or checking fit-up before clamping, gives a much better result than chasing a stronger setting. It is practical work, not guesswork.
Clean Metal Gives the Beam a Fair Chance
Laser welding is sensitive to contamination. Mill scale, paint, cutting oil, dust, rust and even fingerprints can affect how the weld forms. On clean metal, the energy goes into the joint itself. On dirty metal, some of that energy gets wasted trying to burn through contamination, which can leave the weld looking uneven or weak.
For mild steel, stainless steel and aluminium, the cleaning method may differ, but the principle stays the same. Use a suitable degreaser, a clean cloth and a dedicated abrasive tool where needed. Do not use the same brush on different materials if you want to avoid cross contamination. It sounds simple, but this one habit prevents many avoidable faults.
- Remove oil and grease before any fit-up work starts
- Clean both sides of the joint, not only the visible face
- Keep grinding dust away from the weld area after prep
- Store cleaned parts where they will not pick up dirt again
In coastal areas like Durban or Cape Town, humidity can bring surface oxidation quicker than people expect. That means prep should happen close to the welding stage, not the day before if you can avoid it.
Fit-Up Habits That Improve Accuracy
Careful fit-up means the parts are aligned properly before welding starts. The less movement, the less stress on the operator and the better the final result. If the joint is open on one side and tight on the other, the beam will not magically fix it. A laser weld is precise, but it is not a substitute for poor workmanship.
Use clamps, magnets, stops and simple gauges to hold the job in place. Check the root gap, the edge alignment and the angle of the parts. On thin material, even a small mismatch can show up in the finished weld. On thicker sections, poor fit-up can make the joint harder to control and slow the learner down.
- Measure the gap before welding, not after
- Check alignment at both ends of the joint
- Clamp close enough to stop movement during the pass
- Confirm the parts sit flat and do not rock on the bench
A practical workshop habit is to dry-run the fit-up before power is applied. That quick check often catches the kind of issue that would otherwise waste time and filler or require grinding later.
Safety Comes First in a Laser Welding Bay
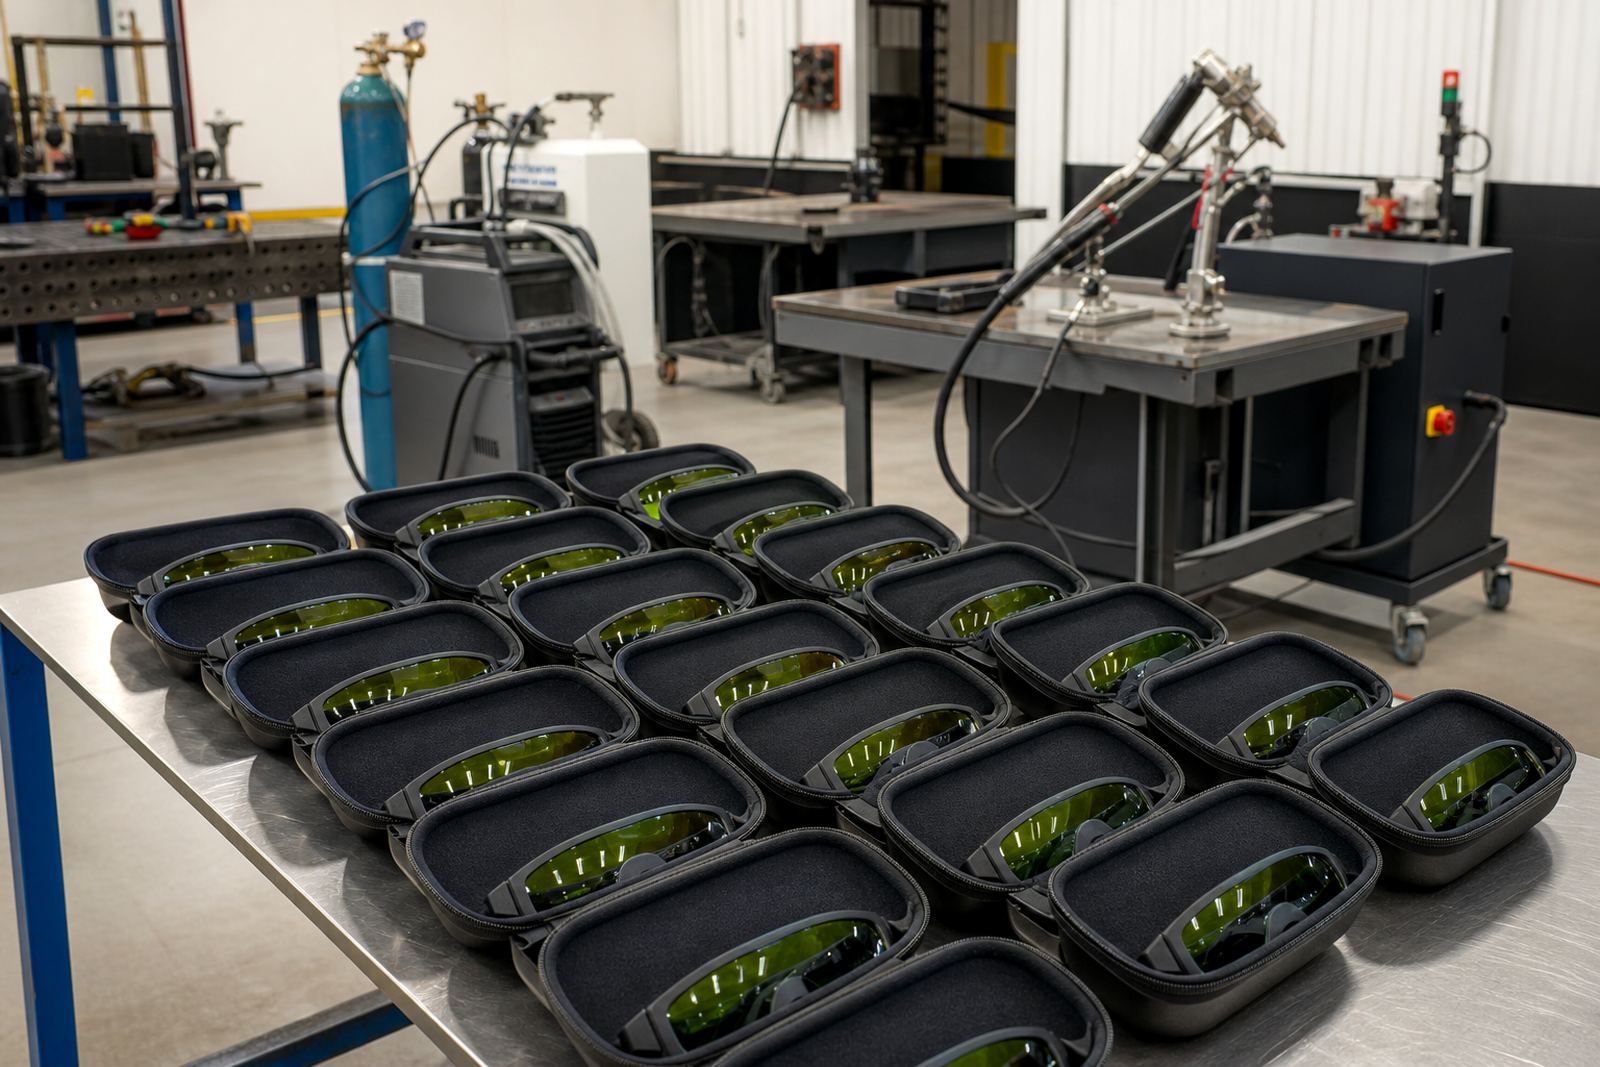
Handheld laser welding needs the right safety setup every time. The laser class of the equipment, the shielding, and the operator controls all matter. Learners should know which class they are working with and what protection is required before they strike an arc. That includes proper eye protection rated for the equipment in use, not a general pair of safety glasses.
Fume extraction is another must-have. Even when the weld looks clean, the process can create fumes and fine particles that should not be left hanging in the room. Good extraction keeps the work area clearer, helps the operator breathe easier and supports better housekeeping in the workshop. In a busy shop, that also helps supervisors keep the area organised and safe.
We teach safety as part of the job, not as a separate lecture. If the operator cannot identify hazards, check PPE, and confirm the extraction is working, then the weld should wait. Load-shedding and backup power setups can add another layer of planning, so the team should know what to check before work starts after a power interruption.
What a Useful Starter Kit Should Support
A starter kit should help a learner practise the basics properly. It should support cleaning, fit-up, safety checks and simple joint exercises, not just sit on a shelf. The idea is to give beginners the right tools to develop muscle memory, repeat the process, and get comfortable with the equipment in a controlled way.
For most training and small workshop use, a practical starter kit may include hand tools for prep, marking tools, clamps, basic consumables, cleaning materials and safety items matched to the work. It should also fit the sort of jobs a learner is likely to see, whether that is light fabrication, repairs or controlled practice pieces. If the kit is too limited, the learner ends up improvising. If it is too complicated, they spend more time sorting kit than welding.
At LaserWelder Training, our starter kit guidance is built around the course outcome and the site conditions the learner will face. That matters for workshops in Gauteng, but also for teams working near the coast where storage, corrosion and humidity need extra attention.
A Boksburg Example That Saves Rework
Here is a common local example. A workshop in Boksburg receives thin stainless parts for a small assembly job. The metal arrives with finger marks, a light film of oil and a gap that changes along the joint because the parts were cut a little unevenly. If the team welds straight away, the result usually needs dressing and may still show inconsistency.
Instead, the operator cleans both faces, checks the alignment, uses clamps to hold the joint steady and confirms the gap before starting. The actual weld then becomes easier to control, and the finish is more predictable. That is the value of joint preparation. It does not just make the weld look better, it helps the whole job flow better from one step to the next.
Across Johannesburg, Pretoria, Durban, Cape Town and Polokwane, the same principle applies. The local conditions may differ, but clean surfaces and careful fit-up remain the foundation of practical welding work. It is a simple habit, but it pays off every time.
Build the Habit into Every Shift
The best joint preparation is not a once-off effort. It becomes part of the daily routine. Operators should check the material, clean it, fit it, clamp it and only then begin the weld. When that sequence becomes normal, quality improves and training time is used better. Supervisors also get fewer repeat faults to deal with.
Our hands-on courses and certificate of completion from LaserWelder Training are built around that kind of repetition. Learners work through practical exercises, safety briefings, workflow advice and training document packs that support real workshop use. For teams that need support beyond the class, refresher visits, operator inductions and supervisor coaching can help keep standards steady.
Good welding starts long before the beam. If the joint is clean and the fit-up is right, the rest of the process becomes easier to manage and easier to repeat. That is the habit worth keeping.