
What the Randburg workshop needed
The brief came from a small metalwork workshop in Randburg that was taking on more rail and balustrade jobs for homes, shops and body corporate properties. The owner wanted one learner to move from basic tack work into controlled handheld laser welding, with a focus on corners, returns and joints that would look neat after cleaning. The learner already understood general workshop practice, but needed more confidence on fit-up, torch angle and how to keep a consistent bead on visible work.
There were a few constraints from the start. The workshop had limited floor space, shared power points and a normal production schedule, so any training had to fit around live jobs. The client also needed clear safety steps because handheld laser welding brings different controls from standard arc work, especially where reflections, fumes and eye protection are concerned. We planned the work so the learner could train in short blocks without upsetting the day-to-day workflow.
- Job type: rail and balustrade workshop learner
- Location: Randburg, Gauteng
- Focus: corners, fit-up and finish-conscious work
- Delivery plan: short practical blocks over four weeks
How we structured the four-week training
We ran the project over four weeks, with the first week spent on safety, machine familiarisation and joint preparation. The second week focused on straight runs, overlap control and cleaning methods before moving into T-joints, corners and end caps. By week three the learner was handling more awkward rail details, including inside corners and small alignment errors that needed correcting without overworking the material. The last week was dedicated to repeatable output, inspection and a final practical review.
Because the learner would be working on mild steel rail sections and some stainless parts, we kept the practice materials close to the kind of stock the workshop normally buys. That meant flat bar, tube, angle and small offcut samples in common workshop sizes, rather than special test pieces. We also discussed how coastal humidity, dust and storage conditions can affect surface preparation and how to keep consumables dry and organised, which is useful even in Gauteng when materials sit for a while before use.
- Week 1: safety, setup and surface prep
- Week 2: straight welds and heat control
- Week 3: corners, fit-up and alignment corrections
- Week 4: finishing, inspection and repeat work
Equipment, safety and starter kit setup
The training used a handheld laser welding setup with the usual workshop controls for laser class awareness, key access, warning signage and controlled work area boundaries. We covered where the operator should stand, how to keep bystanders clear and why reflective surfaces need extra care during setup. Eye protection matched the laser task, and we stressed that normal shade choices for other welding work are not the same thing here. Fume extraction was set up at source so vapours from cleaning residues and heated metal did not hang in the bay.
For the starter kit, we kept it practical. The learner was shown the basic kit items needed to begin work safely and consistently, including protective eyewear, nozzles, cleaning items, spare consumables, marking tools and simple fit-up aids. The kit was also explained in terms of maintenance and storage, so parts would not go missing between jobs. In a busy workshop that matters more than people think, because one missing consumable can stop a whole sequence of work.
- Laser class controls and access discipline
- Eye protection matched to the process
- Local fume extraction at the work point
- Starter kit layout and storage routine
Corners, fit-up and finish control
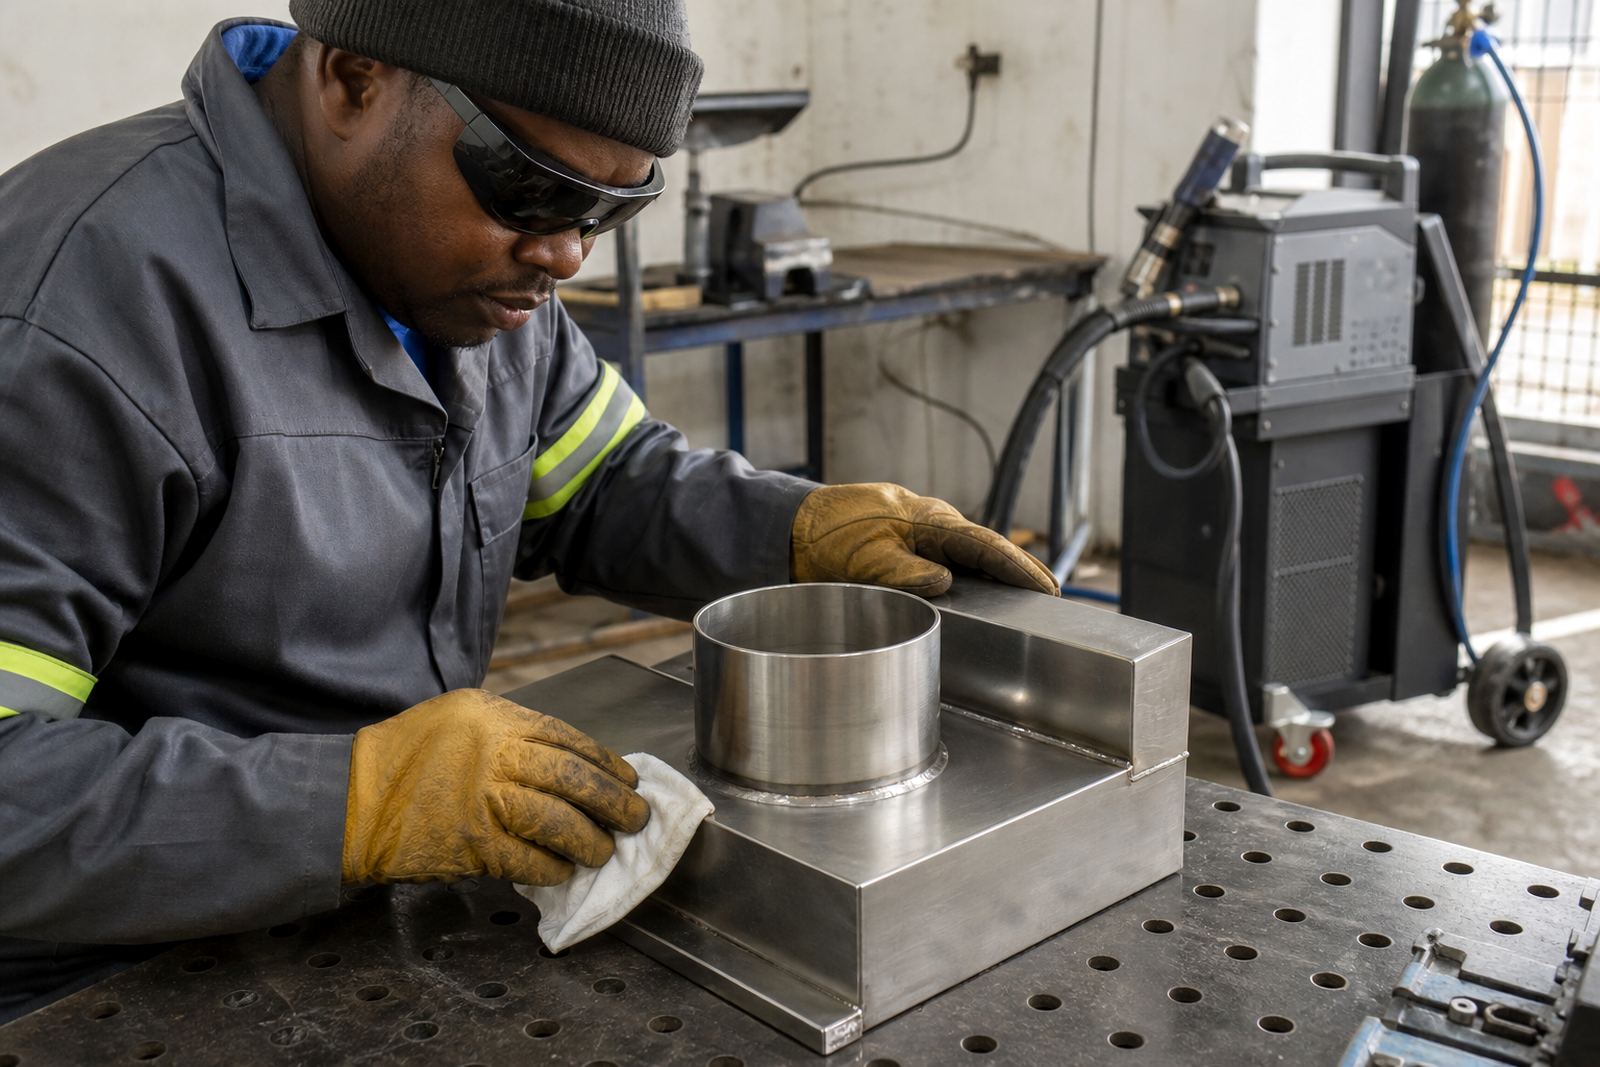
The real learning came in the corners. Rail work looks simple from a distance, but corners expose every small error in cut length, squareness and gap control. We showed the learner how to dry fit each section, measure twice, dress the ends and check for twist before striking up. On balustrade pieces, a half millimetre out can show at the final finish, so the aim was to get the joints right before heat was added.
We also worked on finish-conscious welding, meaning the learner had to think about how the weld would look after light dressing or polishing. That changed the way they handled travel speed and stopping points. Rather than chasing a wide bead, they learned to control the pool and keep the surface more even. The result was less rework and better looking joints on visible rail sections. The final output was not just stronger, but neater too, and that matters on rail jobs where the client sees the welds up close.
By the end of the project the learner was making cleaner returns, fewer starts and stops, and better corner tie-ins. Their fit-up improved most of all. Once they started clamping and checking properly, the welding itself became much easier. That is often the case with laser work: the setup decides the result before the trigger is pulled.
What the workshop received
Along with the hands-on training, we supplied a training document pack for future reference and a practical workflow plan the supervisor could use with other staff. This included suggested prep steps, a simple inspection routine and notes on where to place the extraction unit during small batch work. We also carried out a starter kit setup session so the learner could pack and unpack the kit without wasting time during a busy shift.
The client asked for support that would hold up after the training days ended, so we kept the material simple and usable. No fancy talk, just a clear system the workshop could repeat. That included how to store consumables, how to brief a new operator before use and what to check before each session. It sounds basic but that is where most workshop delays come from, especially when different people share the same equipment.
- Training document pack
- Supervisor coaching notes
- Workflow advice for small batch rail work
- Starter kit setup guidance
Result and next steps for similar jobs
At the end of the four weeks, the learner had moved from hesitant trial work to controlled production on common rail and balustrade details. The workshop got a clearer process for corners, fit-up and finishing, plus a better understanding of safety around handheld laser welding. The biggest gain was consistency. Once the learner knew how to prepare the joint and keep the work area under control, the welds followed more easily.
If we were doing the same project again, we would keep the same four-week format and spend even more time on mock-up corners before moving to live jobs. That is the quickest way to build confidence without risk. We would also keep a stronger focus on extraction placement and housekeeping from day one, because clean prep and clear airflow make a noticeable difference in both quality and comfort during a long shift.
For workshops in Randburg, Boksburg and across Gauteng, this kind of training works best when it is tied to the actual jobs going out the gate. Rail work is about measurements, positioning and finish control as much as it is about the weld itself, and that was the point of this project from the start.
Key facts
| Project type | Hands-on handheld laser welding training for rail and balustrade work |
|---|---|
| Town | Randburg, Gauteng |
| Timeline | 4 weeks |
| Material focus | Mild steel and stainless steel rail sections |
| Safety focus | Laser class control, eye protection and fume extraction |
| Outcome | Certificate of completion from LaserWelder Training only |