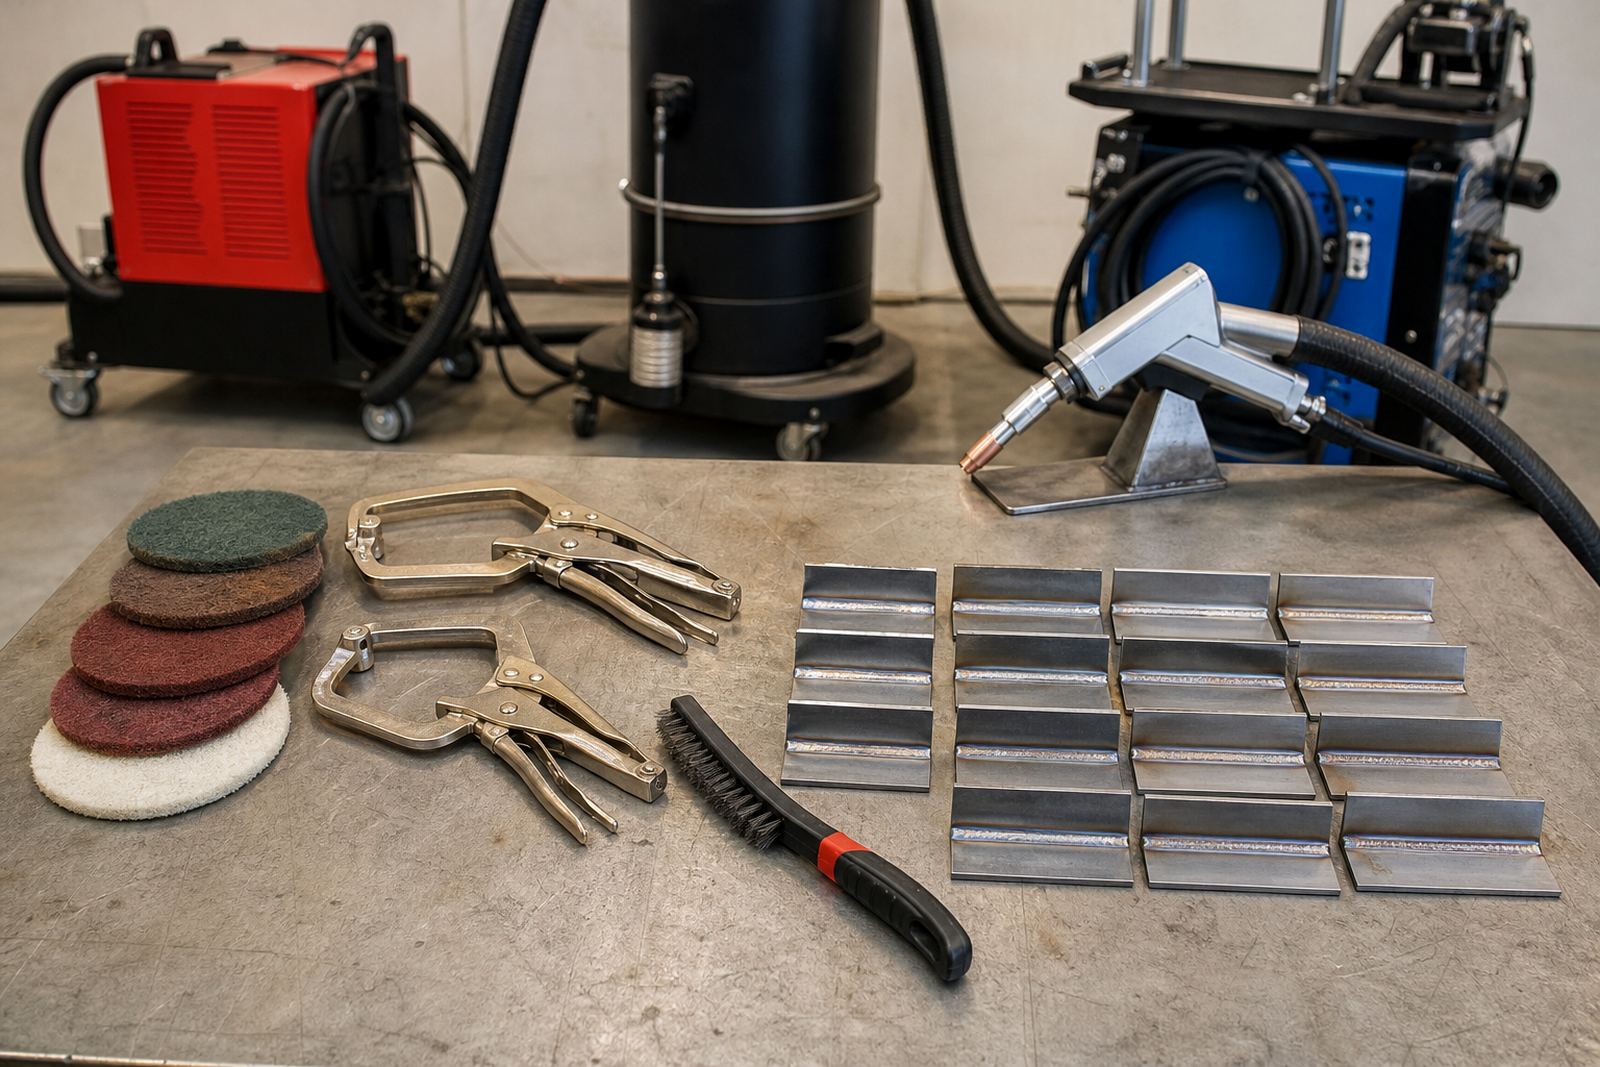
What the Joint Prep Module Does on the Bench
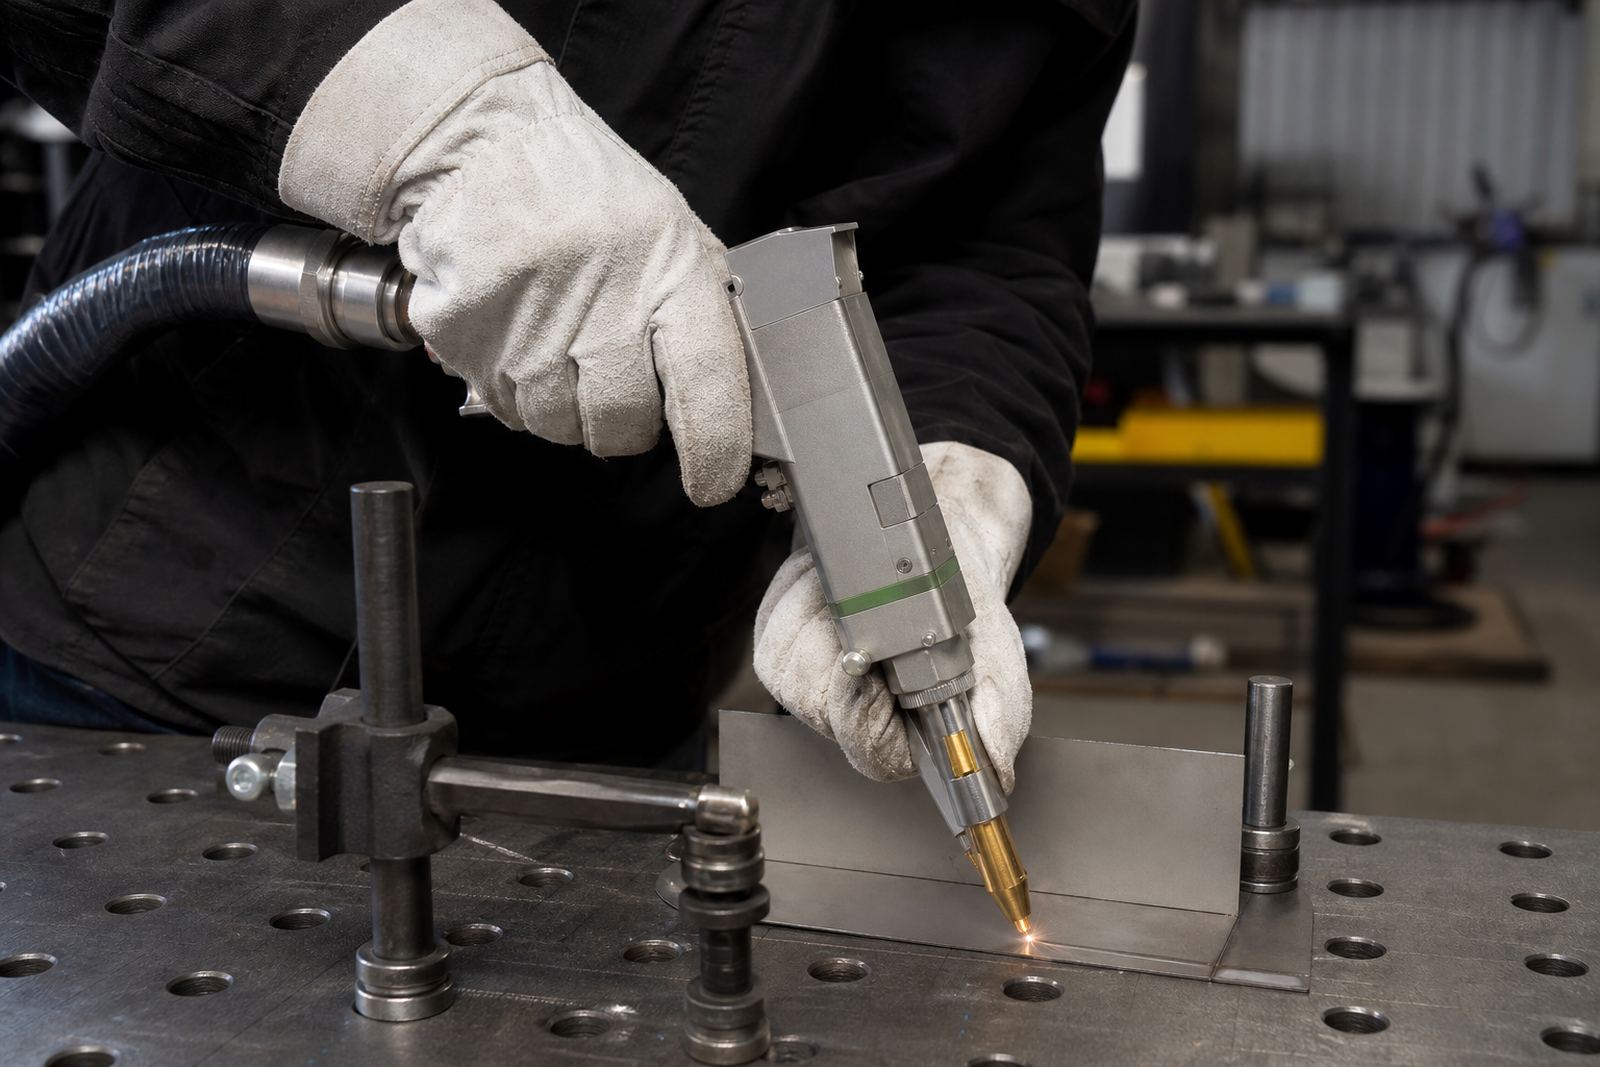
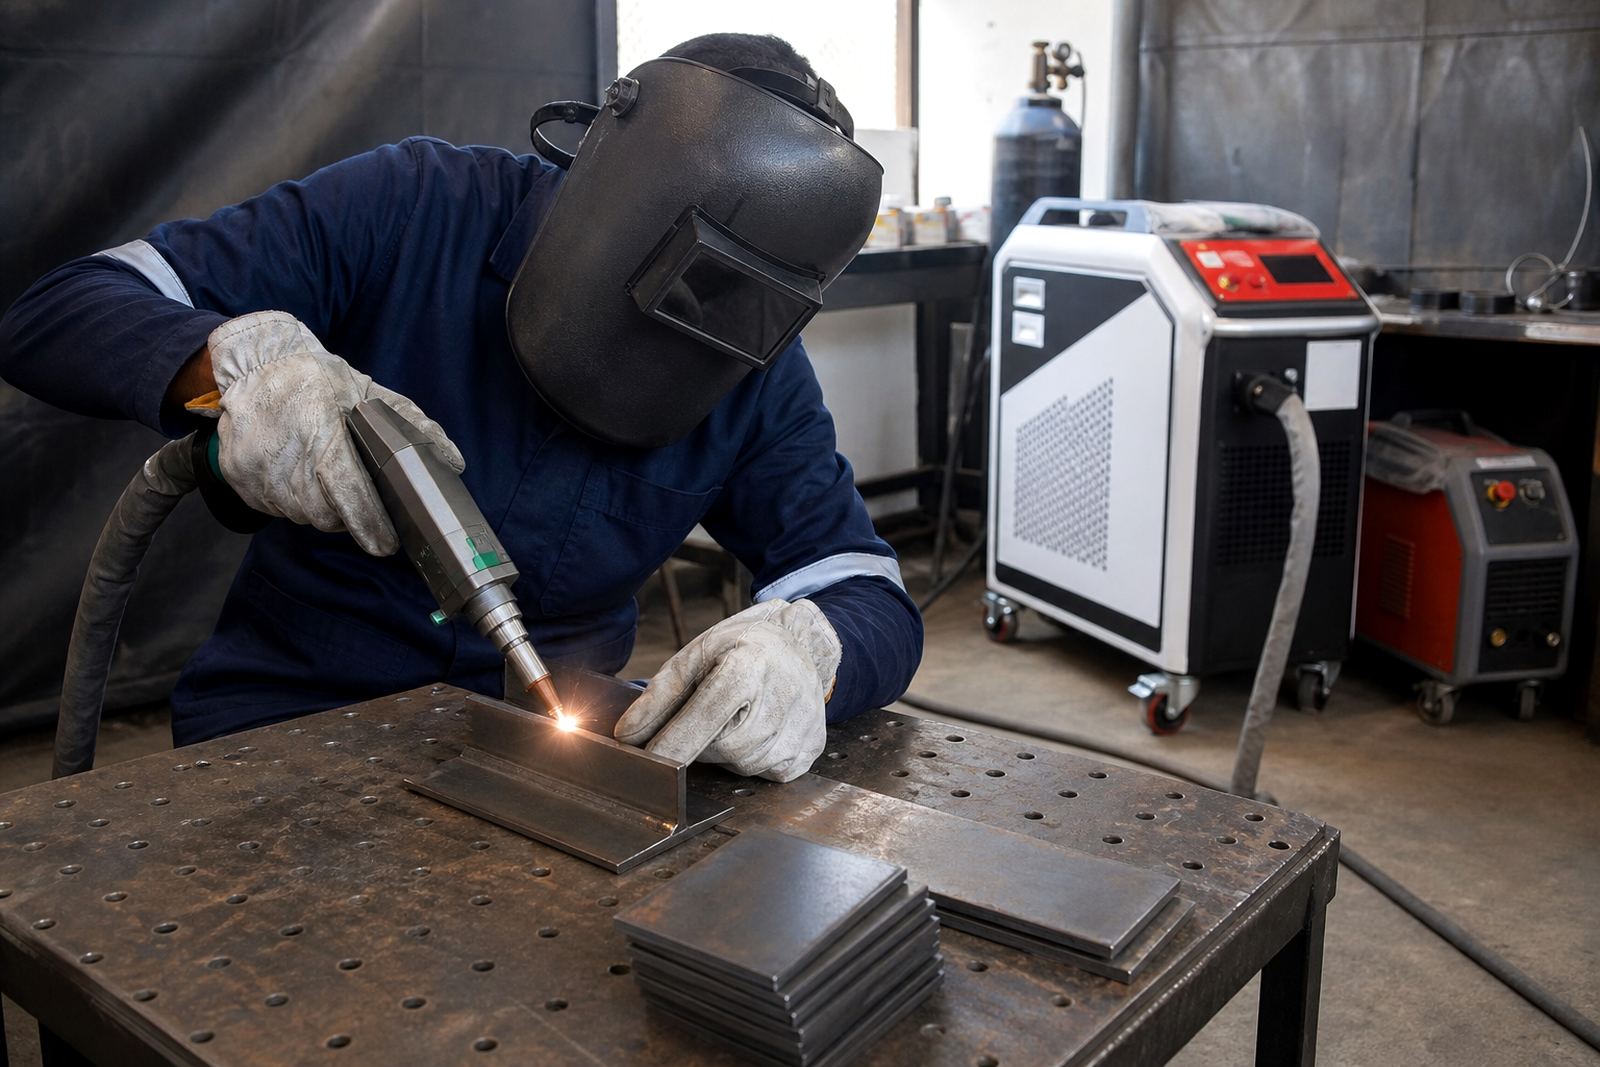
The Joint Prep Module is a hands-on training aid for preparing joints before handheld laser welding. It helps operators understand how clean metal, correct fit-up and steady clamping affect weld quality, bead appearance and repeatability. In practice, the unit is used to show what happens when gaps are too wide, edges are rough or the workpiece is moving during the weld.
This module is suitable for mild steel, stainless steel and aluminium practice pieces, depending on the learner level and the work being demonstrated. It is used in starter training, refresher sessions and workshop coaching where the goal is to build safe habits before production work begins.
Common Sizes and Setup Options
The Joint Prep Module is supplied in practical bench-friendly sizes for classroom and workshop use. Units are generally made to suit small sample parts as well as longer practice strips, so teams can work on short runs or larger test pieces without changing the learning setup.
- Small-format practice module for individual learner use
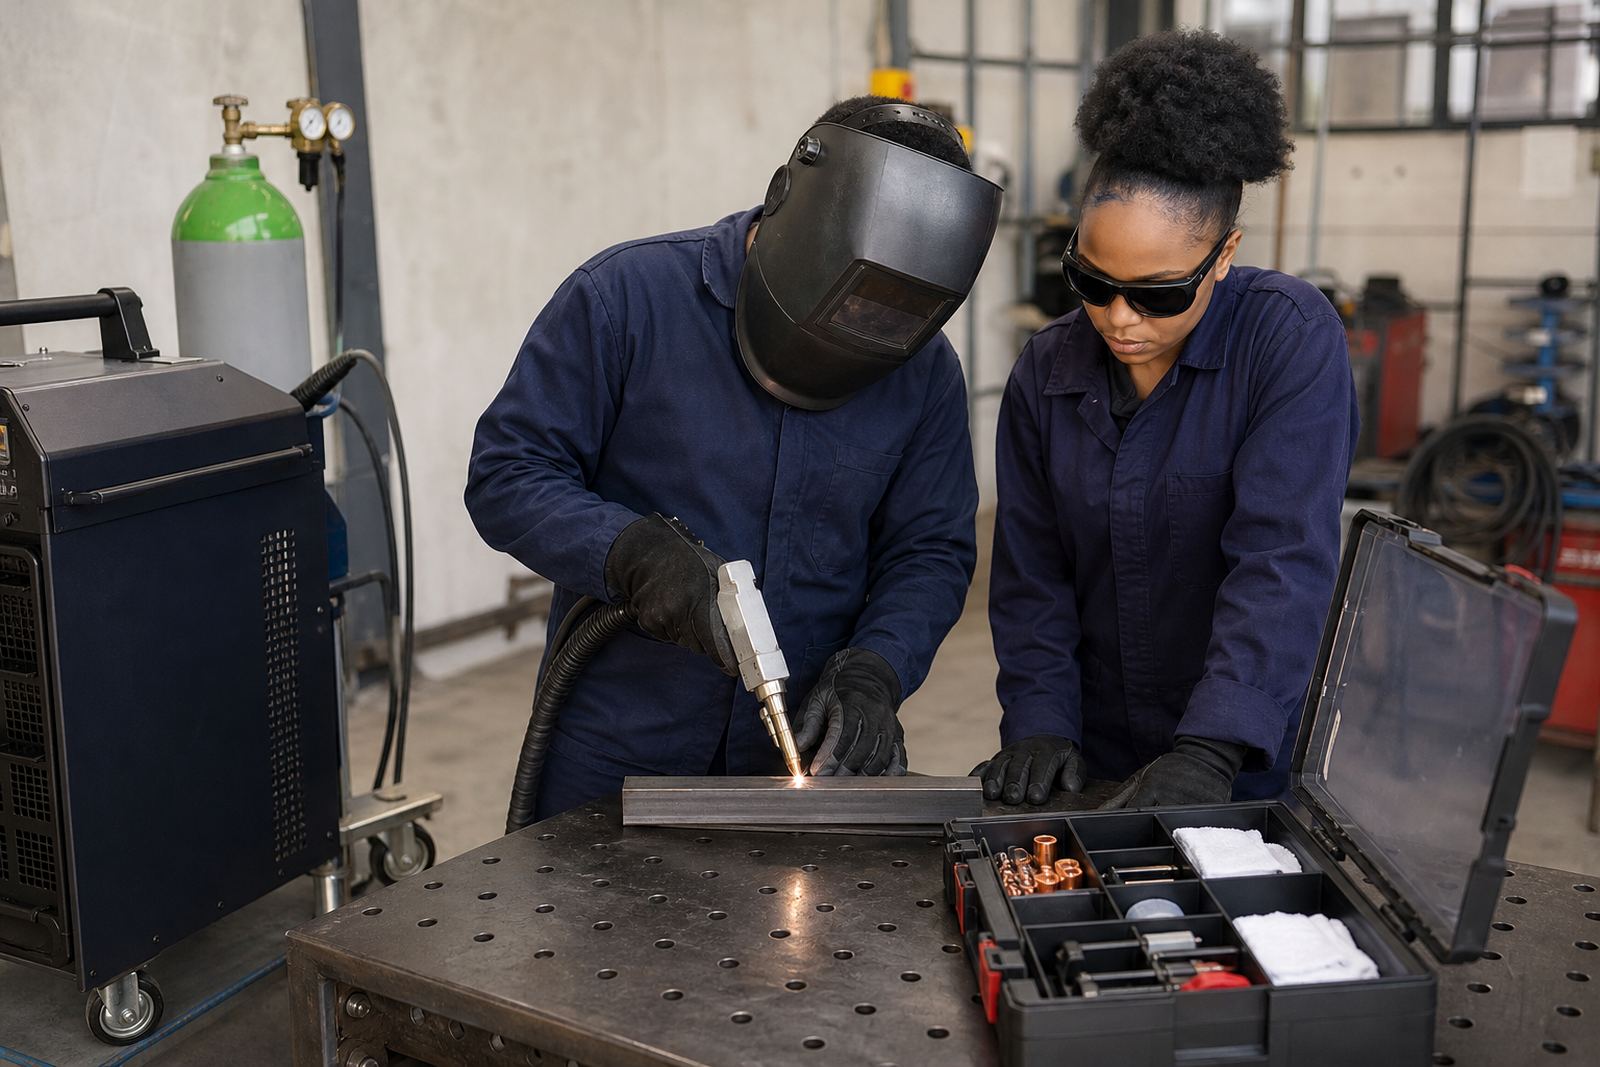
- Medium-format module for two-person demonstrations
- Extended format for workshop supervision and group training
- Adjustable edge guides for repeated fit-up practice
- Clamp points for flat, corner and lap joint samples
Where learners are still developing hand control, the smaller format is usually easier to manage. For supervisors and instructors, the larger option gives more room for live correction and side-by-side comparison, with a bit more tolerance for different joint types.
Where It Suits Best in South African Workshops
This module suits training centres, fabrication shops, maintenance teams and businesses adding handheld laser welding to their workflow. It is especially useful where parts are short, production changeovers are frequent, or several operators need the same method before they move to live jobs. In Gauteng, many teams use it for day-shift induction and after-hours practice, while coastal sites often use it to keep preparation standards steady in humid conditions.
The module is also helpful where load-shedding disrupts routine work and teams need clear, repeatable set-up steps once power is restored. Good prep saves time, reduces rework and cuts down on scrap, which matters when material costs are tight.
- Training rooms and learner bays
- Light fabrication and repair workshops
- Supervisor coaching sessions
- Refresher training for experienced operators
- Mobile training carried out on site
Installation, Power and Gas Requirements
The Joint Prep Module itself has modest power needs because it is a preparation aid rather than a welding power source. In most cases it needs only basic workshop power for lighting, small accessories or any linked training tools. If the module is used with a handheld laser welding unit, the welding equipment must be set up according to its own electrical and cooling requirements.
No process gas is usually needed for the module on its own, but the welding process may call for shielding gas depending on the metal, joint type and finish required. The training area should have stable benches, safe cable routing and enough clear space for the operator, the instructor and any fume extraction equipment. Eye protection rated for the laser class in use is essential, and operators should not rely on ordinary safety glasses alone.
Care, Cleaning and Servicing Between Sessions
The module works best when it is kept clean and squared up. After use, remove spatter, dust, cutting residue and oxide build-up from the contact faces and clamping points. If the edges become damaged or badly marked, dress or replace the sample parts so the next learner gets a fair setup. Dirty joints give bad habits, that much is clear when the weld does not sit right.
For long service life, keep moving parts free from grit and store the module in a dry place. Workshops near the coast should watch for rust on steel parts and check fasteners more often. A quick inspection before each session is usually enough, but the unit should be checked more carefully if it has been dropped, over-tightened or used by a large group.
- Wipe down after every class or job practice
- Check clamps, guides and edge stops for wear
- Keep sample surfaces dry and free from oil
- Replace damaged practice pieces before they affect results
- Test alignment before a new intake group starts
What to Check When Ordering for Your Team
When ordering a Joint Prep Module, it helps to know the type of learners, the joint styles being taught and the available bench space. Ask for the size that matches your normal parts rather than the biggest option available. If the unit will be used in a workshop with multiple operators, consider extra clamping points and a layout that allows quick reset between sessions.
It is also worth checking whether you need setup guidance, starter kit matching or support with safe working practices. A proper training pack may include a training document pack, supervisor coaching, workflow advice and refresher visits where needed. LaserWelder Training provides certificate of completion for the course only, and the module is used to support practical learning around clean fit-up, clamping and edge control before handheld laser welding.
- Material type and typical joint style
- Bench size and available working space
- Whether one or more learners will use it at once
- Need for clamps, guides or sample holders
- Storage conditions, especially for coastal humidity
Key facts
| Product type | Joint preparation training module for handheld laser welding |
|---|---|
| Use | Cleaning, fit-up, clamping and edge condition practice |
| Typical materials | Mild steel, stainless steel, aluminium practice pieces |
| Size options | Small, medium and extended workshop formats |
| Power needs | Basic workshop power only for optional accessories or lighting |
| Safety requirements | Laser class eye protection, fume extraction, safe bench setup |